
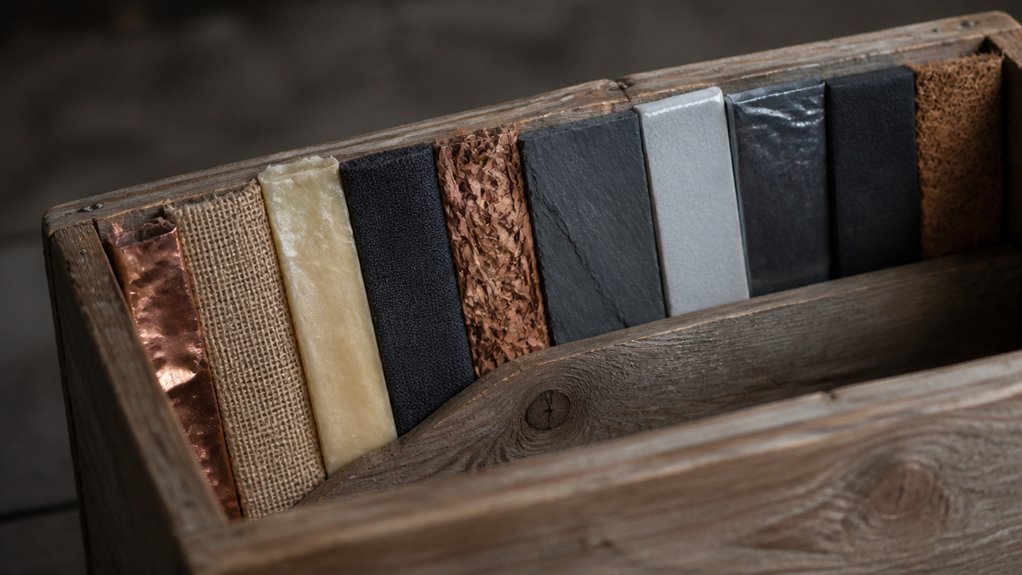
A wooden planter without a liner is a coffin for garden beds. I’ve watched cedar boxes turn to mush in two seasons from trapped moisture. You need the right barrier.
The ten materials below will keep your planters solid and your plants doing well.
What Happens to Unlined Wooden Planters (And Why to Avoid It)
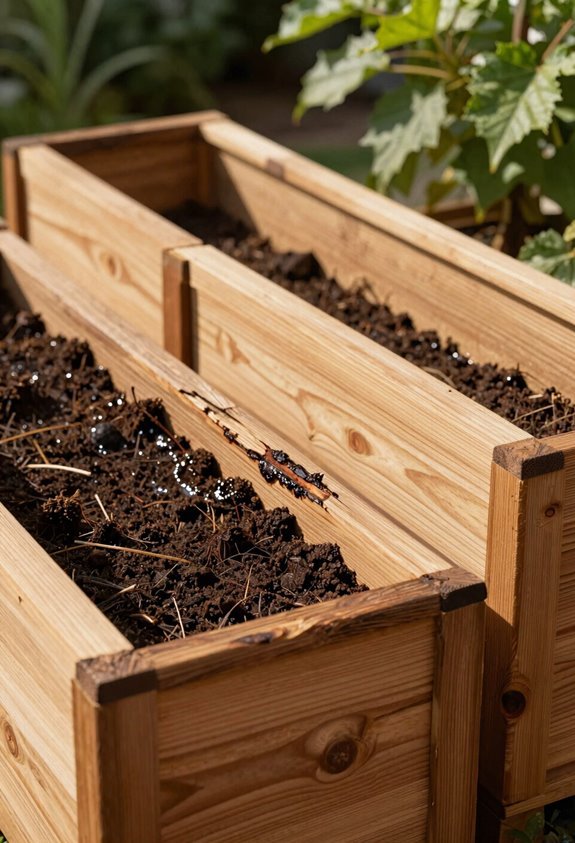
Unlined wood fails fast. I see moisture seep straight into grain and know rot sets in within months. You get mold, mildew, and wood that warps.
Without a liner, I can’t stop soil from staining your deck or patio. Water sits against wood with no barrier. Standing water ruins planters fast.
The Drainage Problem
Wood lacks built-in drainage. I drill holes but moisture still soaks walls. Your planter breaks down years early.
Why I Always Recommend a Liner
Landscape fabric or 6-mil HDPE sheeting adds years of life. I cut pieces to fit with two-inch overlap at seams. Seal edges with silicone.
A proper liner keeps soil off wood and manages drainage. Your planters last. You avoid replacement costs.
Four Key Criteria for Choosing Any Planter Liner
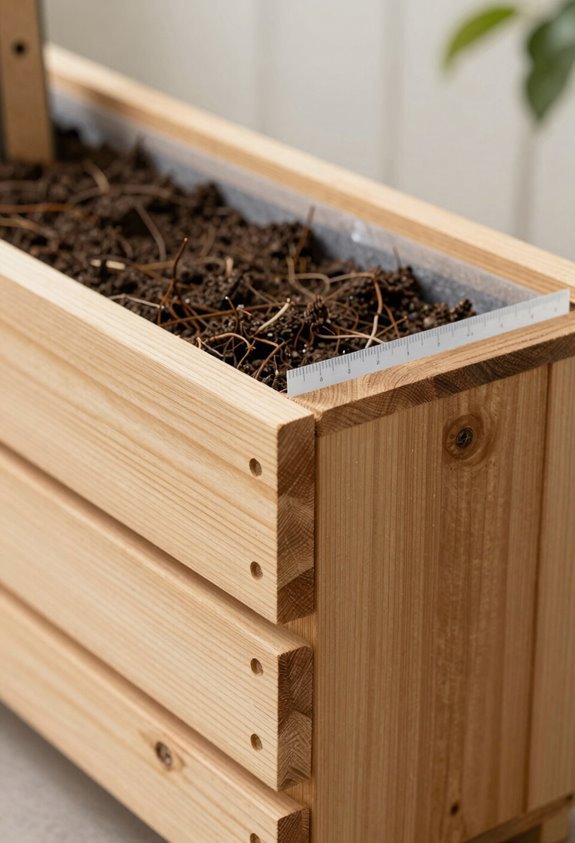
How do I pick the right liner material? I focus on four key criteria that keep my wooden planters in good condition year after year.
Liner durability
I check UV resistance and moisture barrier strength. I want materials that withstand sun, rain, and freeze-thaw cycles without cracking or degrading.
Drainage compatibility
I make sure the liner accommodates drainage holes and gravel layers. Water must escape freely without pooling or clogging at the base.
Wood protection
I select liners that seal all interior surfaces. Direct moisture contact rots wood fast, so complete coverage matters.
Installation ease
I measure my planter’s interior dimensions first. I cut materials to fit snugly, securing edges without gaps or leaks. Simple attachment saves time and prevents failures.
Landscape Fabric Underlayment: Best Drainage for Herb Gardens
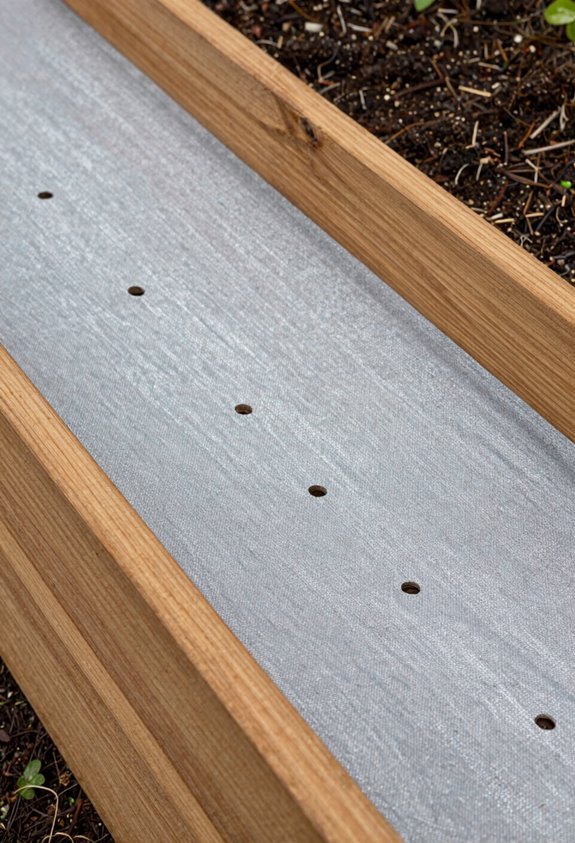
I choose heavy-duty woven polypropylene fabric with UV inhibitors for my herb planters. I line the sides and bottom completely, then cut holes that match my planter’s drainage. This setup keeps soil contained, cuts wood rot, and extends planter life past five years.
Material Composition Benefits
I choose landscape fabric for my herb planters because polypropylene construction gives real durability. This material resists sun damage and controls moisture without rotting my wooden boxes.
| Feature | Benefit |
|---|---|
| Polypropylene weave | Resists UV breakdown for seasons |
| Heavy-duty weight | Lasts 5+ years in garden use |
| Moisture barrier | Reduces wood rot risk |
| Drainage holes align | Water exits properly |
I skip burlap alternatives. Burlap degrades fast. Landscape fabric stays intact. I cut pieces to my planter’s inside dimensions.
The heavy-duty weed membrane outperforms light-duty options. My herbs get drainage. My planters last longer. Polypropylene fabric belongs in every serious herb garden setup.
Installation Best Practices
Because proper installation determines liner effectiveness, I measure my planter’s interior dimensions first. I cut my heavy-duty polypropylene landscape fabric to cover sides and bottom completely. I staple it in place, ensuring it fits snugly without gaps.
Drainage Layer Setup
I add gravel or broken pottery beneath the fabric when I want extra air flow. I skip this layer if I’ve drilled numerous small drainage holes instead. Either way, I preserve clear drainage paths for water to exit.
Hole Placement
I punch small holes at the bottom of any plastic liner I use. I stagger them to keep the wood strong. This lets water escape without weakening the structure.
Final Check
I verify my liner supports 5+ years of use. Proper drainage keeps my herbs productive and my planter intact.
Thick Plastic Pond Liner: Maximum Waterproofing for Large Boxes
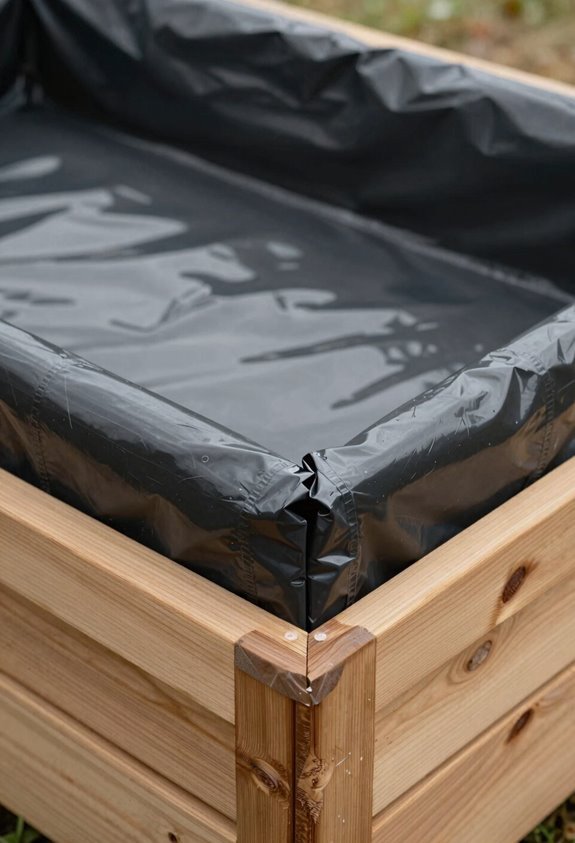
I choose thick plastic pond liner when I need maximum moisture protection for big wooden planters. I install a 45 mil or 100 mil sheet inside the box, cut it to fit, and seal seams with liner tape for a watertight barrier.
I punch drainage holes at the base, add a gravel layer, and keep the drainage path clear to stop waterlogging.
Maximum Moisture Protection
Thick plastic pond liner gives you the strongest waterproofing option for large wooden planter boxes.
Pond Liner
Heavy-duty HDPE sheeting resists water penetration for years. This material covers all interior surfaces, creating a complete seal against moisture contact with wood. Cut sheets to extend 4-6 inches above soil lines for full protection.
Drainage Layer
Install 2-3 inches of gravel or perlite at the base before adding soil. This prevents waterlogging while the pond liner maintains interior containment. Drill ½-inch drainage holes every 6 inches along the bottom edge.
Position the drainage layer directly over these holes to channel excess water safely. Combine these elements, and you’ve built a system that protects your lumber investment without trapping moisture where roots rot.
Installation Best Practices
Heavy-duty HDPE sheeting resists water penetration for years. Cut the liner to fit all interior surfaces, leaving room for drainage through bottom holes.
Puncture small drainage holes in staggered patterns to prevent waterlogging. Add gravel or broken pottery beneath the liner to protect against punctures and boost drainage. Seal edges with seam tape to block gaps and maintain waterproofing.
Heavy-Duty Plastic Sheeting: Affordable Protection for Small Planters
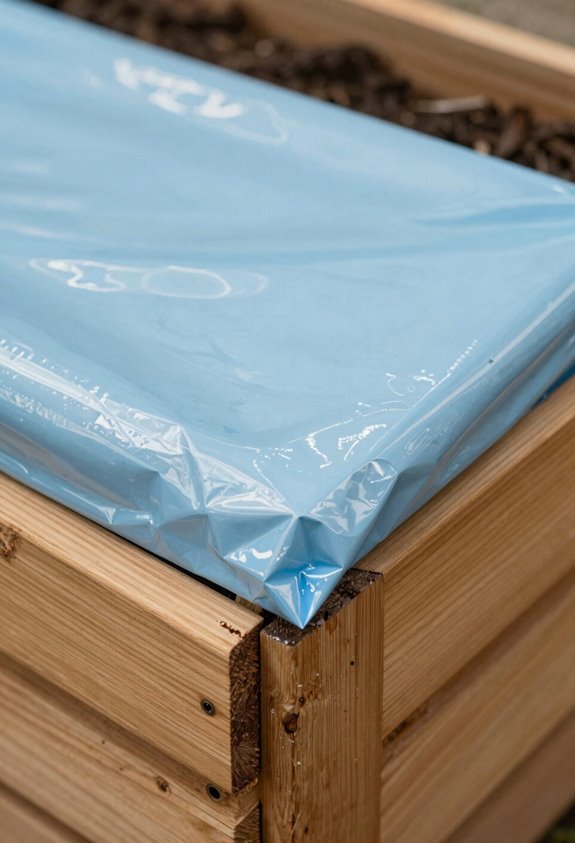
How do you keep moisture from rotting your wooden planters without spending much? I’ve found heavy-duty plastic works.
Heavy-duty plastic keeps wooden planters dry without draining your wallet.
The Material
Use 60–100 mil HDPE sheeting. This thickness mimics pond liner durability. Costs stay low for small boxes.
Installation
Cut sheets to interior dimensions. Staple or tape for tight fit. Leave no gaps at corners.
Critical Step
Punch drainage holes in the bottom. Without drainage holes water pools. Wood rots fast.
My Tip
Leave plastic loose at base. Add gravel underlayment. Water exits freely.
Bottom Line
Heavy-duty plastic protects on budget. It fits beginner projects. It pairs with other liners later.
Grow Bag Fabric: Flexible Permeable Liners for Easy Removal
Why wrestle with rigid liners when fabric gives you options? I use grow bag fabric as a liner material because it bends to fit any wooden planter shape. You pull it out clean between seasons. No scraping soil from corners.
| Feature | Benefit |
|---|---|
| Breathable weave | Roots get air, water drains fast |
| Flexible structure | Fits odd planter shapes without gaps |
| Easy removal | Lift entire root ball out intact |
| Moisture barrier | Reduces wood rot when paired with drainage holes |
Pick a grow bag liner rated for 3-5 season use. Match it to your planter depth. Add a 1-inch gravel base below the fabric. Cut drainage holes every 6 inches along the planter bottom.
Use a potting mix, not garden soil. Your wooden planter lasts longer. Your plants stay healthier.
Burlap: Breathable and Cheap (But Requires Replacement)
Grow bag fabric works well for reuse. Burlap offers a different path. I use it when I want breathability without spending much.
Why Burlap Works
Standard jute burlap, 10-12 oz weight, costs under $2 per yard. It lets air move around soil and roots. This reduces moisture buildup.
The Trade-Offs
Burlap breaks down. Plan to replace it every 1-2 seasons.
- Cut pieces 2 inches larger than your planter interior
- Double-layer for extra strength in wet climates
- Pair with ½ inch gravel base for better drainage
My Take
Burlap suits temporary beds and experimental setups. It will not protect wood long-term. For permanent planters, I look elsewhere. The drainage helps, but the replacement cycle demands honest accounting of your time.
Rubber Pond Liner: Permanent Solution for Premium Planters
When I need a liner that outlasts the wood itself, I reach for rubber pond liner.
Rubber Pond Liner: Permanent Solution for Premium Planters
A rubber liner works like thick plastic sheeting. It shields wood from moisture and chemicals. You cut it to fit your box, then join seams with tape or butt-end methods.
I punch drainage holes in the bottom. This stops waterlogging. The barrier resists rot, mildew, and weather damage.
| What You Risk | What You Gain | What Joins Us |
|---|---|---|
| Wood rot and planter failure | Decades of use together | Craft that endures |
| Constant replacement costs | Solid investment in your space | Pride in lasting work |
| Isolation from poor results | Reliability you can count on | Shared know-how |
Sizes range from 18 inches to 48 inches wide, with rolls up to 100 feet. Match the sheet to your planter box. This is permanent protection for serious builds.
When to Combine Two Liners for Better Results
Sometimes one liner won’t cut it for moisture barrier combinations, drainage enhancement pairings, or longevity boosting layers. I’ll show you when doubling up makes sense and how to layer them right.
Moisture Barrier Combinations
Single liners fail. I combine materials to protect my wooden planters from moisture damage.
Fabric-First Method
I place heavy-duty landscape fabric against the wood. I add a water-tight plastic liner over it. This protects wood while keeping drainage paths open.
HDPE Thickness Stack
I use 80–100 mil HDPE as my main barrier. I overlay a weed membrane for extra control. This pairing lasts longer in large planters.
Sealed Seams
I tape all joints between the two liners. I butt-end them tight. This stops moisture from seeping through gaps.
I add gravel beneath the interior liner. I keep drainage holes clear. My dual-liner system prevents root rot without waterlogging.
Drainage Enhancement Pairings
I pair an 80–100 mil HDPE liner with a 2-inch gravel drainage layer. The HDPE liner shields wood from moisture. The drainage layer lets water exit fast.
Gravel Base with Fabric Cover
Landscape fabric tops the drainage layer. Soil stays put. Gravel stays clear.
Perforated Inner Liner System
I punch small holes in the inner liner. Water flows through. The outer liner blocks no paths.
Double Liner for Large Planters
Thick plastic sheeting forms the outer shell. A perforated inner liner handles heavy drainage. Soil never touches wood.
Edge Sealing and Gap Spacing
I seal all liner edges tight. I leave 5–10 mm gaps between planks. Bottom holes drain freely. Staggered hole patterns work best.
Longevity Boosting Layers
Why risk rot when a second liner costs so little? I’ve layered HDPE liner combinations for years. The payoff is real wood protection that lasts seasons longer.
Double Up for Defense
Use a thick outer HDPE liner at 60–100 mil with a thinner 30–40 mil inner sheet. The outer blocks ground moisture and UV damage. The inner catches punctures from roots and tools.
Seal Every Seam
Overlap your layers by six inches minimum. Run seam tape between sheets where they meet. Water finds every gap you leave behind.
Drainage Layer Placement
Drop gravel, crocks, or pebbles between wood and your dual liners. This drainage layer forces air movement. Standing water never touches timber when you build this stack right.
Installing Your Liner: Drainage, Sealing, and Common Mistakes
First, I check the planter base for drainage holes. I drill small holes if none exist. I add a drainage layer of gravel, pebbles, or broken pottery beneath the liner.
Check for drainage holes first, drilling if needed, then add a layer of gravel or broken pottery beneath your liner.
Fitting Your Liner
I install the liner to cover all interior surfaces. I puncture small drainage holes in plastic liners at the bottom. I select a liner that won’t block drainage holes. Heavy-duty landscape fabric or HDPE liner works for longevity.
Creating Drainage Paths
I use staggered hole patterns when drilling into wood. I insert small hose pipe sections to reduce water contact with the wooden base.
Maintenance and Avoiding Errors
I skip harsh cleaners to prevent soil seepage and plant harm. I inspect periodically for mould, rot, or cracks. I reseal as needed.





