
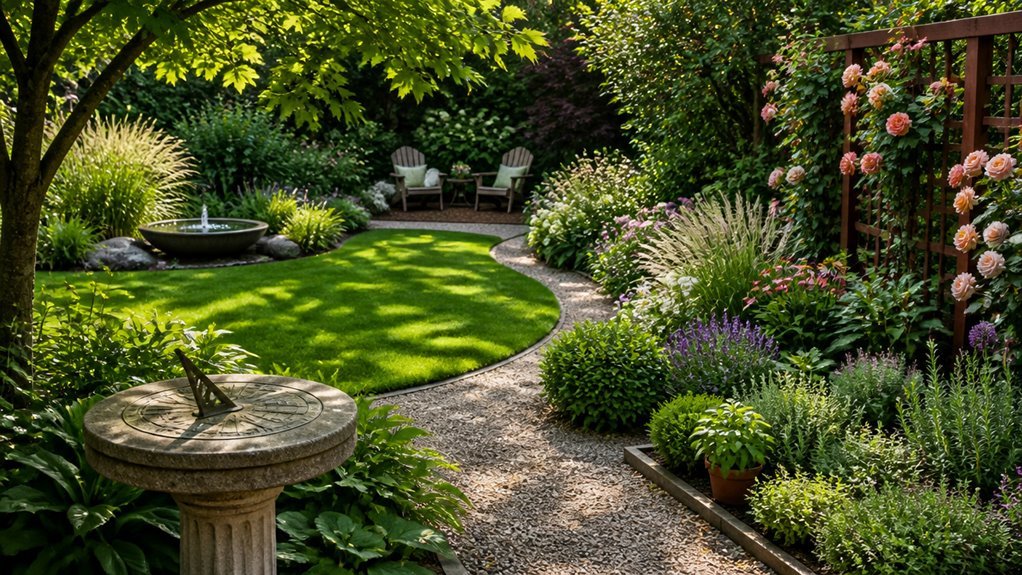
Rome wasn’t built in a day, and neither is a garden that lasts. I’ve learned that most beginners fail because they plant first and plan second. These ten ideas will save you from that mistake.
Begin With What You Have: Assess Your Garden’s Fixed Features
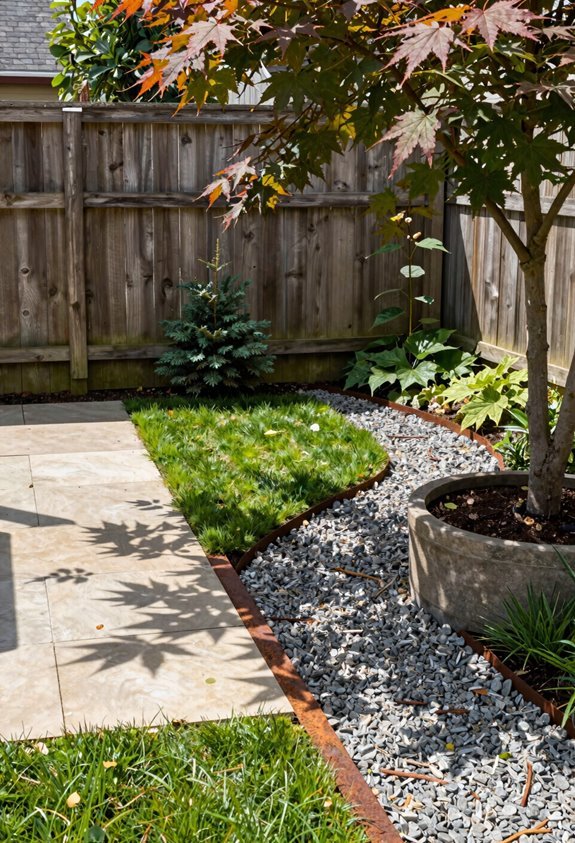
Where do you start when your plot feels blank? I grab a notebook and pencil. I walk my space and mark every fixed feature I cannot move. I note the patio, the fence lines, and that big oak in the corner. These elements frame my garden assessment. They tell me where I cannot plant and where I must build.
I sketch rough shapes. No ruler, no scale. Just circles for trees and boxes for sheds. I check sun exposure with a phone compass. I watch how light hits walls and fences at different hours. This shows me warm pockets and dark corners.
I plan hard features before I dream of flowers. Patios and walls come first. Borders fill gaps later. This order prevents headaches when climbers need support.
Follow the Sun: Design Around Light and Shade Patterns
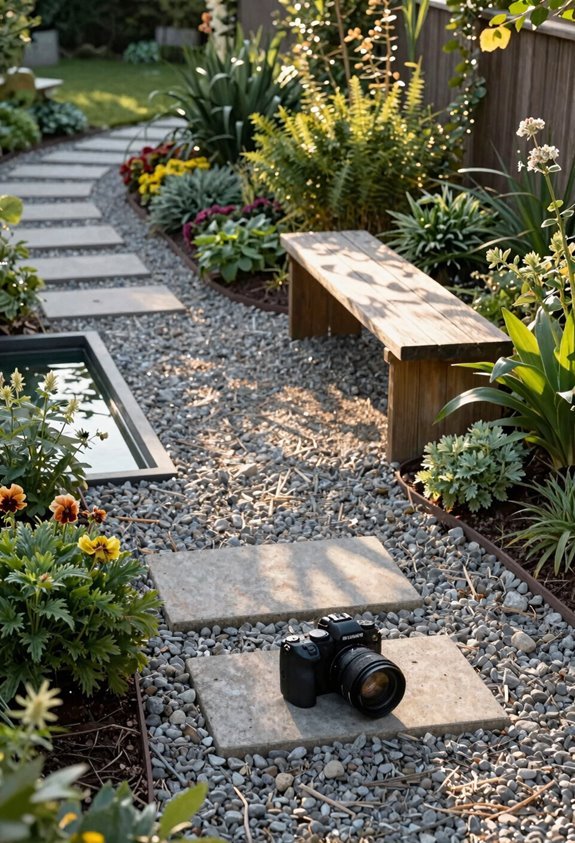
I track sunlight before I dig a single hole. Mapping sun exposure reveals microclimates that shape every choice I make. I note where south-facing walls trap warmth. I spot shaded pockets that crave shade-tolerant ferns and hostas. I place veggie beds and patios where light lingers longest. I reserve cooler zones for climbers that do well without direct sun.
- Map Your Light: Spend one day tracing shadows. Mark morning, noon, and evening sun patterns. Identify your garden’s microclimates before buying plants.
- Match Plants to Zones: Plant tomatoes and roses in full sun. Tuck shade-tolerant astilbe and heuchera under trees.
- Plan for Seasons: Track how winter sun shifts. Make sure seating stays usable year-round.
- Brighten Dark Corners: Paint fences white. Install light-colored paving. These reflective elements amplify available light.
Zone Your Garden for How You’ll Actually Use It
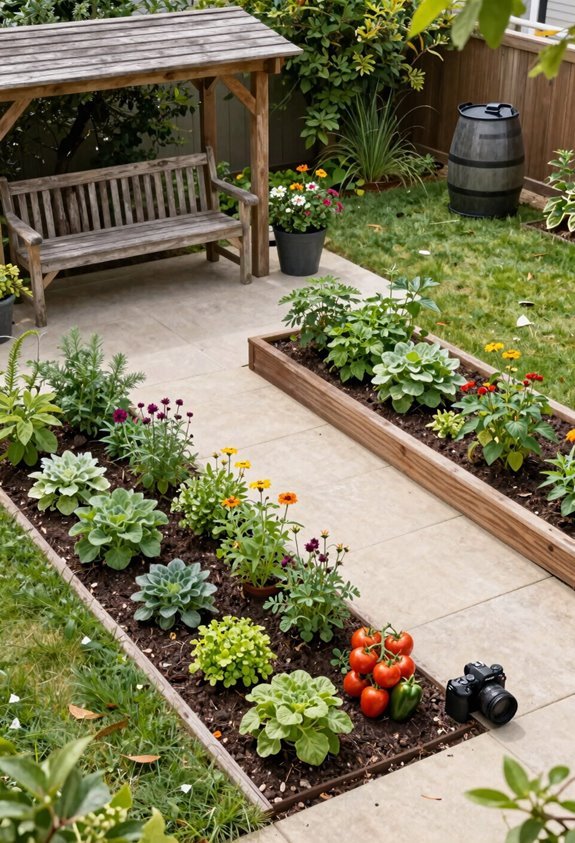
I start by sketching my yard on graph paper, marking fixed features like trees and sheds first. Then I carve out specific zones for eating, growing food, and kids’ play based on how my family spends time outside. I connect these areas with clear paths so moving between the grill, garden beds, and lawn feels natural.
Map Your Space
Before you plant anything, grab a notebook and draw your yard’s layout. Mark your patio, large tree, and fence lines. Track sun patterns across the day. Note where light hits and where shade lingers. These details reveal microclimates that shape every choice you make.
I’m working with small spaces too, so I’ve learned that a simple non-scale sketch beats a perfect plan. The layout keeps me honest about what fits.
Here’s how I build my zones:
- Map Fixed Elements: Measure permanent features. Record fence aspects. Mark wet or dry spots. Your soil health and drainage matter more than any plant choice.
- Split Into Zones: Divide for seating, borders, storage, compost. Give each a clear job.
- Place Functions First: Seat near doors. Put herbs close to kitchens. Keep paths wide.
- Plan For Change: Use movable pots. Size borders to shift. Leave testing room.
Define Activity Zones
I’ll split my space into clear areas for different jobs. I create zones for potting, family seating, lawn, sunny patio, and veg or play space. Each zone serves one purpose.
I place seating near the house for kitchen access and shade. I map sun and shade patterns across the day. I put veg beds in full sun. I tuck shade-loving plants where light drops.
I build my layout around hard features first. I set patios, decking, and walls before planting. I reserve storage and compost spots early. This defines boundaries and cuts clutter.
I check water access for each zone. I move between kitchen, dining, and outdoor areas without obstacles. My garden works because every space has a clear job.
Plan for Flow
A garden works best when zones connect logically. I’ll walk you through creating zone flow that makes your space feel like home.
1. Map your sun exposure first
Track light patterns for three days. Place sun-loving zones where rays hit longest. Shade your seating areas naturally.
2. Position hard features early
Set patios, paths, and sheds before planting. This prevents root damage later. Keep sheds off prime sunny ground.
3. Align sightlines from your windows
Frame views you’ll see daily. Stack zones so kitchen overlooks dining patio. Connect food areas to storage with short paths.
4. Sequence your build
Install hard features, then borders, then furniture, finally plants. This cuts rework. Your zone flow builds naturally from core to edges.
Put Hard Landscaping First: Patios, Paths, and Boundaries
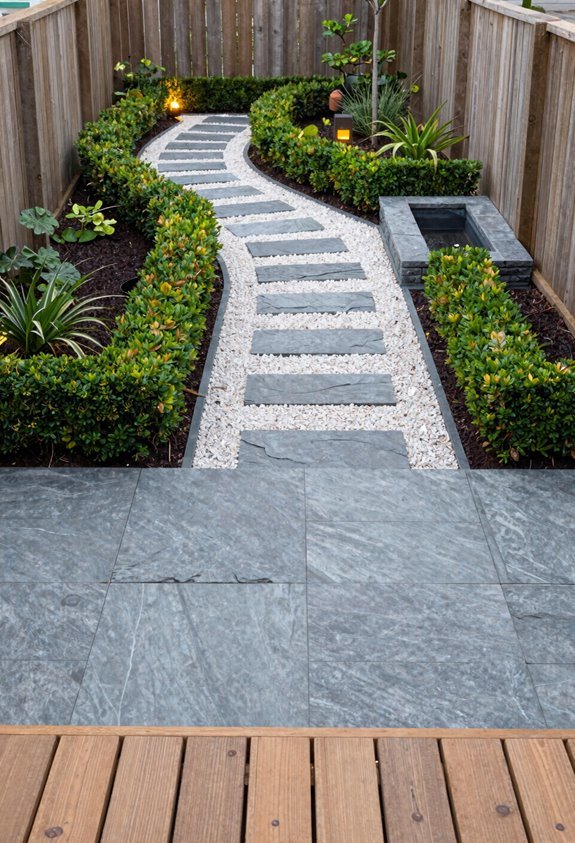
I always build patios, paths, and fences before adding any plants to create a solid framework for the garden. Install lighting conduits and junction boxes now, since wiring trenches disrupt established beds later.
Replace old fencing first so climbing roses or clematis can establish roots and cover the new structure within one growing season.
Prioritize Hard Features
Beginner’s guide to residential landscaping.
I prioritize hard features first. Patios, paths, and walls establish your layout. This prevents conflicts later. You’ll thank yourself when planting day arrives. Belonging starts with a solid foundation. Build spaces that feel like home.
1. Define your zones
Hard features shape how you move and gather. Place patios where sun hits longest. Position walls to block wind or create privacy. These structures anchor your garden’s identity.
2. Replace fences early
Install new boundaries before planting climbers. Your vines need time to establish. A head start guarantees coverage.
3. Consider lighting placement
Mark where fixtures and power lines will run. Decide if you need an electrician on site.
4. Finish structural elements
Complete borders, furniture, and large items. Then you plant without disruption.
Plan Lighting Early
I’ve planned outdoor lighting during the hardscaping phase for years. You need to map wiring routes before patios set in concrete. Outdoor illumination turns evening spaces into usable rooms.
Plan lighting placement when trenching for drainage or power. This saves money and prevents surface cable hazards.
| Lighting Zone | Wiring Requirement |
|---|---|
| Patio seating | 240V circuit, IP65 rated |
| Path edges | Low voltage, 12V transformer |
| Steps | Recessed LED, load-bearing |
| Water features | RCD protected, armoured cable |
| Boundaries | Solar or mains, motion sensor |
Safety depends on burying cables at 50cm depth. Mark routes on plans. Electricians cost less when trenches stay open.
Position lights for tasks first. Ambience follows. Test switches from house exits. Dark gardens exclude you. Light invites you back outside.
Replace Fences First
Once wiring routes are set, you tackle the bones of the garden.
I replace fences first. This lets climbers establish early on new structures. They grow faster with less root disturbance later.
Hard landscaping comes before planting planning. Patios, paths, and boundaries create stable zones. You avoid redoing work when plants are in the ground.
- Swap old fences early: New posts and rails give climbers fresh support for vertical coverage.
- Finish decks and walls next: These fixed elements define spaces for later design.
- Set large furniture in place: This prevents conflicts with climbing plants and new beds.
- Start planting last: Early hard landscaping simplifies maintenance and reduces rearrangements.
Your garden’s skeleton must stand firm before green growth takes over.
Add Height and Privacy With Fences, Walls, and Climbers
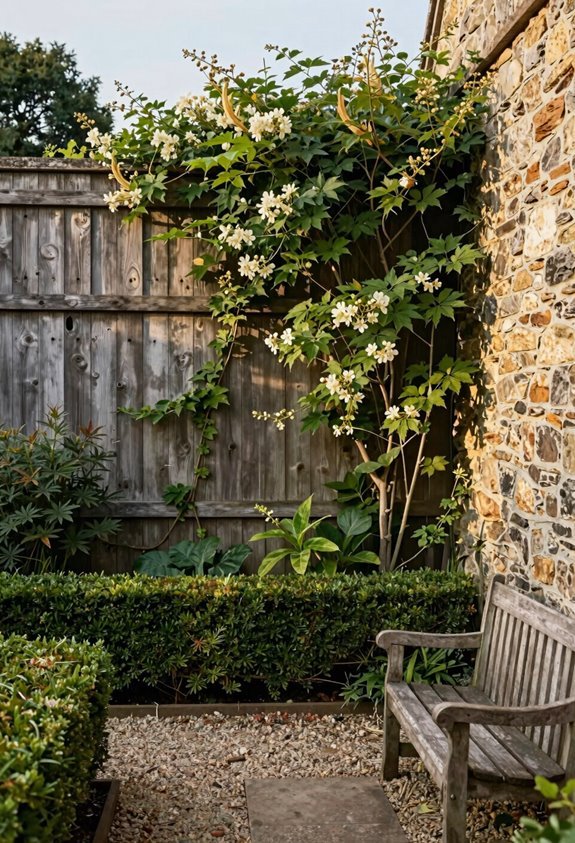
Replace fences before climbers need support. I time my replacements early so plants establish fast and give me privacy sooner. Evergreen climbers on fences or walls block views year-round. Rambling roses add seasonal color without losing structure.
| Element | Purpose | Best Placement |
|---|---|---|
| Tall back plants | Height in borders | Rear of planting beds |
| Obelisks | Vertical support | Center of borders |
| Evergreen climbers | Year-round privacy | Fences and walls |
| Hedges | Windbreaks and rooms | Property edges |
I use tall plants like alliums and lilies to build height in borders without spreading outward. Gates mark stopping points. I match fence scale to garden size.
Walls and hedges create rooms. They define spaces and keep seclusion intact. View stays directed inward.
Pick a Simple Color Palette That Unifies Your Design
I keep my planting palette tight and purposeful. Cool blues push the back boundary outward while warm reds pull focus forward. Repeating these color threads through every bed knocks out clutter and builds rhythm I can see from any angle.
Color Theory Basics
Where do you start when picking garden colors? I start with a soft palette that brings color harmony to every bed.
A unified color palette helps me avoid a “bitty” look. It also makes maintenance easier.
I use these basics for cohesive planting:
- Cool colors recede. Blue and purple plants push back borders. Red and orange pull features forward.
- Match your house. I pick border plants that complement my home’s exterior.
- Repeat colors. I use the same hues across zones. This ties everything together.
- Restrain the range. Pale yellows, creams, whites, and lime greens relax the eye.
I plan my color palette before buying plants. This prevents costly mistakes and builds a garden that feels connected and calm.
Restrained Palette Benefits
Because I’ve limited my garden to a tight color family, every bed now reads as one connected space. You get palette cohesion by repeating a limited color scheme throughout borders and beds. A restrained palette cuts visual clutter. It stops your garden from looking bitty or amateur.
Practical Effects
Pair your scheme with an evergreen backbone. This maintains color unity year-round. Cool blues and purples push boundaries back. Warm reds and oranges bring features forward.
Soft yellows, creams, and lime greens rest the eye. Blues, greys, and deep reds also support calm. Consistent textures reinforce the effect.
Maintenance Payoff
Color unity makes care simpler. You spot out-of-place plants fast. Your garden looks planned, not patched together. Visitors sense you belong here.
Unified Design Impact
A simple color palette pulls your whole garden together. I stick to a unified palette to avoid a cluttered look. Cool blues and purples push distant borders back. Warm reds and oranges pull beds forward. This shapes how big your space feels.
- Pick cohesive borders. Match edge plantings to your main scheme. This ties everything into one flow.
- Build with repeating shapes. Use the same leaf forms and bloom silhouettes again and again. Repetition knits beds and containers together.
- Place focal color accents. Drop bright lime green where you want the eye to land. One sharp note wakes up soft tones.
- Balance near and far. Keep softer hues close to the house. Strengthen colors in back borders. This steadies your viewlines across the yard.
Arrange Plants by Height for Instant Structure
When I plan a border, I always start by sorting plants into three simple height groups. Tall plants go at the back, mid-height plants fill the middle, and short plants anchor the front. This layering creates instant depth and makes maintenance easier.
I place tall border plants like alliums, agapanthus, or lilies against the rear edge. This prevents shading and keeps every plant visible. Evergreen shrubs form the backbone for year-round structure. I layer seasonal perennials and deciduous shrubs in front for changing color.
Vertical elements add height without widening borders. I use obelisks or train small trees upward to draw the eye.
I plan border depth carefully. Taller specimens need room to grow without crowding shorter neighbors. This spacing keeps plants strong and creates continuous seasonal interest from front to back.
Choose Plants That Suit Your Soil: Without the Science
Once you’ve arranged your plants by height, check what you’re actually growing them in. Your soil determines which plants succeed without constant struggle. I’ve learned that matching plants to soil saves time and money.
- Test your soil pH. Buy a simple kit at any garden center. Acid-loving plants like rhododendrons need acidic soil. Blueberries fail in alkaline ground.
- Match moisture needs. Hydrangea wants moisture-rich soil. Lavender and thyme need drier conditions. Check plant tags before buying.
- Add compost before planting. Spread two to three inches across your bed. Mix it into the top six inches of soil. This builds the foundation for strong roots.
- Apply mulch after planting. Use two inches of wood chips or straw. Mulching keeps moisture steady and brings worms. Worms improve soil texture naturally.
Place Seating Near the House for Everyday Enjoyment
Why walk farther than you need to? I position my seating area close to the house for everyday use. This gives me quick outdoor dining and relaxation without the trek.
I place my seating in a sunny spot for warmth. I add a parasol or pergola when I want shade. This keeps me comfortable through the day.
I design boundary features or topiary nearby. This cuts visual clutter around my zone. I include space for a table and room to move. I keep pathways clear for ease of access from the house.
I add scented plants in pots near my seat. Lilies and geraniums boost my sensory experience while I sit.
Start Small: Your First Garden Design Won’t Be Your Last
A beginner garden needs restraint. I’ve learned that my first small garden taught me more than any book could.
You don’t need to plan a garden that’s perfect forever. You need design ideas that grow with you.
Sketch your space
Grab a notebook. Map fixed features like patios or trees. Don’t worry about scale. Capture ideas fast.
Watch your sun
Track light patterns for one week. Place seating where you’ll actually use it. Match plants to real conditions.
Build your soil
Dig in compost before planting. Improve drainage now. Healthy dirt fixes most problems later.
Zone your layout
Create modular areas: potting bench, seating nook, veg patch. This keeps your small garden manageable.
You’ll revise everything next year anyway.





