
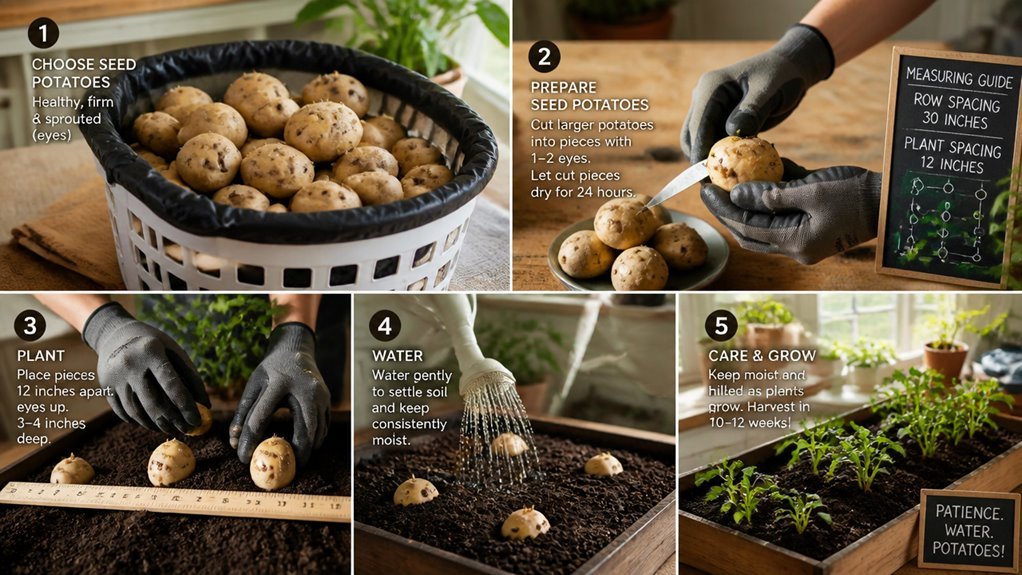
Small spaces yield big harvests when you use the right container.
I’ll show you how a standard laundry basket becomes a potato planter with six quarter-inch drainage holes, four inches of light potting soil, and seed potatoes cut to one eye per piece.
The method stacks soil in layers as sprouts grow.
You need to know the exact timing for each step.
Choose a Laundry Basket and Drill Drainage Holes
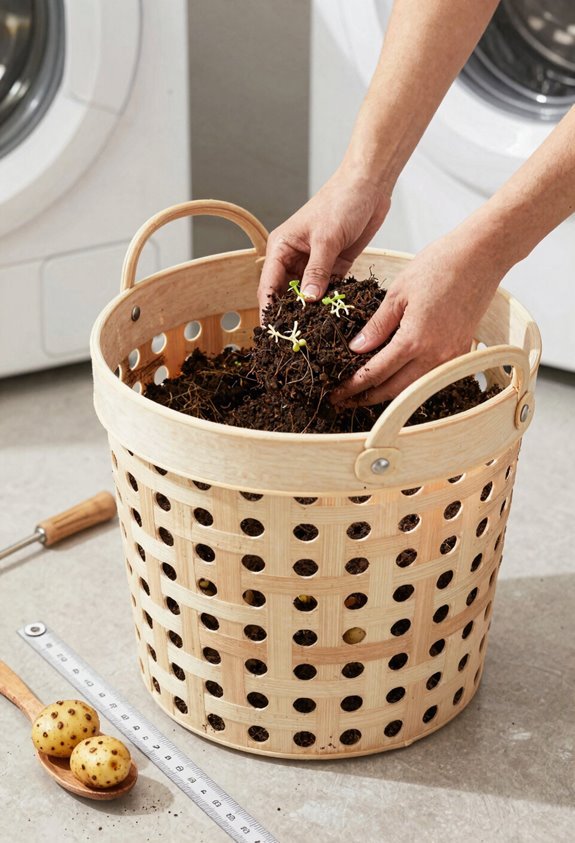
I pick a laundry basket that fits my space. Tall baskets give me more soil depth for bigger harvests. Short baskets work for small areas but hold fewer tubers.
I drill drainage holes in the bottom. Water must escape or roots rot. I make six to eight holes, each a quarter-inch wide.
Drainage holes save roots from drowning. I drill six to eight quarter-inch openings so water escapes, rot stays away.
I add four inches of light potting soil. This depth supports early root growth. I line the basket with newspaper first. Soil stays put. Nothing washes through the holes.
I want you to succeed alongside me. The right basket builds our foundation. We start together, prepared.
Cut Seed Potatoes to Match Your Basket Size
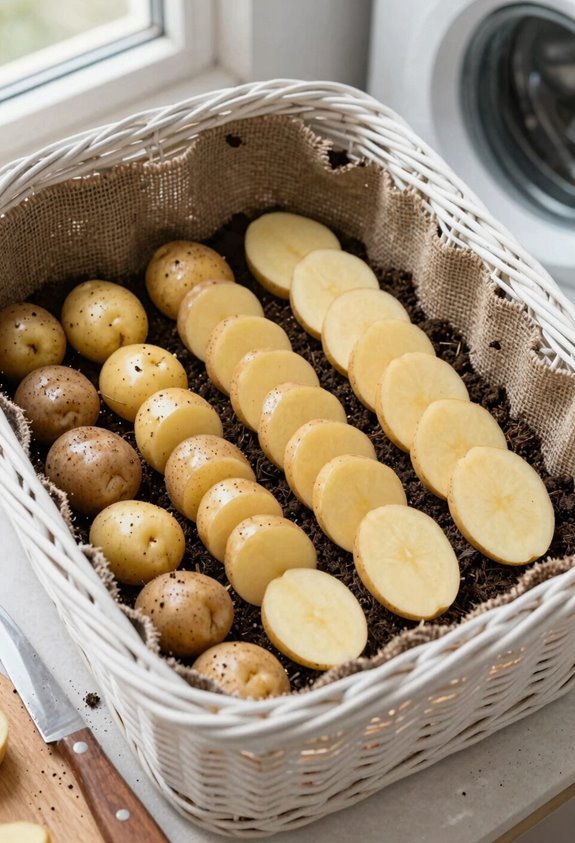
The right number of seed potatoes depends on your basket’s height and width. I use 3 to 5 seed potatoes for most basket planting setups. For tall baskets, I cut larger potatoes into smaller pieces to spread coverage without crowding.
Here’s how I prepare my cut potatoes:
- Cut two potatoes per basket with two eyes each if that fits your capacity
- Make sure each piece has one viable eye before setting it aside to callus
- Keep cut pieces dry and stored briefly to prevent rot before soil contact
I never plant fresh-cut potatoes wet. I let them sit until the cut surface hardens. This step protects your crop. Properly sized seed potatoes make basket planting work. Match your cuts to your container. Your potatoes will grow better.
Layer Newspaper, Soil, and Tubers for Planting
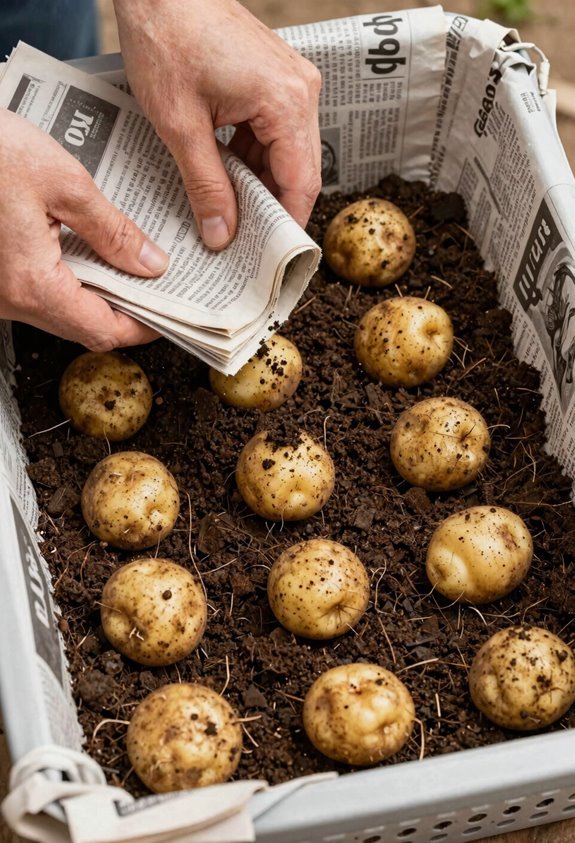
Before I add any soil, I drill drainage holes in the basket bottom. This lets water escape and air reach the roots.
I line my laundry basket with newspaper or straw. This holds the soil steady and improves airflow. I add 4 inches of light, well-drained potting soil. I place 3 to 5 seed potatoes with eyes facing up. I cover them with 3 more inches of soil.
Layering soil this way gives my potatoes room to grow. I keep the soil level 4 inches below the basket rim. This leaves space for later additions. My setup is ready for sprouts to emerge.
Add Soil Every Few Weeks as Sprouts Grow
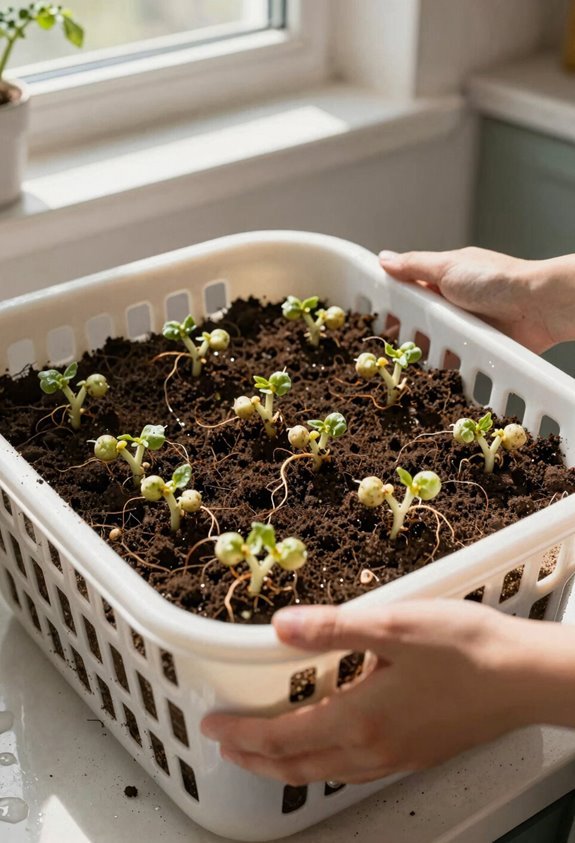
Potato sprouts hit six inches tall in a few weeks. I add more soil then, and I keep going until my basket’s nearly full. Hilling’s how I get more potatoes from this container setup.
Hilling’s how I get more potatoes from this container setup.
- Add soil gradually: I layer in dirt a few inches at a time, not all at once. This lets stems keep growing upward.
- Keep soil nearby: I stock extra dirt close by. I don’t want delays when stems need covering fast.
- Water after each layer: I soak the new soil lightly. This settles it and keeps moisture steady for tubers below.
I stop hilling when soil reaches about four inches from the rim. This prevents basket buckling and keeps my potato vines healthy through the rest of the season.
Dump Your Basket and Sort the Harvest
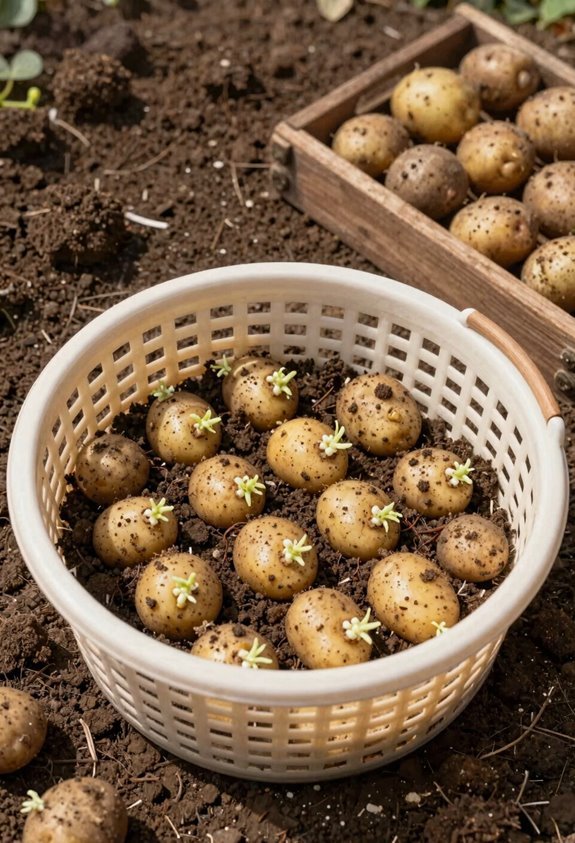
I wait for dry weather to dump my basket. I invert the laundry basket onto a flat work surface. I shake out soil and tubers together. I remove dirt gently with my hands.
Harvest Sorting
I sort potatoes by size and maturity. Early new potatoes measure two inches or less. Mature potatoes grow four to six inches. I separate damaged tubers from clean ones. I discard diseased potatoes into compost or trash. I keep only firm, unblemished tubers.
Potato Storage
I store unwashed potatoes in a cool, dry, dark place. My storage temperature stays between 35 and 40 degrees Fahrenheit. I avoid washing until use. Clean potatoes spoil faster. Proper potato storage extends shelf life for months.





