
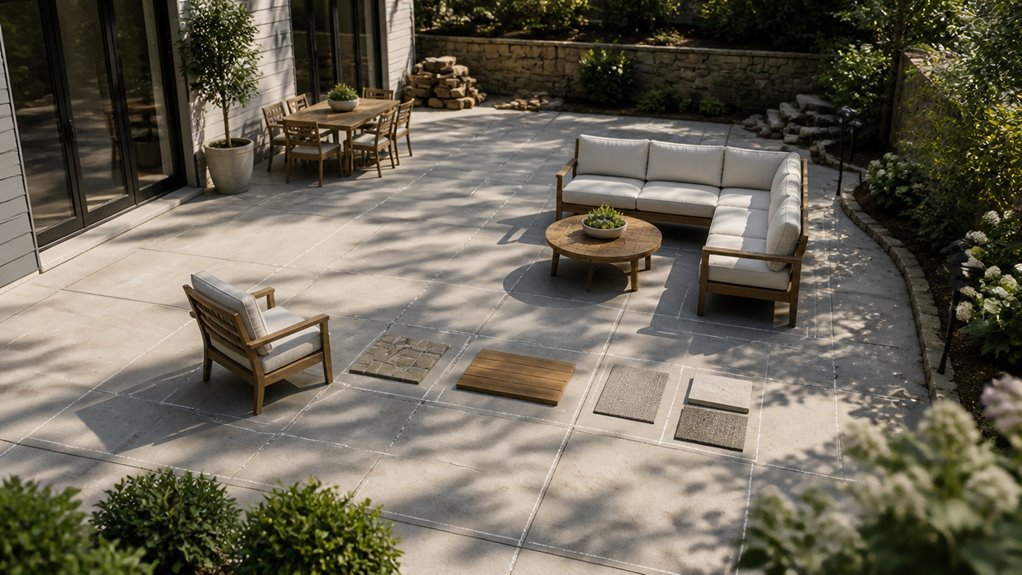
I measure every patio I design.
Last spring, I needed 288 square feet for a six-person dining set plus two lounge chairs.
That homeowner skipped this step.
Their furniture barely fit.
I’ll show you how to mark immovable objects, test sun patterns at 10 a.m., 2 p.m., and 6 p.m., and leave three feet of walking space between zones.
Your sketch determines everything.
Start With How You’ll Actually Use Your Patio
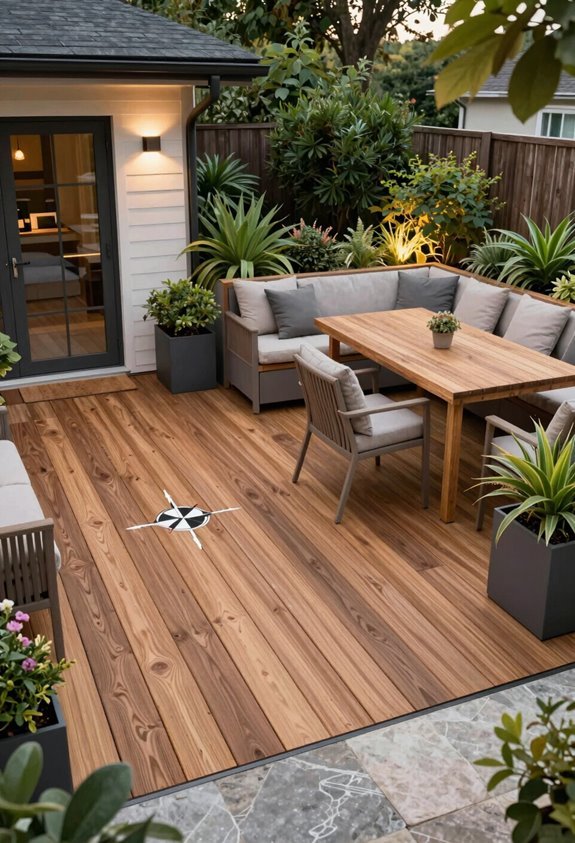
Why guess what you need when you can plan it right? I start every patio layout by naming my top three activities. Maybe it’s outdoor dining, lounging, and kids’ play. These choices shape everything.
I create zoning zones that match real life. I want outdoor seating for big cookouts and separate nooks for quiet nights. I don’t mix these spaces. I give each one breathing room and clear paths between them.
I set aside pavers for cornhole or a board game corner. I pick a freestanding grill or a full outdoor kitchen with bar stools based on how much I cook. I add a pergola, shade sail, or patio heater. I plan for four-season use from day one.
Measure Your Space and Sketch a Rough Layout
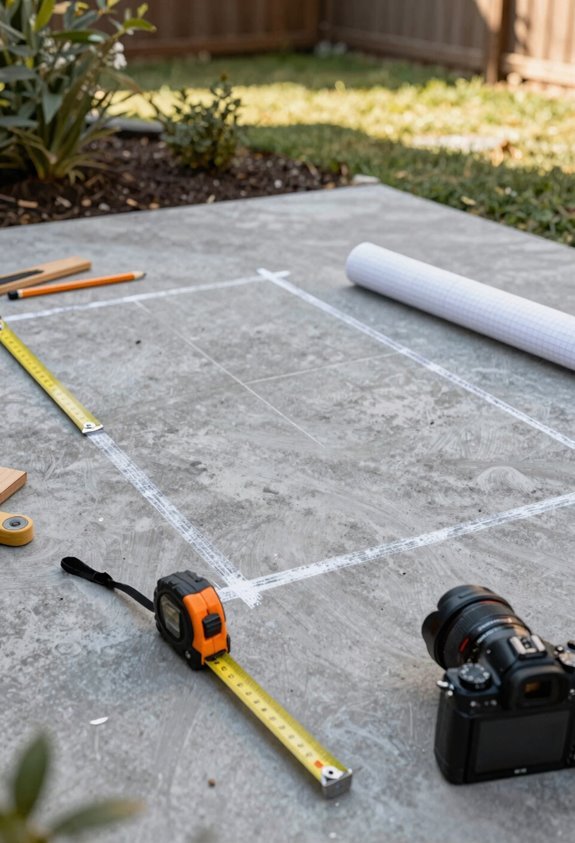
Once I know how I’ll use my patio, I grab a tape measure and get to work. I measure the entire space to establish a true footprint for layout planning.
I create a rough paper sketch of the layout, noting immovable objects like windows, doors, hose bibs, and existing features that affect placement. I consider sun and shade patterns throughout the day to position seating and shading accordingly. I make sure measurements account for furniture size and clearance to avoid crowding and allow comfortable movement. I use cut-out paper shapes on the sketch to visualize scale and test different furniture arrangements before purchase.
- Measure everything twice. Accurate numbers prevent costly mistakes later.
- Mark permanent fixtures. Windows and doors dictate your layout options.
- Track the sun. Morning and afternoon light patterns guide placement.
- Plan for breathing room. Add two feet around furniture for easy walking.
- Test with paper cutouts. Move shapes around until the space feels right.
Solve Tricky Slopes Before Finalizing Your Design
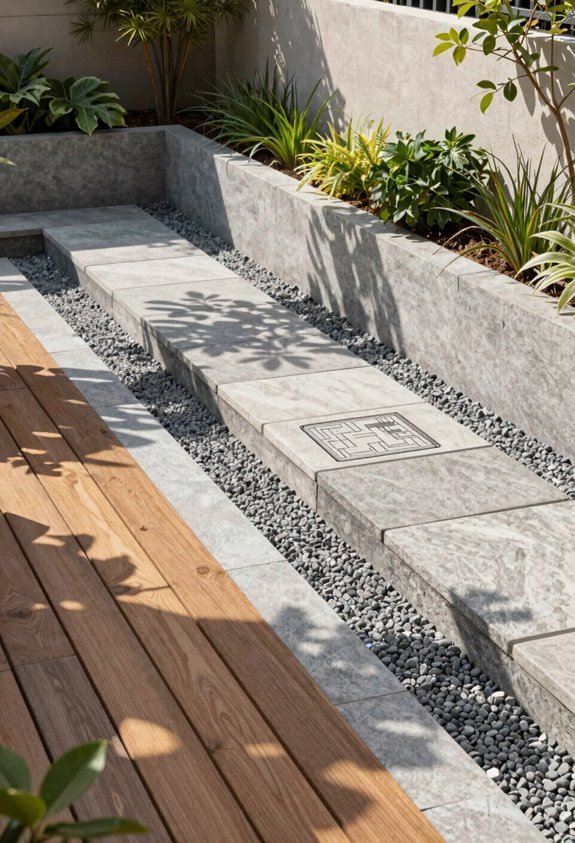
I assess the slope severity first using a line level or laser to measure grade changes across my planned patio area. I choose retaining solutions like segmental concrete walls or tiered systems to turn steep ground into stable, usable space.
I plan tiered levels with 6- to 8-inch risers and 12-inch deep treads to create distinct zones for cooking and relaxing.
Assess Slope Severity
A practical first move: measure the vertical drop across your planned patio area with a laser level or water level. Check slope severity by calculating vertical fall over distance. Gentle slopes run under 2%. Moderate slopes hit 2–5%. Steep slopes top 5%. This shapes grade planning.
Mark high and low points across the footprint. Aim for drainage sloping away from the house at 1/4 inch per foot minimum. This stops water pooling near the foundation.
- Measure vertical drop. Use a laser level or water level for accuracy.
- Calculate slope percentage. Divide rise by run to classify severity.
- Mark high and low points. Map the entire patio footprint.
- Plan drainage slope. Make sure there’s 1/4 inch per foot away from the house.
- Note steep areas. Flag slopes over 3–4 feet for later solutions.
Choose Retaining Solutions
These concrete block systems stabilize slopes and carve out flat, usable patio space. I use segmental retaining walls built from durable concrete blocks to hold back soil and create level areas for entertaining.
Manage Water and Slope
I always check terrace grading behind walls to direct water away. Concealed drainage prevents buildup and erosion that could damage the structure over time.
Select Matching Components
I pair retaining walls with havior stair units for safe transitions between levels. Bullnose edges finish steps cleanly. I choose product lines like Tribute Splitface Wall Systems that match the slope conditions and design style. Multiple levels form distinct outdoor rooms without complex construction.
Plan Tiered Levels
With retaining solutions in place, I map out how elevation changes work in your favor. Tiered levels turn your sloped yard into distinct outdoor rooms where everyone gathers comfortably.
—
Stabilize Slopes
Use segmental retaining walls with durable concrete blocks to create flat terraces that won’t shift over time.
—
Define Outdoor Rooms
Break elevation into multiple levels for separate entertaining, games, or cooking zones.
—
Maximize Space
Extend your patio through strategic excavation or fill behind retaining walls to capture every usable square foot.
—
Build Safe Steps
Align stairways with paver staircases featuring stable treads and uniform 6-8 inch riser heights to prevent erosion and trips.
—
Match Your Design
Select products like Tribute Splitface Wall Systems that fit your slope conditions and maintain visual flow across tiered levels.
Zone Your Patio for Dining, Lounging, and Play
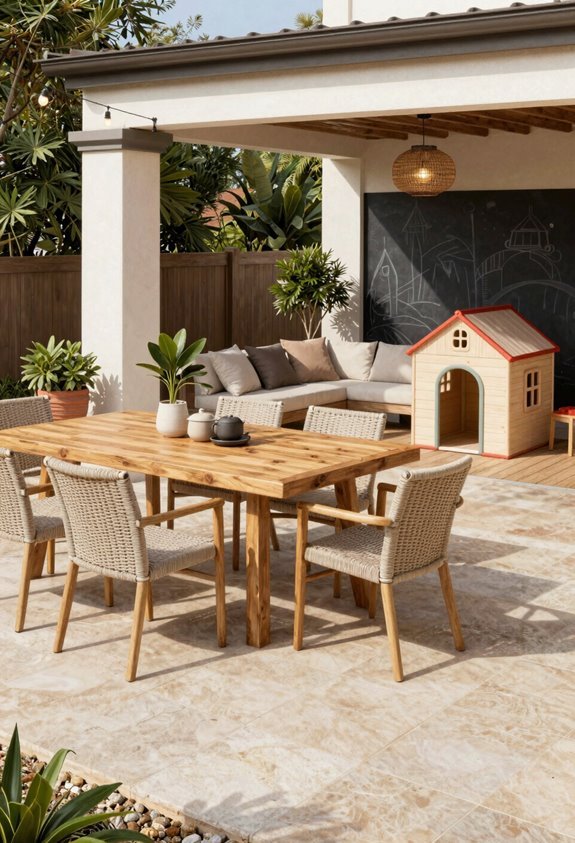
Dining Zone
I place this near my kitchen door. Moving food stays simple. Cleanup stays quick. My table sits four feet from any traffic path so chairs slide without blocking walkways.
Lounging Zone
I build this around one anchor: a fire pit, small fountain, or wall-mounted screen. My seating faces inward. Conversation flows naturally. This zone sits apart from my dining area so smells and smoke don’t mix.
Play Zone
I reserve flat, open ground for cornhole, ring toss, or giant Jenga. Turf stays protected. Furniture stays safe.
I connect these areas with paver walkways two feet wide. Gentle steps mark changes in elevation. Movement stays clear. Space stays defined.
Link Your Patio to Driveways, Gardens, and Entryways
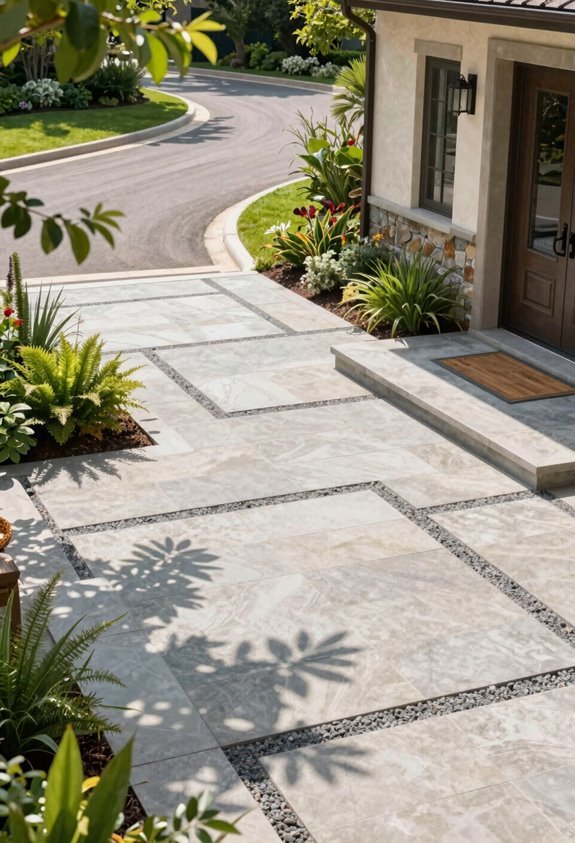
I’ll show you how to build paver walkways that connect your patio to driveways, garages, and garden beds while keeping water away from your foundation. You’ll learn to match bullnose pavers and color step units for unified transitions between spaces.
I’ll also cover elevation bridging with concrete steps or paver staircases for safe, level access throughout your yard.
Strategic Pathway Connections
Your patio becomes functional when it connects to the places you actually use. I build paver walkways that link your space to driveways, garages, sheds, and other patio sections. These pathways define movement and protect your lawn from wear. I design drainage and slope to direct water away from your foundation.
– Paver Walkways
*Author: Your Design Process*
Create defined routes between spaces. Match materials to your patio for visual unity.
– Steps and Stairs
*Author: Your Design Process*
Bridge elevation changes with concrete steps or paver staircases. Maintain uniform 6-7 inch riser heights.
– Borders and Bullnose
*Author: Your Design Process*
Use matching color borders to unify patio edges with adjacent pathways and steps.
– Multi-Tiered Design
*Author: Your Design Process*
Break elevation into usable outdoor rooms with retaining walls.
– Drainage Planning
*Author: Your Design Process*
Slope pathways 1/4 inch per foot away from structures for proper runoff.
Functional Flow Design
I connect your patio to driveways, garages, sheds, and other sections with paver pathways. These pathways define movement and protect your turf from foot traffic wear.
Elevation Handling
Bridge level changes with matching bullnose pavers and step units. This creates safe transitions between outdoor living areas.
Zoning Strategy
Break your space into zones for dining, lounging, and cooking. Link these zones with continuous pathways that guide traffic naturally.
Sightline Alignment
Align pathways with views from the house. Make sure there is clear access to entry doors and garden access points.
Drainage Planning
Slope all connecting paths away from the foundation. Use a minimum 1% grade for proper water management and long-term durability.
Unified Aesthetic Transition
Where does your patio end and the rest of your property begin? I blend these spaces through cohesive transitions that make your whole yard feel like home.
– Paver Walkways
Run 4-foot paths from patio to driveway, garage, or shed. Match the pattern to your patio layout for unified circulation.
– Stair Alignment
Set paver risers and treads in identical colors. This bridges elevation gaps without visual breaks.
– Color Echoing
Pick herringbone or running bond patterns that repeat your home’s trim tones. A unified aesthetic starts here.
– Border Definition
Add contrasting soldier courses along edges. These lines separate spaces while keeping the look integrated.
– Nighttime Links
Space bollard lights every 6 feet. Add accent LEDs and outdoor rugs to tie gardens and entryways together after dark.
Pick Pavers That Last Without Sacrificing Style
Selecting the right pavers demands attention to both durability and visual cohesion. I want you to get this right the first time.
Dimensional Compatibility
Choose pavers with uniform sizes. This cuts installation time and reduces waste. You’ll spend less on labor and materials.
Climate-Ready Performance
Check freeze-thaw ratings for your region. Cold climates need pavers that withstand temperature swings without cracking.
Protective Sealing
Pick factory-sealed pavers with Sentinel Sealed Technology. This gives consistent protection and simplifies long-term maintenance.
Edge Cohesion
Use bullnose pavers and matching step units. These create safe, uniform transitions around your patio perimeter.
Material Selection
Favor concrete pavers or natural stone. Both deliver durability with minimal ongoing maintenance. You get lasting results without constant upkeep.
Use Color, Pattern, and Built-Ins to Elevate the Design
Why settle for flat when you can build depth? I layer color and pattern throughout my patio layout to create spaces that feel intentional and welcoming.
I anchor with cohesive pavers, selecting colors that complement my home’s exterior. Deep charcoal paired with soft beige delivers modern contrast.
I choose modular systems. Three-piece options like DISCOVER and VANTAGE lines let me build herringbone or running bond patterns without complexity.
I define zones with pattern shifts, switching layouts between dining, lounging, and fire pit areas to guide foot traffic naturally.
I frame with borders, adding textural contrast using smooth borders around textured pavers for clean structure.
I protect my investment, specifying Sunbrella fabrics and weather-resistant decor to maintain colorfast vibrancy across cushions, rugs, and accessories.





