
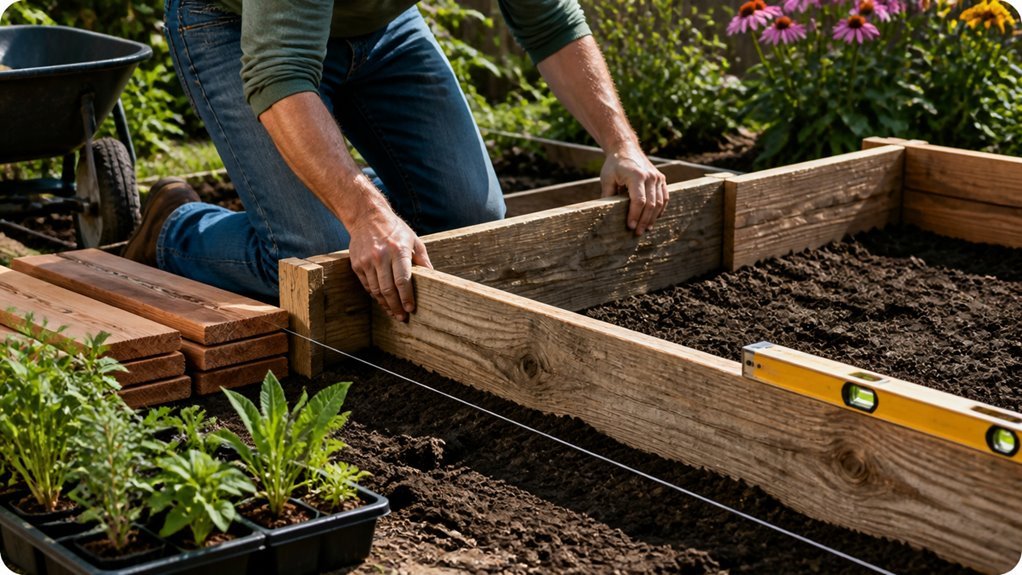
I build raised beds to solve poor soil and back strain, not to follow trends. A 4×8-foot frame at 16.5 inches height holds 44 cubic feet of mix. You need redwood 2×12s, 4×4 posts, ½-inch hardware cloth, and exterior screws.
Most DIYers underestimate lumber costs and overestimate their drainage plans. The next steps cover precise measurements you will actually use.
Why Build Raised Beds? Benefits, Costs, and Whether DIY Fits You
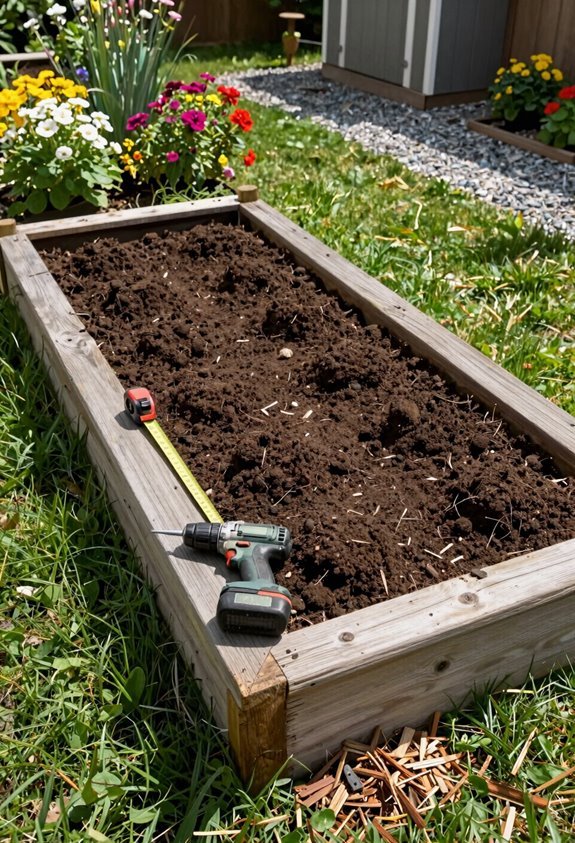
You need better soil control and less back strain. Raised beds deliver both. I built mine to escape heavy clay and waterlogged ground.
Raised beds give you soil control and back relief—exactly why I built mine to escape heavy clay and waterlogged ground.
The benefits stack up fast: you control soil quality from day one, roots breathe easier, and drainage problems disappear. Your back thanks you too. No more crawling on hands and knees.
Costs run $100–$300 per bed plus soil. I spent under $200 on my first setup using timber, corner brackets, and hardware cloth. Redwood frames last years. Landscape fabric blocks weeds. Deck screws hold everything tight.
DIY feasibility depends on your tools and time. I had a drill and a Saturday. You probably do too. Build one bed first. Test the work. Expand later if it fits your routine.
Size Your Bed Right: 4×6, 4×8, and Height Rules That Actually Work
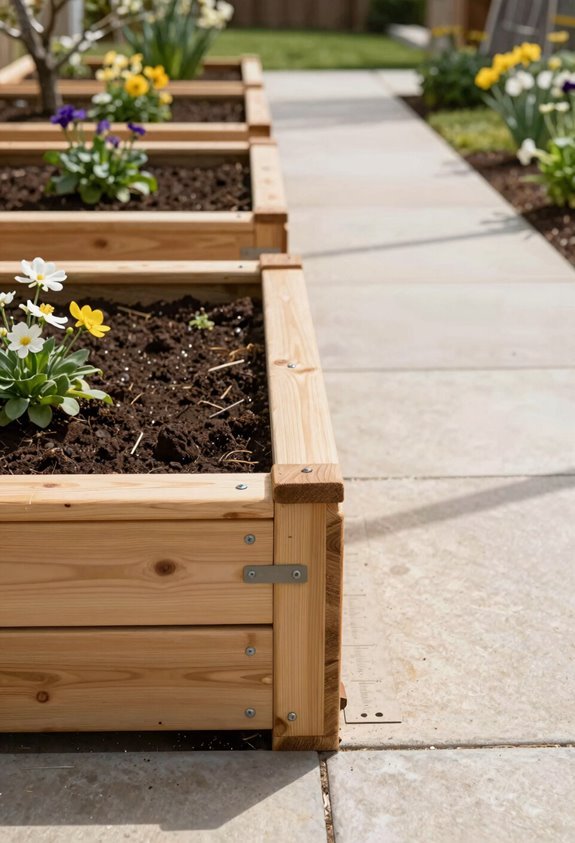
I stick to 4×6 or 4×8 foot beds because I can reach the center from any side without stepping on soil. I keep widths under five feet for comfortable access and set heights at 16–20 inches for ground placement or 18–24 inches on hard surfaces. These standard sizes make cutting lumber simple and help me plan soil volume and irrigation with confidence.
Optimal Bed Dimensions
Common practical sizes are 4×6 feet or 4×8 feet with 16.5-inch heights.
Raised Bed Dimensions
I recommend 4×6 or 4×8 foot footprints for most gardens. A 4×6 uses three 2×6 boards stacked with 4×4 corner posts. A 4×8 needs added side bracing for span strength.
Bed Width
Keep bed width under five feet. This lets you reach the center without stepping into soil. Orient beds north-south for maximum sun exposure throughout the day.
Bed Height
Target 12 inches on grass or dirt. Build 18–24 inches on concrete or pavement for comfortable working height.
Accessibility Spacing
Leave 28–36 inches between beds for walking and wheelbarrow access. Use 36–48 inches if you want easier maintenance and turning space.
Height Considerations Explained
Why does height matter so much? It shapes how you work and what grows.
Raised Bed Height
Height changes everything. I build 4×6 beds at 16.5 inches for most setups. On grass or dirt, 12 inches works. On hard surfaces, 18 to 24 inches improves accessibility.
Bed Depth
Depth matches your crops. I use 12 inches for leafy greens and strawberries. I go 18 inches or deeper for fruit bushes and small trees. Deeper beds drain better and hold larger root systems.
Ergonomic Reach
Width controls your reach. I keep beds at or below 4 feet. You can touch the center from either side without stepping in. For 4×8 beds, I add middle-side supports to prevent bowing.
Accessibility
Elevated heights help gardeners with limited bending. Choose what fits your body and your plants.
Choose the Right Spot: Sun Patterns, Drainage, and Access
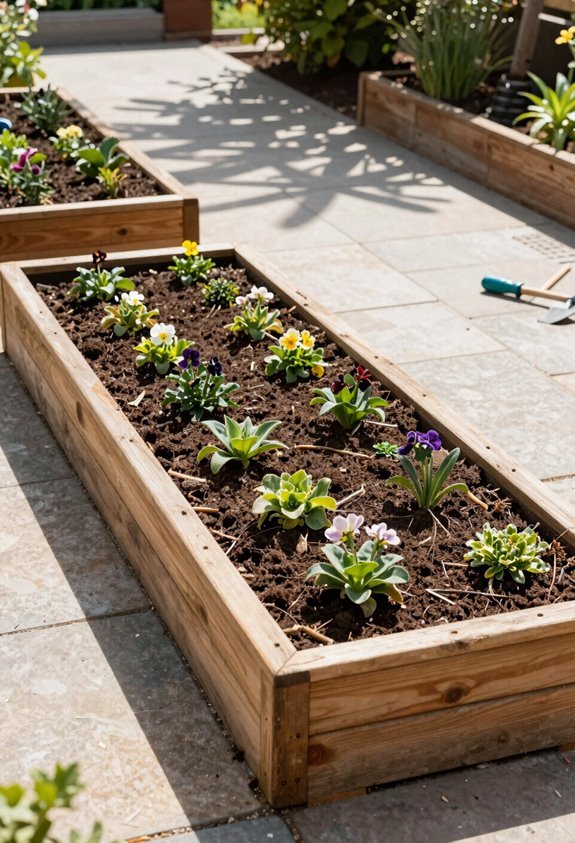
I place my beds where they’ll catch 6 to 8 hours of direct sun daily, and I keep them clear of tree shadows and building shade. I orient them north to south with the short sides east to west so sunlight hits evenly across the plants.
I space beds 28 to 48 inches apart for easy movement. I check the ground stays level with good drainage or I build on hard surfaces to control water flow.
Sun Exposure Requirements
Most vegetables need 6 to 8 hours of direct sun daily. I position my raised beds to capture maximum sun exposure. I avoid placing beds near trees, fences, or buildings that block direct sunlight.
I orient beds south-facing to catch morning-to-evening light in the northern hemisphere. I lay out beds north-south for even shading across plants. This reduces hot spots and prevents light competition between rows.
I maintain 28 to 48 inches of clearance around each bed. This spacing prevents structures from casting shadows on growing areas. I track sun patterns through all seasons if I garden year-round. I use simple sun-tracking tools to map light movement. Proper placement means my plants receive consistent, unobstructed rays for healthy growth.
Drainage and Accessibility
Good drainage keeps roots healthy and prevents rot. I place my raised beds on level, debris-free ground. I check underlying drainage before building. On hard surfaces, I add drainage holes or a rocky base. Water pooling damages plants.
Spacing Guidelines
Space beds 36–48 inches apart for accessibility. Use 28 inches minimum if space runs tight. This width lets me tend plants without straining.
Sun Tracking
I orient beds north, south. Shorter sides face east-west for even sun exposure. I track sunlight year-round using simple tools. This confirms my spot gets 6–8 hours of direct light daily. I avoid shade from trees and structures.
Final Checks
I verify measurements twice. I make sure drainage flows away from structures. I maintain clear pathways between raised beds. My garden becomes functional and easy to navigate.
Get Exact Lumber, Screws, and Tools: Your Complete Hardware List
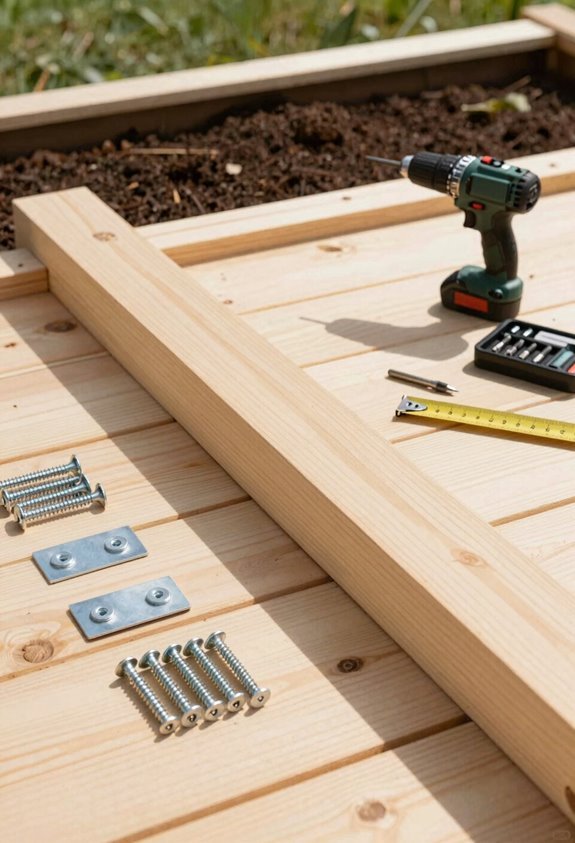
Lumber comes first. I stack three horizontal 2×6 boards per side with 4×4 corner posts. My typical bed measures 4×8 feet and stands 16.5 inches tall. Depth ranges from 12 to 18 inches based on your site.
I grab 2.5 to 3 inch deck screws for assembly. I place screws 1 inch from edges to stop splitting. Galvanized mending braces help on longer spans.
Hardware cloth lines the bottom beneath a weed barrier. Aviation snips cut the cloth to fit.
| What You Need | Why It Matters | What You Gain |
|---|---|---|
| Straight 2×6 lumber | Clean cuts, solid joints | Pride in your craft |
| Sturdy 4×4 corner posts | Square corners, no wobble | Trust in your build |
| Galvanized screws | Rust resistance, hold power | Peace of mind |
| Tight hardware cloth | Block pests, protect roots | Belonging in the garden |
I forecast needs by planning short sides first, then long boards, then braces.
Cut and Seal Wood: Measuring, Mitering, and Optional Protection
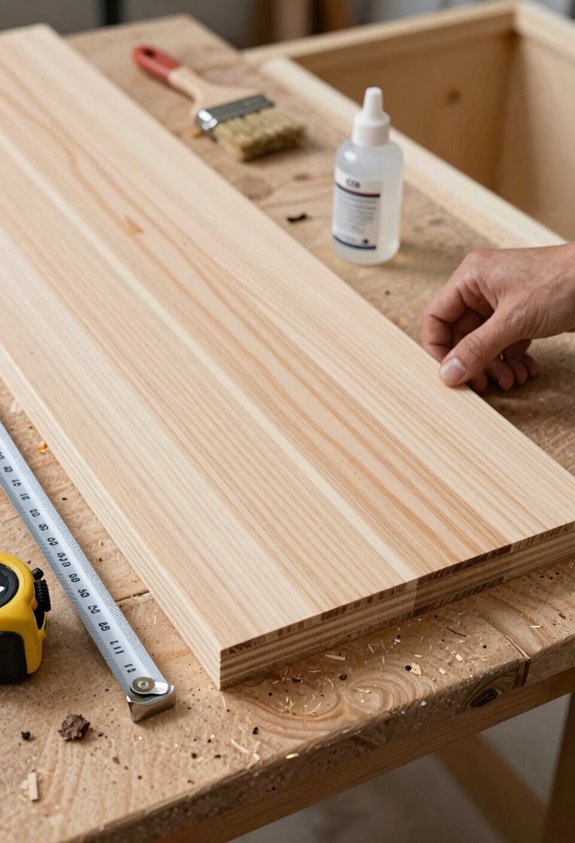
I’ll measure each board to the exact planned length, accounting for the extra 3 inches that interlocking sides add to final outer width. I mark cut lines with a carpenter’s pencil, then use a miter saw or circular saw for clean, precise cuts.
I apply a non-toxic exterior-rated sealer in two coats for durability, either before or after cutting.
Measuring Board Lengths
I start by cutting my long boards into shorter sides first. This gives me pieces to measure against when I’m cutting the remaining sides for my raised garden bed. Measuring lengths this way keeps everything matched up right.
Accounting for Assembly Width
My final outer width grows about three inches once sides interlock. I cut my short end boards three inches shorter than my target width. This offset accounts for the corner posts and overlapping joints.
Checking Corner Squareness
I verify corner squareness before attaching long boards. I measure the distance between inner corners of my 4×4 posts. Both diagonals must match. Equal measurements mean my corners are square and my cut boards will fit flush. I adjust now rather than fight gaps later.
Cutting Corner Angles
Boards measured and posts squared, I’m ready to mark my corner angles. I plan my cut angles by checking my measurement twice against the bed dimensions. I mark miters on the end boards to guarantee tight corner joints during assembly.
Setting Your Saw
I set my miter saw or circular saw to 45 degrees for square frames. I cut the shorter end boards first. I verify squareness between my two 4×4 corner posts before attaching long sides.
Dry-Fitting the Frame
I dry-fit pieces on a level surface. I recheck corner angles after minor board adjustments. I seal cut edges with non-toxic wood protector before assembly when possible. This prevents gaps in my final bed.
Applying Wood Sealer
Why risk rot when a simple coat adds years? I seal my exterior wood to protect what I’ve built. You can apply sealer before or after cutting. I prefer sealing first; it reduces handling complexity during assembly.
| Factor | Guidance |
|---|---|
| Sealer type | Water-based, non-toxic exterior wood formula |
| Application | Two coats on exterior surfaces only |
| Drying time | Wait for wood to dry completely after cutting |
I never seal interior surfaces. Soil contact matters for food safety. My non-toxic choice protects nearby edibles. I check drying time on the label; trapped moisture causes damage. Two coats give added protection. This step keeps our raised beds solid for seasons together.
Build the Frame: Assemble Short Sides, Long Boards, and Corner Supports
Where do you start? I lay two 4×4 corner posts parallel at my planned width for the raised garden bed frame. I place short 2×6 boards on top, flush with the outer edges of the corner posts. I attach each end with two 2.5–3 inch decking screws, keeping them 1 inch from edges.
Start with two 4×4 corner posts laid parallel, then top them with short 2×6 boards flush to the outer edges.
- Check squareness by measuring inner corner distances
- Build a matching second short side
- Verify both sides are parallel and equal
I repeat this process for the second short side. I confirm both sides match before moving to the long boards. This creates the skeleton of my frame, giving me solid corner posts at each end. The raised garden bed takes shape as I prepare to connect these structures with long boards.
Install Hardware Cloth and Barriers: Pest and Weed Prevention
I start by cutting hardware cloth to match my bed’s bottom dimensions, typically using ½-inch mesh in 36-inch or 48-inch widths. I secure it with wide-head screws or staples along edges. I overlap pieces when needed and staple or clamp them in the middle for continuous coverage without gaps.
Pest Control
I attach the cloth to the frame and corners. I check for loose spots that let pests intrude. I tuck edges under the frame to cover sharp points.
Weed Prevention
I lay landscape fabric beneath the bed first for weed prevention. I add hardware cloth on top or between layers. This blocks weeds and keeps drainage open. I use aviation snips for irregular cuts.
Level and Place Your Bed: Final Positioning Before Fill
Hardware cloth and barriers are in place. Now I check the level of my foundation. I place the bed on level ground. I verify alignment by measuring parallel distances at both ends of the short sides. This confirms the bed sits square.
- Spacing: I leave 28 inches minimum between beds. I prefer 36–48 inches for easy movement.
- Sunlight: I position beds for 6–8 hours of direct sun. I avoid tree shade. I orient long beds north-south for even light.
- Dimensions: I check final outer dimensions. I account for width increases from interlocking sides.
I adjust placement as needed. I confirm the bed does not rock. Uniform water distribution depends on this level foundation. My alignment is set.
Calculate Soil Volume: Fill With Topsoil, Compost, and Aeration
Multiply length by width by depth in feet. This gives your soil volume in cubic feet. Divide by 27 to convert to cubic yards. For my 4-by-6-foot raised bed with 1-foot depth, I get 24 cubic feet, or about 0.89 cubic yards.
Calculate length times width times depth in feet for cubic feet, then divide by 27 for cubic yards.
I use a soil mix that delivers results. I combine 60% topsoil, 30% compost, and 10% potting soil. This blend provides aeration and drainage together.
For deeper beds like 18 inches for root crops, I recalculate with depth at 1.5 feet. This raises my soil volume and my purchase accordingly.
I always buy extra. Soil settles after filling. I add up to 2 inches of material after the initial settling period to hit my final depth.
Plant, Mulch, and Maintain: First Season and Year-Round Care
Start with fast crops that fill space fast. I plant leafy greens and radishes in my raised bed first season. They fill the space while roots establish below. I rotate to heavier feeders next season.
Mulch Application
Apply 2 to 3 inches of organic mulch after planting. Reapply as it breaks down. This conserves moisture and stops weeds.
Irrigation Setup
Install drip irrigation or soaker hoses. Target 1 to 1.5 inches of water weekly. Increase during hot spells.
Maintenance Schedule
Top-dress with compost in early spring and mid-season. Monitor shade changes and pest pressure. Adjust spacing or add row covers to extend growing.
Year-round care keeps the raised bed productive. Consistent maintenance builds soil health and community with fellow growers.





