
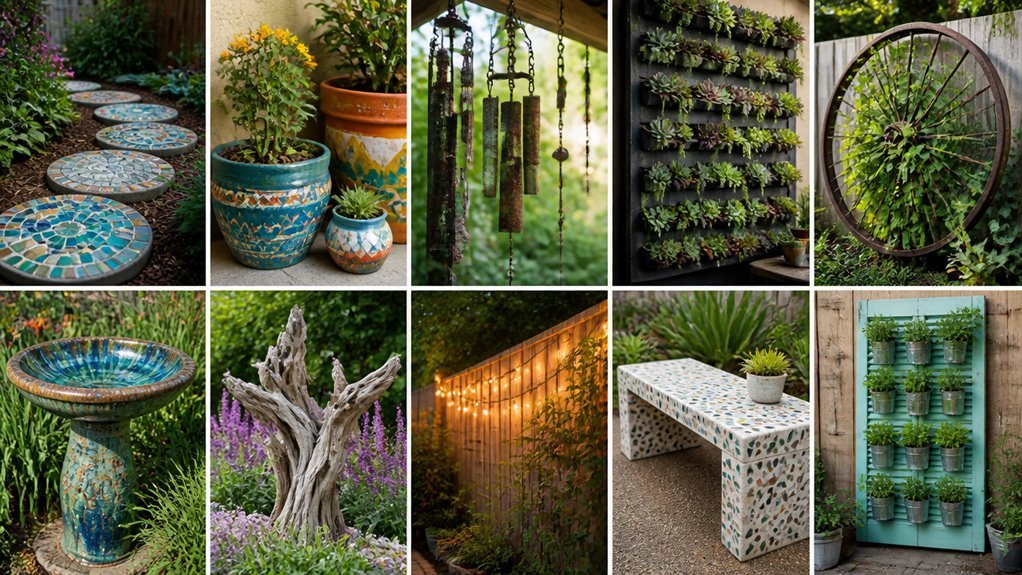
I built a vertical butterfly planter from cedar slats and two 24-by-18-inch wing planters last spring. The design mounts flat against walls and holds trailing vines or compact flowers. You need exterior-grade wood screws, weatherproof sealant, and a level for installation.
This project works for renters with sturdy brackets or permanent mounting on fences. The remaining nine ideas use similar materials: aluminum letters, terracotta pots, vintage wheelbarrows, and stock tanks. Each builds on basic skills you already have.
Build a Wood Slat Butterfly Planter for Vertical Walls
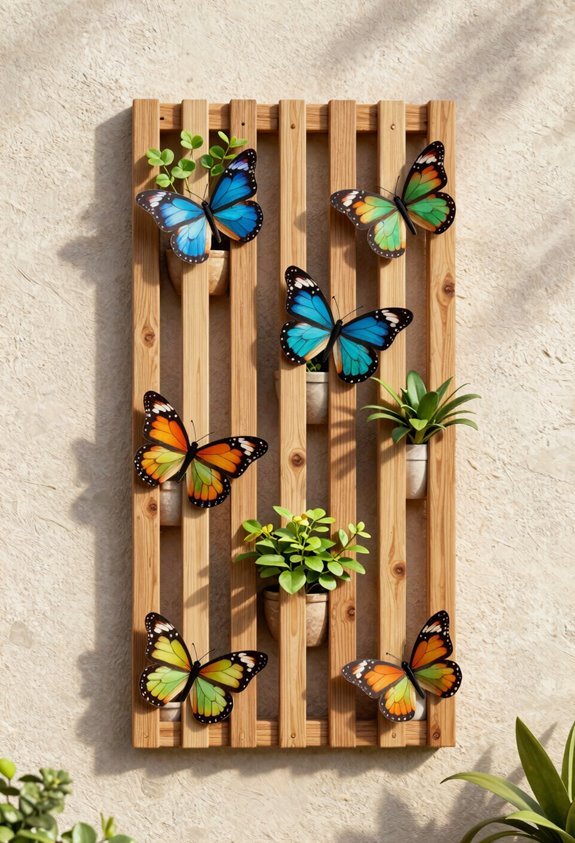
Start with cedar or redwood slats. Cut two identical wing shapes, each 24 inches tall and 18 inches wide. Attach small planter boxes to the inner frame of each wing. Mount the completed wood slat butterfly planter to fences, sheds, or patio walls using exterior screws.
This vertical garden turns blank walls into living outdoor decor. Flowers bloom directly from the butterfly shape, creating a light, architectural focal point. The design fits narrow spaces and adds height without consuming ground area.
Choose natural, stained, or painted finishes to match your garden art ideas. This decorative wall planter suits rustic, cottage, or modern themes. It blends structure with live plants for year-round visual interest.
Make a Monogrammed Planter With Stone Base
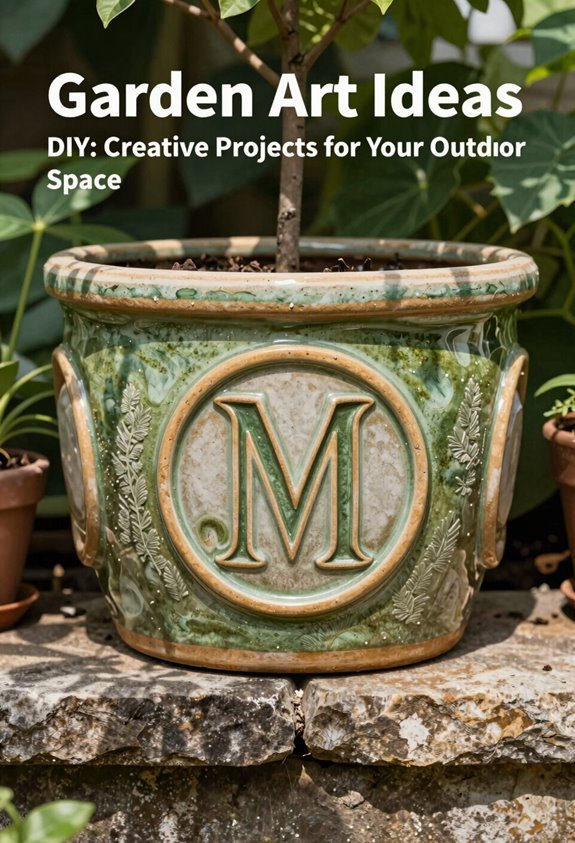
Why settle for ordinary when you can mark your garden with your own initial? I built this Monogrammed Planter with Stone Base to give my entrance real identity.
This DIY Garden Decor project centers an Aluminum Planter in a garden bed corner. I secure it with large decorative rocks forming a solid Stone Base. A wood monogram letter becomes the focal point. I customize that letter with my family initial for a Personal Touch.
You control the finish. Stain it, paint it, or leave it natural.
This Planter Box works near patios, pathways, or doorways. I fill mine with flowers or greenery for a welcoming look.
Materials I use:
- One aluminum planter, 14-inch diameter
- One wood letter, 12-inch height
- Decorative rocks, 6-8 inches across
Stack Terracotta Pots Into a Tiered Tabletop Centerpiece
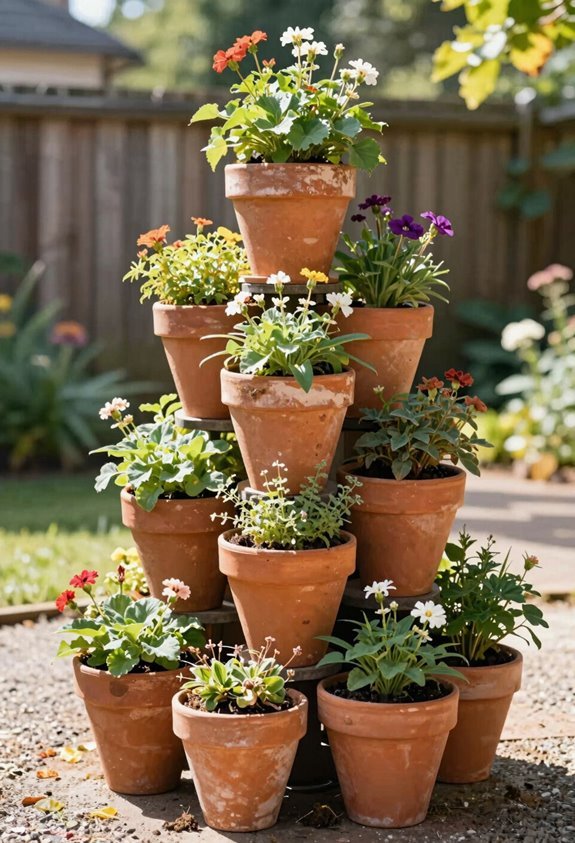
I wanted height without taking up floor space. I stacked terracotta pots in a pyramid for this tiered centerpiece. The largest pot sits at the base. Smaller pots stack above. I fill gaps with potting soil.
I plant cascading plants like trailing ivy. They spill over edges and soften the look. This DIY garden decor fits small patios. It works on balconies too. I leave pots natural for rustic style. I stain them to match my patio accessories.
This tabletop garden needs no floor room. It adds vertical interest anywhere. Common materials complete the job. Terracotta pots, saucers, and soil suffice. This project belongs in any outdoor space. It invites connection through shared craft.
Turn a Vintage Wheelbarrow Into a Mobile Flower Display

I scout flea markets and estate sales for wooden or metal wheelbarrows with solid beds and functional wheels. I clean the bed with a wire brush and seal cracks with exterior wood filler or silicone caulk.
I fill it with 6 inches of potting mix and arrange 4-inch annuals like petunias and trailing bacopa for layered height.
Choosing Your Wheelbarrow
Where do you find the right base for this project? I hunt for a vintage wheelbarrow at estate sales, flea markets, or family barns. This DIY project turns forgotten tools into standout outdoor decor.
Metal Tubs
Salvage yards, $15-40
Rust adds character. Check for holes. Seal edges with metal file.
Wooden Beds
Farm auctions, $25-60
Repurpose these as planters. Look for rot-free oak or cedar. Mobility matters. Test the wheel turns freely.
Child-Sized Barrows
Thrift stores, $8-20
Perfect for small patios. Lightweight potting mix prevents strain.
I prioritize wheelbarrows with intact wheels and solid handles. This makes relocation around the yard simple. Your chosen piece becomes the foundation for mobile garden art.
Preparing and Planting
How do you stop rust from ruining the finish? I clean, prime, and paint the metal or wood surfaces. This protects the wheelbarrow and improves its appearance.
I repurpose lightweight containers inside the bed. Terracotta or plastic pots sit nested for interchangeable planting. I place taller plants at the back, trailing ones forward. This creates tiered visibility.
Drainage matters. I line the bottom with plastic sheeting and punch multiple holes. Water escapes freely. No root rot.
I position the wheelbarrow on stable ground or add a small wheeled base. Mobility stays intact. I avoid overloading the frame. The display moves when I need it. Seasonal swaps stay simple.
Craft a Fairy Garden Inside a Terracotta Pot
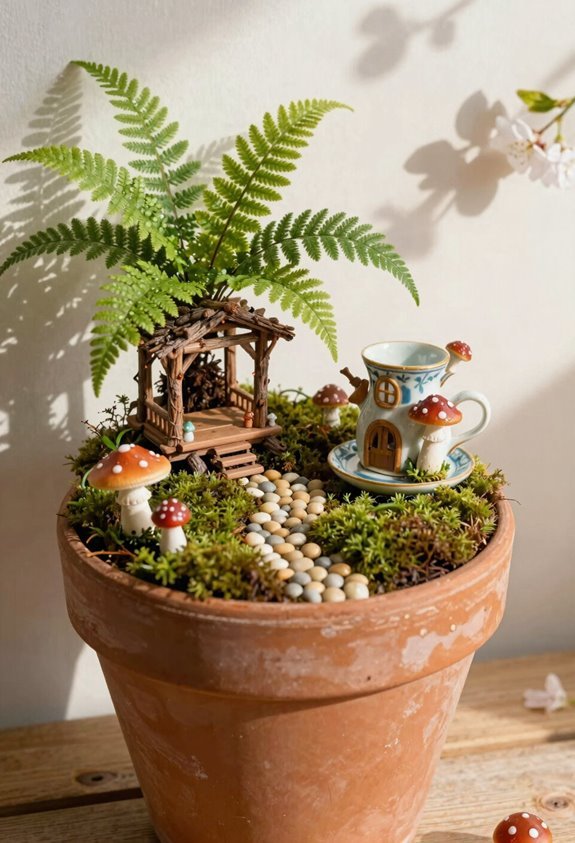
Transform a large terracotta pot into a miniature world with moss, tiny plants, and a fairy door. I layer small stones and miniature accessories inside to build texture and depth around the greenery.
I pick a terracotta pot with drainage holes and place it in partial shade. This keeps the moss and delicate plants alive. I use bark, pebbles, and tiny wood pieces to strengthen the woodland theme.
I set the pot near a path or seat to draw people in. This outdoor decor becomes a playful focal point that invites exploration.
Three Elements for Your Fairy Garden
- Living Ground Cover: Press moss firmly into the soil for a soft, storybook base.
- Scaled Details: Add miniature accessories like benches or bridges for visual interest.
- Natural Hardscape: Arrange bark and pebbles to complete the woodland scene.
Build a Miniature Fairy Landscape in an Aluminum Container
Because I wanted a portable fairy garden, I chose a 12-by-8-inch aluminum loaf pan with a 4-inch depth. This aluminum container holds soil, moss, and stones without rusting. I fill the base with two inches of potting mix.
I build my miniature fairy landscape using repurposed materials. I add a twig bench, a pebble path, and a painted fairy door. Small plants like baby tears and creeping thyme create ground cover. I press moss between stones for texture.
This garden decor suits patios, tabletops, or tucked corners. The lightweight pan moves as my space changes. Whimsical outdoor decor invites anyone to pause and look closer.
Scale matters: keep accessories under three inches. This fairy garden belongs anywhere you place it.
Create a Stock Tank Water Feature for Your Garden
I converted a 48-inch diameter aluminum stock tank into a koi pond for my backyard. This DIY water feature became my garden’s tranquil centerpiece without complex equipment.
Materials and Setup
The stock tank holds 100 gallons. I added river stones around the rim and tucked ferns between them. The garden pond sits beside my patio seating.
Stock Tank Water Feature Benefits
- Aluminum construction resists rust and lasts years outdoors
- Setup takes one afternoon with basic tools
- Koi and water lilies do well in the controlled depth
Maintenance and Placement
I check water quality weekly for fish health. The outdoor décor blends with surrounding beds through matching stone colors. Position your tank where you’ll see movement daily. This approach delivers noticeable results with minimal effort.
Assemble a Driftwood and Stone Garden Sculpture
Gather weathered driftwood limbs, 3 to 5 pieces ranging 18 to 36 inches long, and 15 to 20 smooth river stones between 2 and 4 inches wide.
I arrange the driftwood into a sculpture framework. I tuck stones at joints to build contrast. I secure the outdoor sculpture with adhesive or steel anchors. I seal the driftwood to preserve its rustic look.
I place this garden piece along pathways or seating areas. I add moss or lichen to soften the assembly. The driftwood and stones blend with surrounding plants. This sculpture creates an organic focal point. It invites closer viewing and enhances garden storytelling.
Upcycle a Vintage Chair Into a Living Planter
A sturdy vintage chair with a solid wood frame and a seat at least 16 inches wide forms the base of this living planter. I remove the seat and install a cedar planter box or secure terra cotta pots to the frame. This repurposed chair becomes vertical greens for my rustic garden.
Three ways to make this project yours:
- Trail plants downward: I plant ivy or petunias to spill over the seat edge.
- Stack heights: I add a small pot behind the backrest for layered backyard decor.
- Match your palette: I choose herbs, succulents, or blooms that blend with surrounding natural elements.
I drill drainage holes and line the planter with landscape fabric. This vintage chair living planter anchors my space with cottage charm.
Weatherproof Your DIY Garden Art for Year-Round Display
I start every outdoor project by picking treated wood, cedar, rust-coated metal, or concrete for base materials. I seal painted pieces with outdoor polyurethane or UV-resistant paint, and I raise decor off wet ground with gravel or pavers underneath. I store delicate items like terracotta pots and fabric accents in sheds or under tarps when frost hits.
I check my pieces each spring for cracks, rust, or worn sealant.
Choosing Durable Materials
When I build garden art that lasts, I start with materials that won’t quit on me after one season.
Weatherproofing demands durable materials from day one. I’ll show you what holds up.
1. Metal and Stone Foundations
*By a seasoned DIYer*
Choose aluminum or galvanized metal for moisture resistance. Select concrete or stone for outdoor sculpture bases. These substrates resist rust and degradation through freeze-thaw cycles.
2. Treated Wood and Terracotta
*By a practical gardener*
Apply sealants to wood and terracotta. Use exterior-grade paint or varnish. This prevents cracking, warping, and moisture absorption over time.
3. Natural Elements with Protection
*By a hands-on creator*
Treat driftwood and moss with weatherproof coatings. Maintain aesthetic appeal while resisting mold. Allow breathability with gaps for air circulation.
Sealing and Protecting
How do you keep garden art from crumbling after the first hard rain? I’ve learned that weatherproofing starts with smart prep and the right products.
| Material | Sealant Type | Reapply Every |
|---|---|---|
| Wood | Marine varnish or exterior polyurethane | 1, 2 years |
| Terracotta | Acrylic sealer or masonry sealant | 1, 3 years |
| Metal | Rust-inhibiting spray or clear coat | 2, 3 years |
Apply outdoor sealants before painting. This blocks moisture sealing issues on porous surfaces like raw wood and clay.
I always check labels for UV protection so colors don’t wash out. Pick treated lumber, galvanized metal, resin, or concrete to cut down rot risk. Wipe pieces clean yearly. Inspect for cracks. Reapply coating as needed. Solid maintenance keeps our yard art looking sharp season after season.
Storing Seasonal Pieces
Rotating my garden art keeps pieces fresh and cuts weather damage. I’ve learned weatherproofing with sealed wood, rust-resistant metal, and UV-protected paint adds years to each piece. For durability, I pick concrete planters, treated timber, or coated metal. I seal joints against rain and temperature swings.
1. Smart Storage Choices
I tuck decorative items against covered walls or sheltered nooks. This blocks direct sun and heavy rainfall.
2. Modular Designs
I build hanging planters with quick-attach hooks. These let me swap seasonal displays fast while keeping parts dry.
3. Regular Maintenance
I wash pieces with mild soap, check for cracks or rust, and reapply protective finishes yearly. This preserves year-round display quality.





