
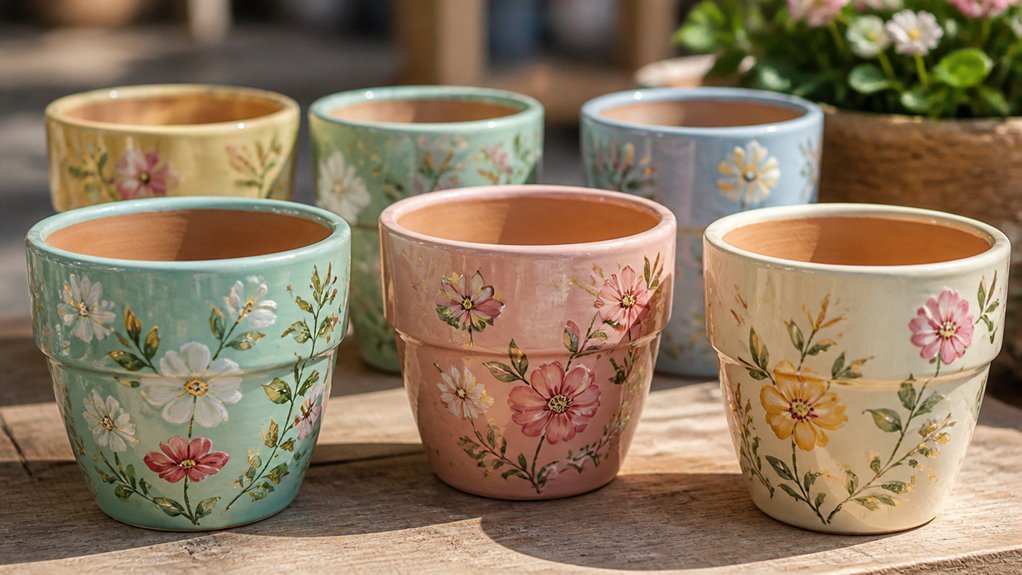
Terracotta absorbs water like a sponge left in the rain, which is why sealing matters. I use 4-inch pots with two 2-ounce bottles of white outdoor acrylic for base coats. My designs last three seasons with proper exterior sealant applied in thin layers.
You will need specific materials to avoid peeling and cracking.
Gather Your Painted Flower Pot Supplies
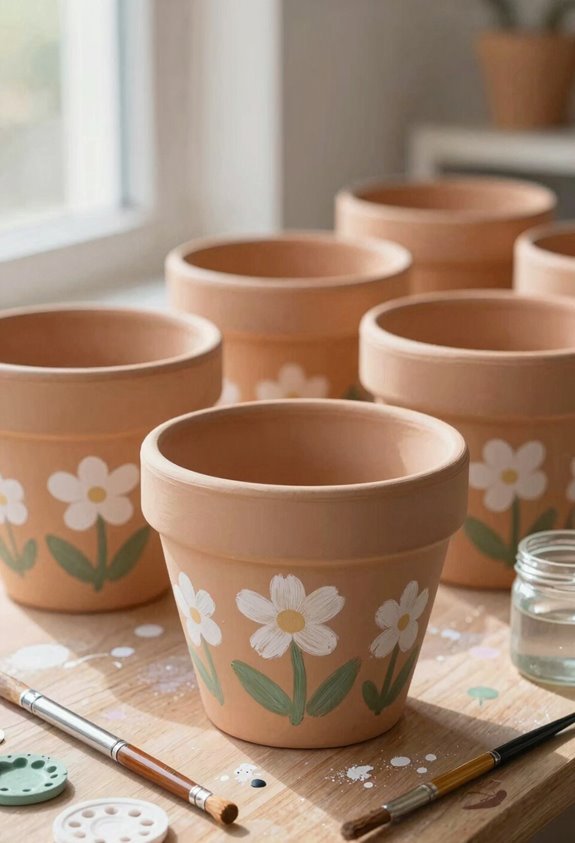
Start every painting project with the right tools on hand: terracotta pots, bright acrylics, brushes, and a protective tablecloth.
I start every project with the right tools on hand. For painted terracotta pots, you’ll need 4-inch or 6, 7 inch terracotta pots and matching saucers. Buy acrylic paint in bright colors plus white and black. Grab brushes in varying sizes, paint palettes, and water cups for rinsing. Add a Sharpie for labeling names on pot bottoms. Spread a tablecloth to protect your table.
Exterior Sealant
Spray sealant protects your finished work. Use clear weatherproof spray like Rust-Oleum 2x Ultra Cover Gloss. Let each coat dry completely.
Optional Design Tools
Stencils add clean patterns. Use foam brushes, pre-cut stencils, or Cricut-cut leaf designs.
Prep Reminder
Clean your pots first. Remove price tags. Dry completely. Plan your base coats and decoration steps before you apply any acrylic paint.
Prep and Seal Terracotta Before Painting
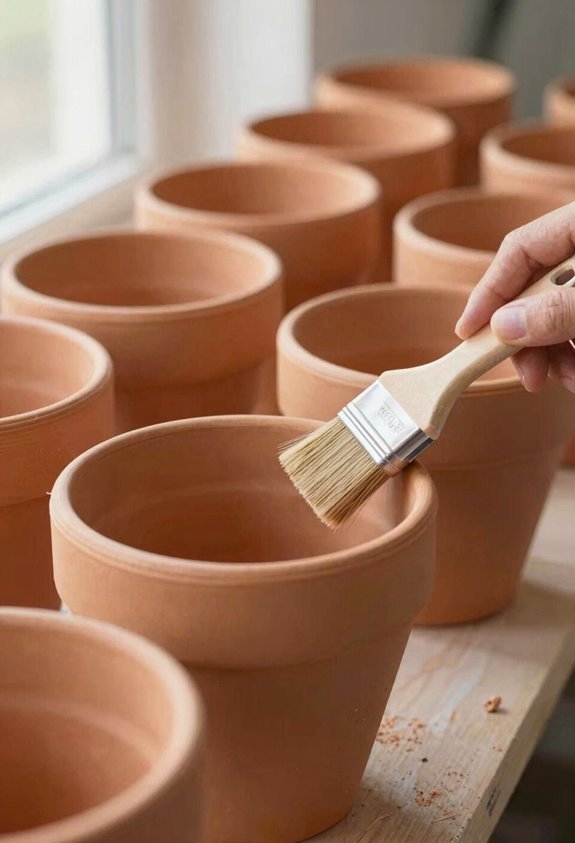
Clean pots take paint better than dusty ones. I wipe my terracotta pots with a damp rag. I remove every speck of dust. I let them dry completely. Moisture ruins my work.
I apply exterior sealer to the outside only. I skip the interior. Interior sealer traps water. It harms drainage. It upsets soil moisture. My plants need balance.
I brush on two thin coats of exterior sealer. I wait 24 hours between coats. I check for full dryness. Outdoor projects dry slower in humidity or cold. I plan for extra time.
I focus painting on the exterior first. The clay surface grips paint better there. I seal my finished exterior again after painting. Sealer shields my art from rain and sun.
Apply a Smooth Base Coat
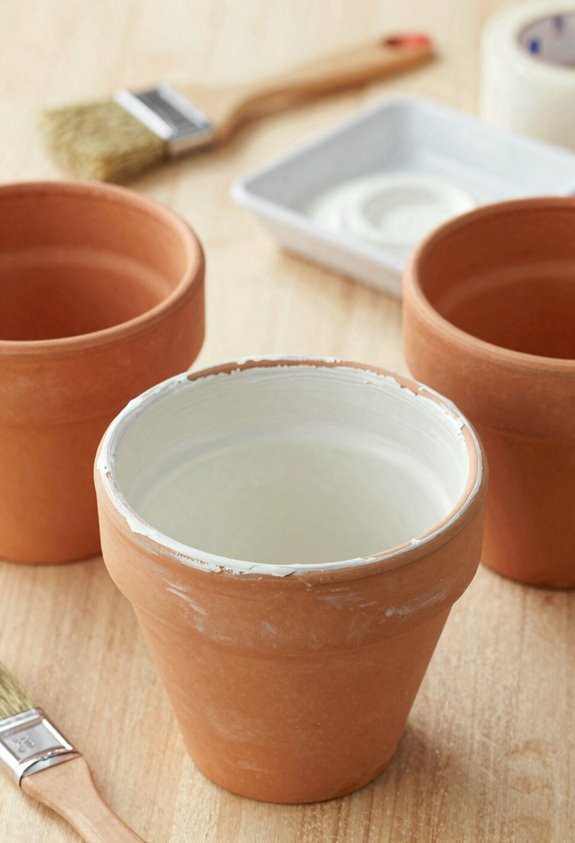
I select outdoor acrylic paint and thin it with water on a plastic palette to avoid drips on the porous clay. I apply 2, 3 thin coats of white base paint to the exterior only, leaving the interior and bottom unpainted, and I wait 1 hour between coats for proper drying.
I skip the interior to prevent moisture trapping, and I use white to make certain bright, vivid colors in the final design.
Selecting Your Base Color
A smooth base coat gives your terra cotta pot a clean starting point. I start with white multipurpose craft paint for the exterior of both the terracotta pot and saucer. This creates an even surface for decorative layers.
I use outdoor-suitable acrylic paint for durability. The paint dries in about one hour, though high humidity extends this wait. I apply one solid layer and let it dry completely before adding designs.
I skip the saucer interior to prevent water damage. Peeling and bubbling occur when moisture sits under paint.
I choose an outdoor finish rated for garden use. This protects my work from rain and sun.
I leave the base coat off entirely when I want the natural clay color to show through. Both options work.
Preparing Terra Cotta Surface
Before painting, you’ll wipe the pot with a damp rag to remove dust. Let the terracotta air-dry completely. This step matters for our outdoor craft success.
Base Coat Application
Apply a base coat of white multipurpose craft paint to the outside of the pot and saucer. Thin the acrylic paint with water for smooth coverage. Skip the inside of the saucer to prevent water damage and peeling.
Drying and Timing
Allow each base coat to dry fully before adding more. Plan one hour between coats, longer in humid conditions. Use outdoor-suitable acrylic paint for durability.
Skip the base coat entirely if you prefer natural terracotta show-through. Proper preparation helps your painted pot last through seasons.
Applying Even Coats
Thin your outdoor acrylic paint with water on a plastic palette. I always start my painted terracotta pots with this step for smoother application.
Base Coat Basics
Apply exterior coating to the outside only. Leave the interior bare. This prevents moisture trapped inside.
| Step | Action | Wait Time |
|---|---|---|
| First coat | Thin acrylic paint, brush on | 1 hour |
| Second coat | Add even coats for coverage | 1 hour |
| Third coat | Touch up if needed | Full dry |
Drying Details
High humidity extends drying time. I check touch-dry status before continuing.
Sanding Between Coats
Lightly sand pre-sanded surfaces. This builds grip. A smoother finish follows.
Interior Rule
Never paint where water pools. Skip the saucer too. Seal the exterior before any decorative details. Your painted terracotta pots last longer this way.
Paint Stripes, Ombre, or Blocked Designs
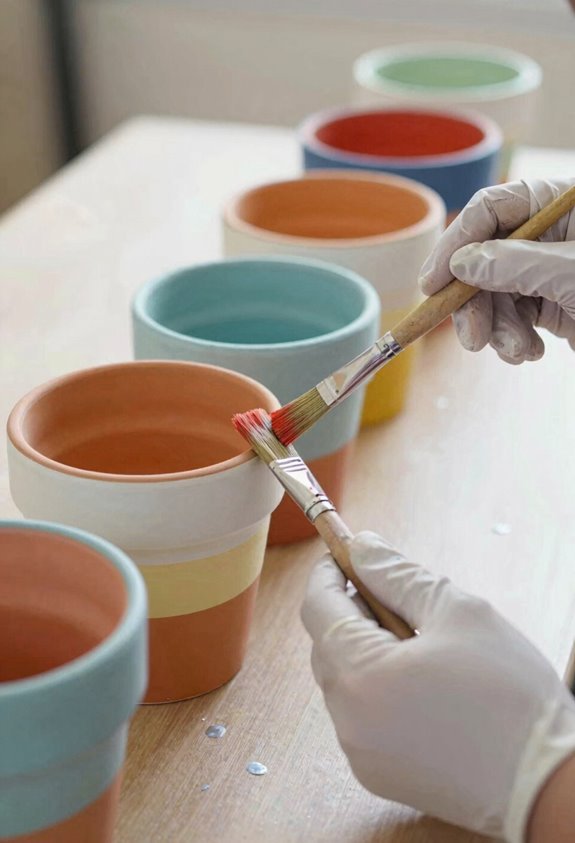
I’ll show you three ways to add clean, graphic style to your pots.
Stripes
Use painter’s tape to mark straight lines. Apply acrylic paints in thin coats. Let each coat dry before adding the next. Remove tape while paint is slightly tacky.
Ombre
Blend two or three colors using a damp sponge. Work quickly while paint is wet. Create gradual transitions from dark to light. Touch up edges with a soft brush.
Blocked Designs
Tape off geometric sections. Paint each block a solid color. Keep edges crisp with careful tape placement. Peel tape slowly for clean lines.
Protection
Seal finished pots with exterior sealer. Apply two thin coats. Let dry completely between coats. This protects against sun and rain damage.
Layer Details With Stencils or Hand-Painting
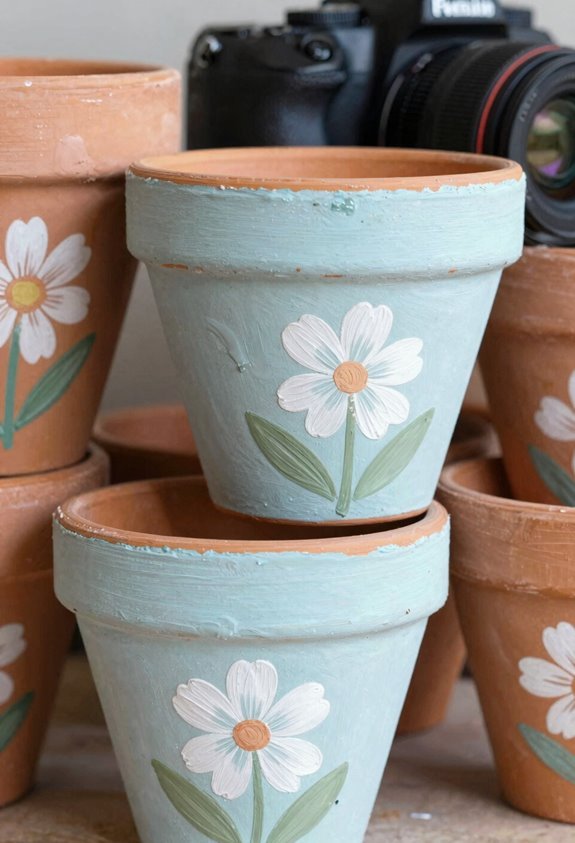
I use vinyl stencils cut from Cricut or Silhouette machines to add leaves, flowers, or geometric shapes to my pots. Transfer tape holds delicate stencil pieces flat against curved surfaces while I stipple or sponge paint within the cutouts.
For freehand work, I sketch designs lightly with pencil, then fill with small flat brushes in 1/4-inch and 1/2-inch sizes.
Stencil Application Methods
Cut your stencils with a Cricut or Cameo machine, or buy pre-cut sheets. I always run test cuts first to check accuracy before committing to the full design. Stencil application on terracotta pots works best when you lay the stencil flat and smooth out every air bubble. Delicate shapes need transfer tape so nothing shifts mid-project.
Secure the stencil. Peel and stick carefully. Press edges firm against the pot surface.
Load your brush. Use two thin coats of paint. Blend colors wet for layered effects.
Build the design. Let each layer dry fully. Repeat for crisp repeatable patterns across multiple pots.
Finish clean. Lift stencils slowly. Touch up edges with a small brush where paint peeled.
This method gives reliable results. Your stenciled flower pots will look uniform and professional.
Hand-Painting Techniques
Layer details with stencils or freehand brushwork to build custom designs. I cut stencils with my Cricut or use pre-cut shapes I trust. I secure edges with Painter’s tape and apply transfer tape to delicate cuts. I paint inside or around my stencil in layers for color blending. I let base coats dry fully between each step.
I apply 2, 3 coats of outdoor acrylic paint for solid coverage. For dotting patterns, I use a brush end or dowel for larger dots, toothpicks for smaller ones. I alternate colors for cohesive designs.
I finish with outdoor, non-toxic sealing/varnish. I wait 24, 48 hours drying time before planting. These steps protect my work and give lasting results.
Seal Your Pot for Outdoor Durability
Apply a protective topcoat to lock in your paint and shield the pot from rain and sun damage.
- Choose your exterior sealant. Pick water-based spray acrylic with matte finish or dedicated outdoor varnish for best weather protection.
- Prep the surface. Lightly sand between each sealant topcoat layer. This builds stronger outdoor durability.
- Apply two exterior coats. Cover all outside surfaces evenly. Two coats give stronger defense against fading and wear.
- Skip the inside. Never seal the interior. Interior sealant blocks drainage and harms soil health.
I focus my sealing efforts on the outside only. This reduces soil stains and extends pot life outdoors. Exterior sealing protects my painted terra cotta without risking plant health. The right exterior sealant keeps my work looking fresh through seasons of sun and rain.
Let Your Sealed Pot Cure Before Planting
I let my sealed pot rest undisturbed for 24 hours before I touch it or add soil. This cure time lets the sealant harden fully. Painted pots need patience. Rushing ruins your work.
Weatherproofing Basics
I apply clear weatherproofing spray after paint dries completely. I check the exterior surface. It must stay dry and free of moisture before I add any topcoat. Good adhesion prevents peeling.
Interior Sealing Rules
I confirm interior sealant won’t block drainage holes. Interior sealing affects soil moisture. Root health matters. I keep plantings interior-only when needed.
Cure Conditions
I cure painted pots in ventilated spaces. I avoid freezing temperatures. Cold causes cracking. Warm dry air gives the best cure time for lasting sealant protection.
Turn Pots Into Planters, Gifts, or Organizers
A finished pot holds more than soil. I transform painted terracotta pots into planters, gifts, or organizers for any space.
– Home Planters
I seal exteriors with top coat sealant. I skip interior sealants to protect drainage. My plants do well in breathable containers.
– Personalized Gifts
Gift ideas include night-sky designs. I use outdoor-safe acrylics with base coats. I let each layer dry before adding details.
– Desk Organizers
I store pens, brushes, or utensils in sealed pots. No drainage holes needed for this use. These fit any room style.
– Outdoor Decor
I apply weatherproof spray over finished paint. I wait 24 hours before placing outside. Eye-level spots showcase antique gold or color-wash work.





