
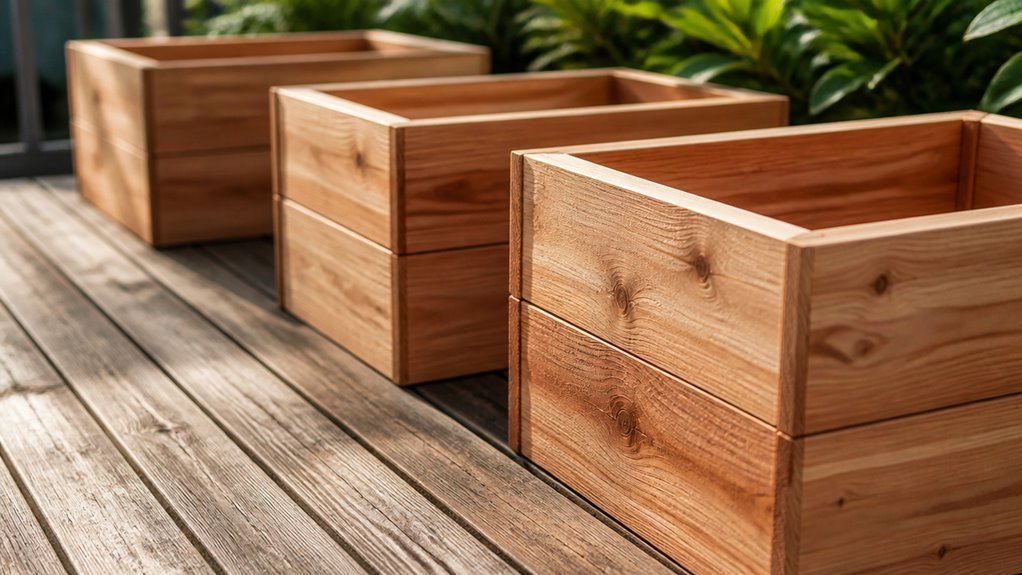
Last spring I watched a neighbor pay $89 for a cedar planter that wobbled. I built two that afternoon for $34 total.
You’ll need six cedar fence pickets, two 8-foot 2x2s, wood glue, and 1¼-inch exterior screws. Cut legs to 22 inches, panels to 24 inches square. Inset legs 1½ inches for clean corners.
The math is simple. The steps matter more.
Build a Cedar Planter Box in One Hour (No Table Saw Needed)
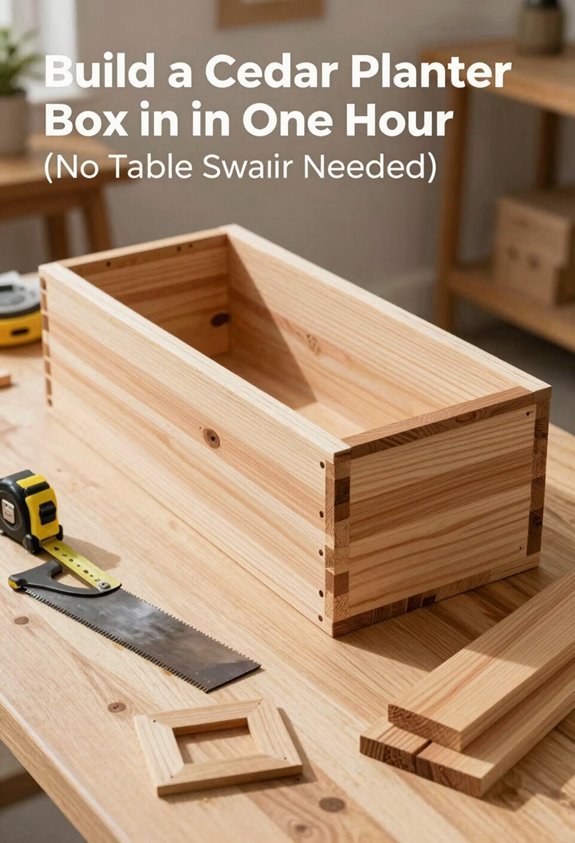
You do not need a table saw to build this cedar planter. I use a miter saw or circular saw and a drill or nailer. This one-hour build suits beginners who want a sturdy outdoor planter without complex tools.
Materials and Construction
I build two side panels from cedar fence pickets and 2x2s. I join pieces with outdoor wood glue and brad nails or trim screws.
I assemble the cedar planter box upside down for square corners. I space bottom slats for drainage. Cedar resists rot naturally.
Finishing Steps
I sand through 60/80 grit to 180 grit. I wipe dust with a tack cloth. I apply exterior spar urethane for durability. Plans with cut lists and 3D diagrams guide each step.
Tools and Materials for Your DIY Cedar Planter (Under $20)
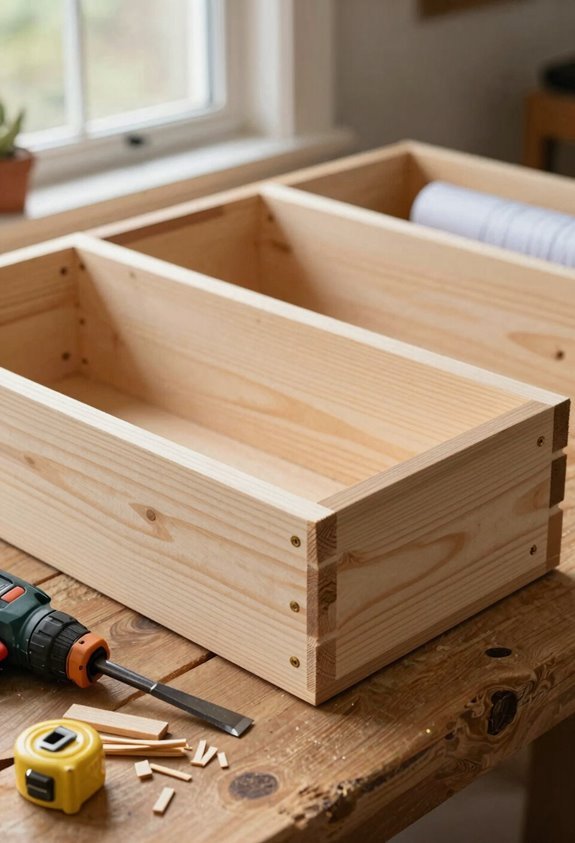
I use cedar fence picket boards and 2x2s for my cedar planter. Cedar gives outdoor durability without the rot. My materials under $20 include sixteen pickets cut to 15 1/4 inches and forty-two two-inch frame pieces at 21 1/2 inches.
Adhesives and Fasteners
Outdoor wood glue bonds the joints. I grab 1 1/4 inch brad nails or trim screws. A nail gun or drill works. A battery-powered impact driver with 1 1/2 inch screws speeds things up.
Outdoor wood glue bonds the joints, with brad nails or trim screws for reinforcement. A nail gun, drill, or impact driver gets it done fast.
Finishing Supplies
Sandpaper runs 60/80 grit, 120, and 180. Spar urethane seals the cedar for exterior use. This beginner wood project stays simple. No table saw needed. I build it in under an hour.
Cut Your Cedar Boards to Size (With Full Measurements)
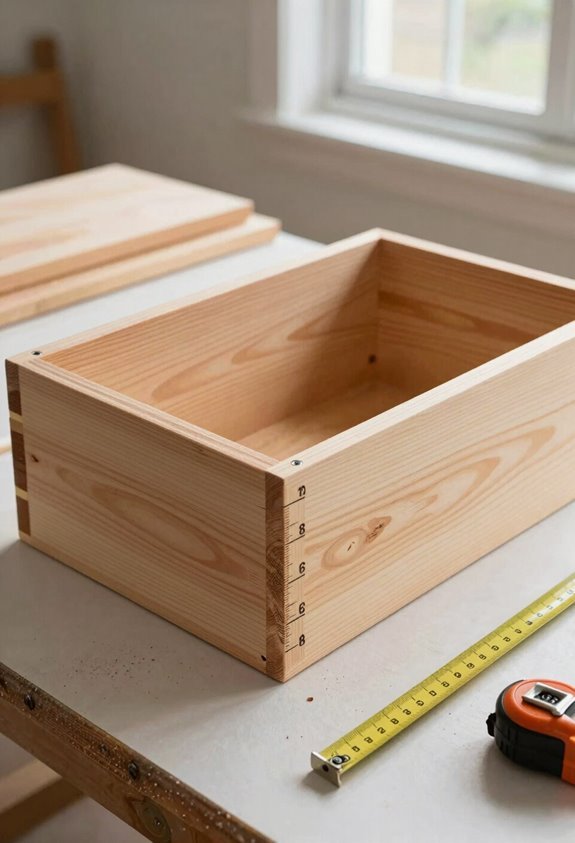
I start by selecting straight cedar fence boards without knots or cracks for clean cuts. I measure and cut 16 pickets to 15 1/4 inches and 42 frame pieces to 21 1/2 inches. I sand all edges smooth before moving to assembly.
Cedar Board Selection Tips
Why start with cedar fence pickets? I choose cedar fence boards for outdoor planters because they offer natural rot resistance at a price that won’t strain your budget. They’re lightweight enough that you’ll handle them easily on your first build.
Board selection matters. Skip warped or cupped stock. I run my eye down each edge looking for straight grain and true flat surfaces. Bow-free cedar saves frustration during assembly and gives tight joints without forcing.
Size your material. Grab sixteen cedar pickets and cut them to 15 1/4 inches. Cut forty-two 2x frame pieces to 21 1/2 inches. Pre-drill before driving 1 1/4 inch brad nails or trim screws. Sand from 60/80 grit through 180. Seal with spar urethane.
Essential Cutting Measurements
Start with sixteen fence pickets.
Cedar Fence Boards
Cut these 16 cedar fence boards to 15 1/4 inches each. These form the exterior panels of your cedar planter. Precise cutting measurements at this stage help create tight joints later.
Interior Framing
Rip 42 two-inch wood pieces. Cut each to 21 1/2 inches. These support the planter box construction from within.
| Component | Quantity | Cut Length |
|---|---|---|
| Fence pickets | 16 | 15 1/4 inches |
| Frame pieces | 42 | 21 1/2 inches |
| Top trim (long) | 2 | 18 inches |
Trim and Hardware
Cut two top trim pieces to 12 5/8 inches. Prepare two additional trim pieces at 18 inches each. Gather 1 1/2 inch screws, a drill, 1/2 by 1 inch corner trim, and 1 by 1 inch bottom supports.
Pre-Assembly Sanding Steps
Once your cedar boards are cut to size, sand every surface before assembly. I use 60/80 grit paper first, then work up to 180/220 grit for smooth cedar that takes finish evenly. A random-orbit or palm sander speeds this up.
Sanding now prevents splinters later and helps glue and fasteners grip better. I sand all faces of every board for my planter box while they’re still easy to handle flat on my bench.
Check each board for bows or warps. I set aside the straightest pieces for my side panels. This makes alignment simple and keeps my box square.
Pre-drill holes in side pieces now. This stops splitting when I attach pickets to the 2×2 legs with 1.5-inch insets. Sanding complete, I’m ready to build.
Sand From Rough to Smooth in Four Grit Stages
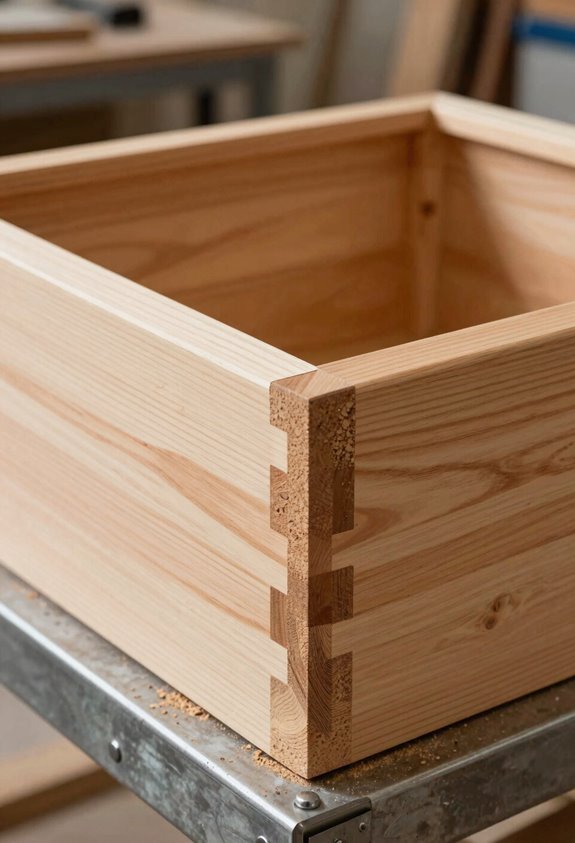
I sand every cedar board through four grit stages before assembly. I start with 60 or 80 grit to strip saw marks, then move to 120 and 180 grit for a smooth, splinter-free surface. I add 220 grit for extra smoothness if I’m applying spar urethane.
Grit Selection Basics
Why guess at sandpaper when a clear path exists? I’ll map out four sanding grit stages for your cedar planter. Each step builds toward smooth surface refinement and a durable outdoor finish.
| Stage | Grit Range | Purpose |
|---|---|---|
| 1 | 60-80 | Removes mill marks, rough surface |
| 2 | 120 | General smoothing |
| 3 | 180 | Pre-finish refinement |
| 4 | 220 | Final polish (optional) |
I sand cut boards before assembly. This prevents splinters and helps glue grip.
Starting below 60 risks deep scratches. These show through on end grain. Skipping steps wastes time. Each finer grit erases marks from the last.
I keep strokes uniform across all pieces. Even texture means even coating. That protection lasts longer on outdoor cedar.
Progressive Sanding Technique
Before assembly, I sand each cedar board through four grit stages.
Start rough (60/80 grit): I remove major tool marks and raise the grain.
Refine surfaces (120 grit): I smooth raised fibers and even the board faces.
Final shaping (180 grit): I prepare cedar planter boxes for coating adhesion.
Check grain direction: I sand with the wood grain, never against it.
Inspect between grits: I wipe dust clear and re-sand rough spots immediately.
This sanding progression builds durable surface preparation for outdoor use. Each step produces smooth results on every board, side, and trim piece. Proper grain direction prevents scratches. Completing all four stages before spar urethane increases finish durability. Your cedar planter boxes deserve this methodical approach to quality.
Final Smoothing Stage
Sand cedar planks through four grit stages. I start with 60/80 grit to erase saw marks. I follow my sanding sequence: 120 grit, then 180, with 220 as optional for glass-smooth results. I match my sander’s rotation to avoid cross-grain scratches. I hit every surface, inside and bottom faces included. Even sanding matters for finish preparation.
I chase planarity on edges. I don’t skip grits. I check my progress by hand. Dust hides flaws. I wipe with a tack cloth before sealing. This step locks in adhesion. My cedar planter earns durability. I build this right. I join others who finish strong.
Build Two Side Panels With Proper Leg Inset
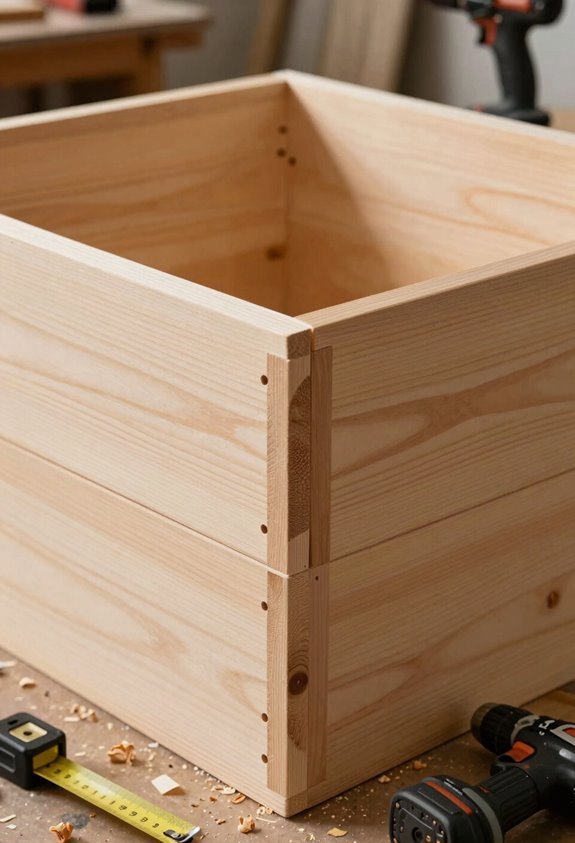
How do we start the frame? I lay two 2×2 legs cut to 21 1/2 inches on my work surface as corner posts for my cedar planter panels. I position each leg with a 1.5-inch leg inset from the panel edge. This inset will hide the legs once the box is complete.
I apply outdoor wood glue to the leg faces. I pre-drill pilot holes through my cedar pickets to prevent splitting. I attach the pickets to the legs using brad nails or screws. I build two identical panels. I check that corners align and panels sit flat so they stay square.
Materials you’ll need:
- 2×2 cedar legs at 21 1/2 inches
- Cedar fence pickets
- Outdoor wood glue
- Brad nails or exterior screws
- Drill and drill bits
Assemble the Box Frame Upside Down (Gravity Is Your Friend)
I flip the assembly process by building the box upside down on a flat surface. Gravity holds the 5.5-inch cedar fence boards flush against the corner supports while I attach them. This method keeps everything square and level without clamps or extra hands.
Upside-Down Assembly Method
Because gravity pulls joints tight, I build the box upside down first. This upside-down assembly method makes cedar planter boxes easier to frame assembly with cleaner results.
I start with the long sides using 1×6 cedar boards and 2×4 supports. I drill pilot holes to prevent splitting. Then I square the box before adding end pieces cut to fit around the 2x4s. I nail these with a nail gun for tight exterior joints.
Once the frame is square, I flip it upright. I add drainage holes and bottom trim after the primary box forms. I line it later to stop dirt leakage.
Key steps for this method:
- Lay 1×6 boards flat with 2×4 supports underneath
- Drill pilot holes at each joint before fastening
- Check corners with a carpenter’s square as you build
- Flip the completed frame carefully to avoid twisting
- Add end pieces last for the cleanest finished look
Gravity-Assisted Alignment
Why fight physics when you can use it? I build my cedar planters upside down because gravity does the heavy lifting. Boards settle naturally into place, giving me clean alignment without fussing with clamps.
I start with two side panels, attaching fence pickets to 2×2 legs inset 1.5 inches. When I flip the planter box to form the base, the top surface sits perfectly flush. Gravity-assisted assembly keeps edges straight and square while I fasten from the front with pre-drilled holes and screws. I check corner-to-corner measurements after adding the final side. This method belongs in every builder’s toolkit.
| Component | Position | Gravity Benefit |
|---|---|---|
| Side panels | Built first on flat surface | Boards lay flat for fastening |
| 2×2 legs | Inset 1.5 inches | Natural board support |
| Base boards | Attached upside down | Flush top surface when flipped |
| Final sides | Added last | Corner-to-corner squareness check |
Install Bottom Supports and Drainage Slats
A solid base keeps your planter standing strong through every season. I install bottom supports first to give your cedar planter real structure.
* Bottom Supports
1×6 boards brace the frame. Pre-drill every hole. Screw tight to keep things square.
* Drainage Spacing
Gap your bottom slats evenly. Water escapes. Roots breathe. No rot sets in.
* Pre-Drilling
I drill before driving screws. Cedar splits easy. This step saves your wood.
* Timing
Attach bottom slats after sides go up. Check that your box sits level.
* Slat Direction
Run bottom slats parallel to long sides. Load sits right. Shape holds true.
Bottom supports carry the weight. Drainage keeps plants supported. This foundation belongs in every build.
Apply Spar Urethane for Weather Protection
How do you keep cedar looking sharp year after year? I finish my cedar planter boxes with spar urethane for serious weather protection. This seals the wood and brings out cedar’s natural color.
Spar urethane keeps my cedar planter boxes looking sharp and protected year after year.
I start finishing/sanding with 60 or 80 grit paper. I move to 120 grit, then 180. I sometimes use 220 for extra smoothness. I wipe the dust with a tack cloth.
I apply spar urethane in thin, even coats. I let each coat dry fully.
Spar urethane lasts 5 to 7 years on outdoor cedar planter boxes. I keep boxes off the ground for better results. I pair this finish with proper drainage holes. I sometimes add liner to stop dirt leaks. This keeps my planters solid and good-looking.
How Long Your Cedar Planter Lasts (And How to Hit 7+ Years)
I build my cedar planters to last. Cedar planter longevity depends on four factors working together.
Weatherproofing cedar starts with spar urethane exterior finish. This protects against rain and sun while showing the wood’s natural grain. Apply it after wiping with a tack cloth to remove dust.
Planter drainage and ventilation prevent rot from trapped moisture. I space bottom slats half an inch apart and drill four quarter-inch drainage holes. Raising the box two inches off the ground stops ground contact decay.
Outdoor wood finishing needs reapplication every two years. Cedar’s natural rot resistance and insect resistance reduce maintenance compared to pine or fir.
- Seal all surfaces: End grain absorbs water fastest. Coat it twice.
- Elevate the base: Use two-inch cedar feet or pot risers.
- Space bottom slats: Half-inch gaps let air flow under soil.
- Drainage holes: Four quarter-inch holes per square foot of base.
- Reapply finish: Sand lightly and recoat every two years.
Sell Your First Planter: Cost Breakdown and Pricing Tips
Cedar fence pickets run $2 to $4 each. I built my first cedar planter for under $15 in materials. This low-cost project takes about one hour from cut to finish.
Material List
One planter needs three to four pickets, wood glue, and 1¼-inch screws. Sandpaper adds $3. Spar urethane runs $12 per quart but covers dozens of boxes.
Three to four pickets, glue, screws, and a $3 sheet of sandpaper—spar urethane covers dozens more.
Pricing Tips
I sell finished planters for $35 to $50. The cost breakdown leaves $20 to $35 profit per unit. I sand smooth and apply two urethane coats. Buyers pay more for durability and cedar’s natural grain.
Selling Strategy
I list on Facebook Marketplace and local craft groups. Photos show the wood grain and finished corners. I mention rot resistance and the 7-year lifespan. Sales come steady with low material risk.





