
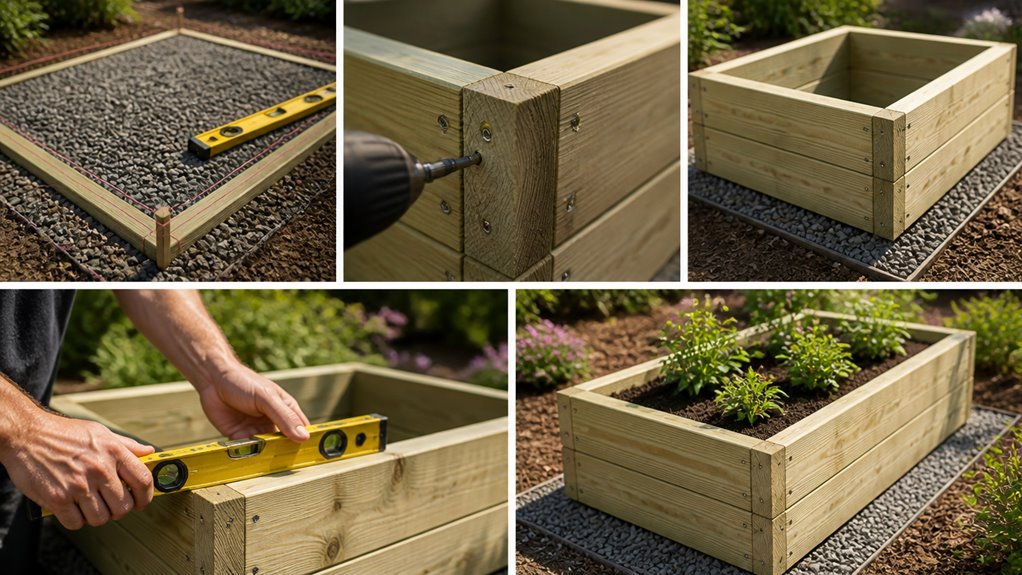
A practical writer examining carpentry basics.
I tested whether cedar boards outperform pine for outdoor planters. Nine 1x6x8 cedar boards form the walls. Two 2x4x8 boards serve as legs. You need two 1x2x8 boards for bracing. A two-inch drainage gap matters. I will show you why legs fail without it.
Plan Your Raised Bed: Size, Site, and Cedar List
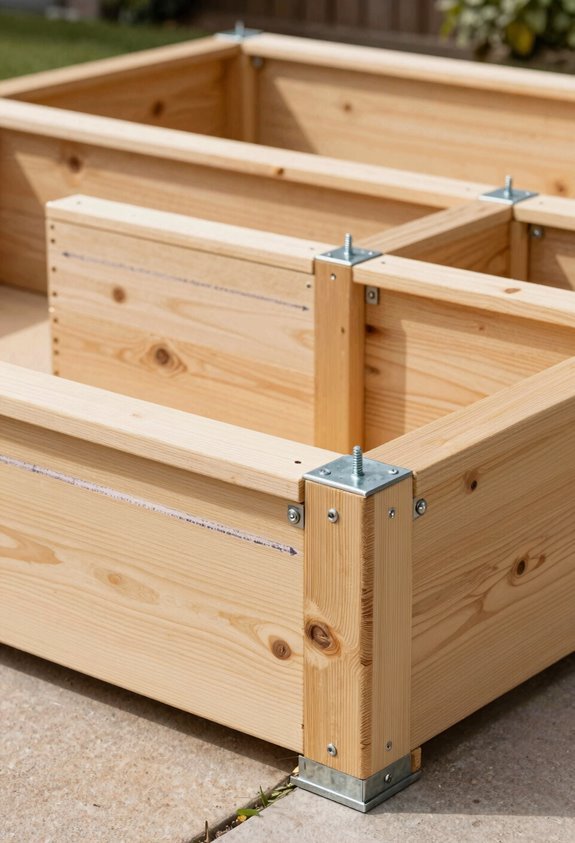
Where do you start? I plan your raised bed by choosing size and site first. Your materials list includes nine 1x6x8 cedar boards for walls, two 2x4x8 cedar boards for 2×4 legs, and two 1x2x8 boards for exterior trim.
Start with size and site: nine cedar boards for walls, two for legs, two for trim.
I make patterning cuts from the first cedar board. I label it. I use a straight edge and reference line to align remaining pieces. This keeps cuts uniform.
Two 2x4s form each L-shaped leg. I drill pilot holes. I add screws for strength.
I leave a 2-inch gap at the bottom when spacing three 6 ft wall board lengths. Leftover 1×2 holds layers temporarily.
I factor drainage considerations into bed height and optional hardware cloth, landscape fabric, and exterior trim choices.
Cut and Build the Leg Frames to Height
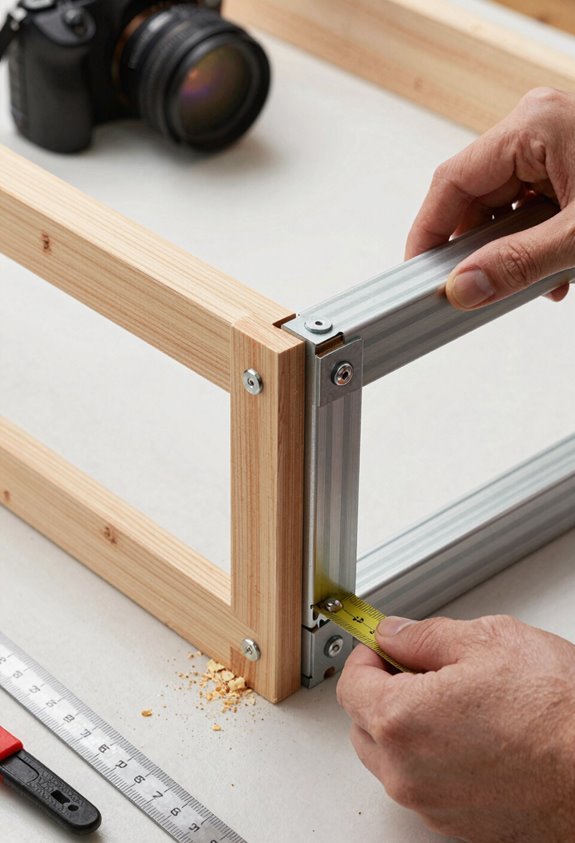
I start by cutting two 2x4s to my planned bed height for each leg. I pair these pieces to form an L shape for each corner of my raised beds. Cedar splits easily, so I drill pilot holes before driving screws to join the leg frames. I drill multiple holes along the length for strength.
I position my 4×4 corner posts and check square alignment. I measure between inner corners to check squareness. I use a framing square to confirm accuracy. I keep ends of boards flush with outer edges of corners.
For beds over six feet, I add middle supports to prevent bowing. I secure everything with screws before attaching long boards.
Assemble Wall Panels With Drainage Gap
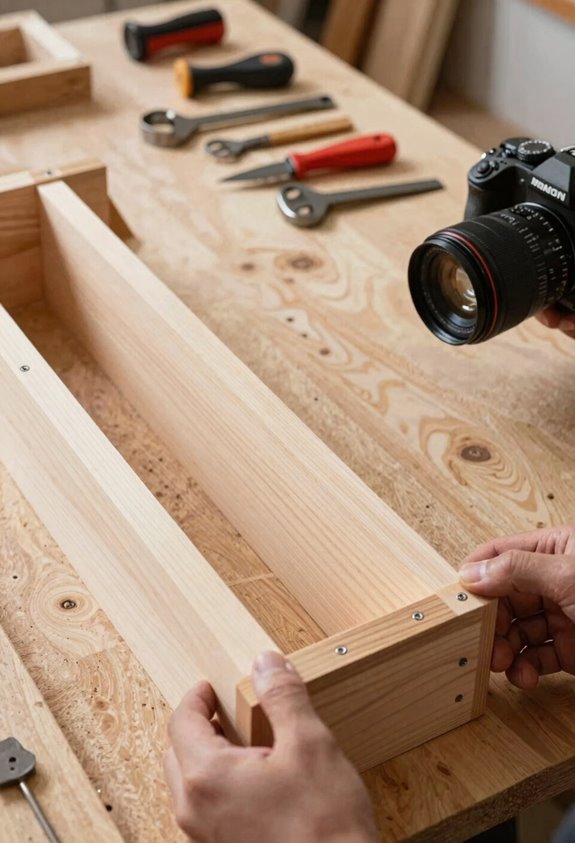
Why start with the wall panels before attaching legs? Precutting your six-foot lengths of 1×6 boards lets you build flat on the ground. I lay out three boards per wall panel. I space them with a 2-inch gap from the bottom edge. This drainage gap keeps soil from rotting the base.
I use scrap 1×2 to hold layers in place temporarily. I check squareness by measuring corner to corner.
For raised beds longer than six feet, I add a middle brace. Galvanized steel mending braces span all three side boards. I clip hardware cloth between wood and soil. This stops burrowing pests without blocking drainage. I verify right angles before moving to legs.
Attach Walls to Legs and Reinforce Weak Points
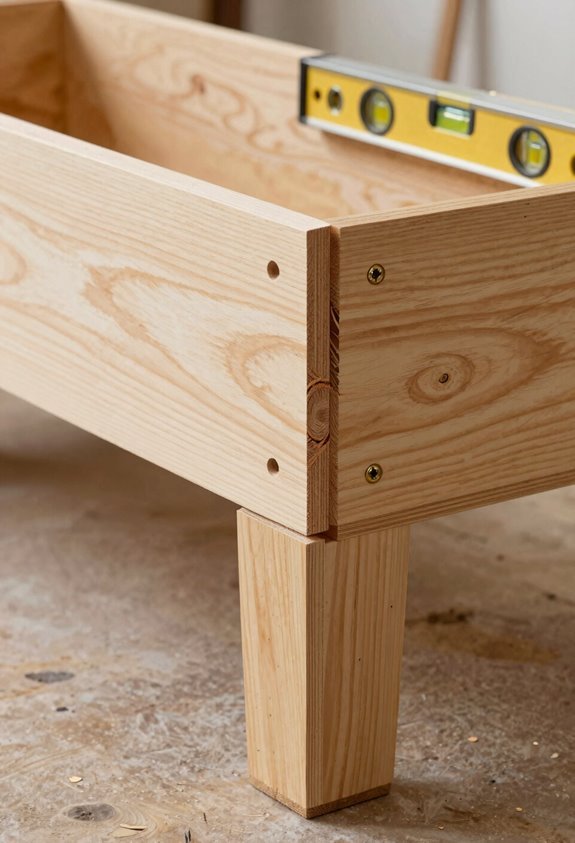
Each wall panel needs four 4×4 legs cut to 30 inches. I position the legs flush with outer edges of the 4×4 corners to get square corners. I then attach walls using precision drilling and screws through every hole. This locks the frame tight and cuts movement.
| Task | Tool/Material | Purpose |
|---|---|---|
| Attach walls to legs | Drill and screws | Secure panels firmly |
| Check square corners | Tape measure | Verify inner corner distances match |
| Add middle-side support | Galvanized brace | Stop bowing on long boards |
| Drill leg holes | Precision drilling | Maximize strength at joints |
| Reinforce weak points | Metal or wood brace | Maintain alignment over time |
For longer raised beds, I add a galvanized brace across all three side boards. I check inner corner measurements before moving to long boards. If no metal brace is available, I use a 2×4 or 2×2 instead. Metal gives better rigidity for raised beds that last.
Seal the Wood and Fill Your Raised Bed
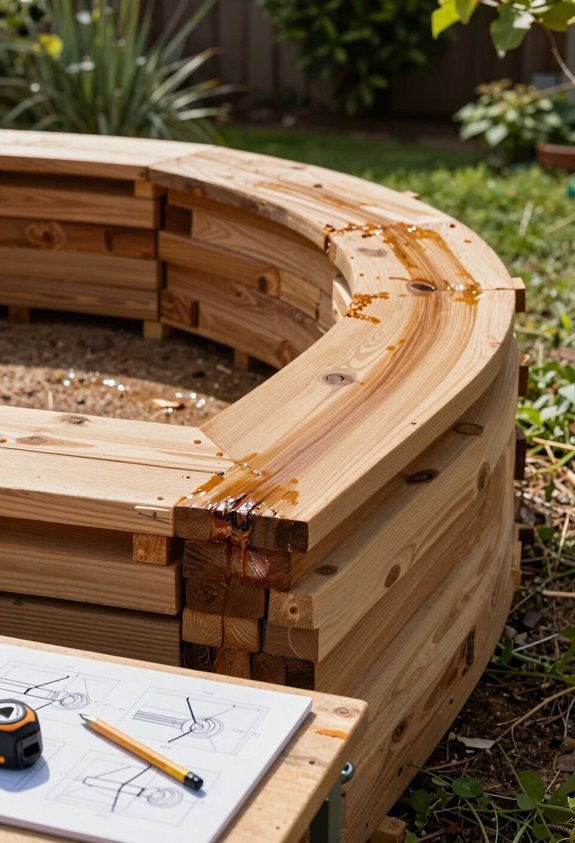
How should you prep cedar before sealing? I inspect my cedar boards for staples, remove them, and mark a reference board with a straight edge. This ensures clean surfaces before sealing wood with a non-toxic sealer.
Inspect cedar boards for staples, remove them, and mark a reference edge. Clean surfaces ensure proper sealing with non-toxic sealers.
I apply a mineral oil and beeswax conditioner to protect the raised bed frame. Sealing happens before or after cutting based on my workflow.
For bed lining, I consider these options:
- Hardware cloth base: I staple hardware cloth across the bottom for pest deterrence and drainage.
- Fabric liner: I use landscape fabric to prevent soil loss while maintaining drainage.
- Open base: I leave the base open for direct ground contact and root access.
I mix soil and compost for soil filling, adding the soil mix until it sits 2 inches below rim. This allows for settling. The 9 boards and 2 supports frame a durable structure.





