
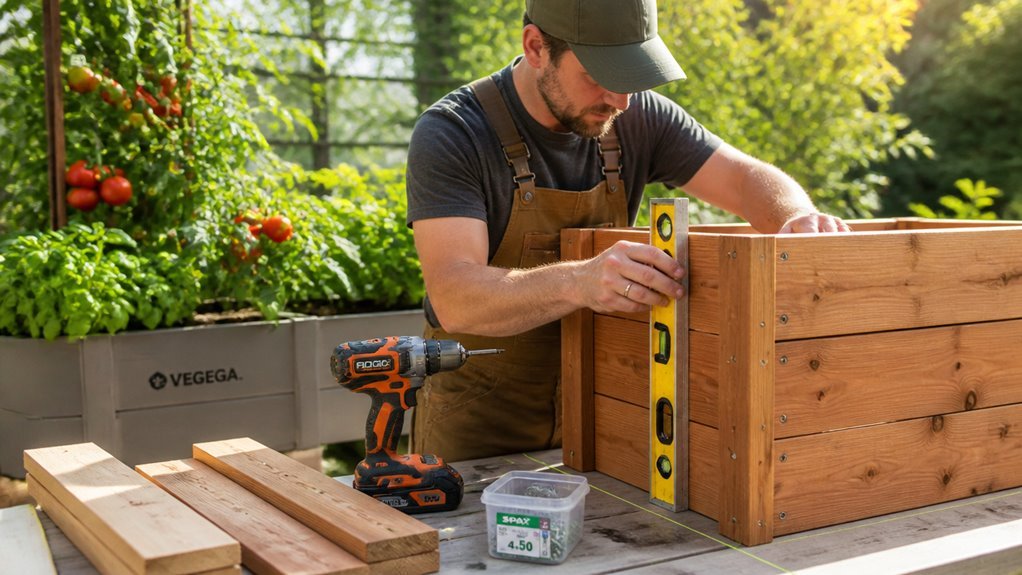
I frame elevated planters with 2×4 cedar and 6″ fence pickets ripped to 4.5″ widths. Each box uses eight 53″ slats, eight 27″ slats, 34.5″ legs, and 30″ top bars. I drain them with chicken wire, landscaping fabric, and perforated black plastic over 1.5″ x 1.5″ x 27″ rails. Two exterior seal coats protect the wood.
The base construction determines whether your plants thrive or rot.
Plan Your Elevated Planter Box: Design, Dimensions, and Cost-Smart Wood Choices
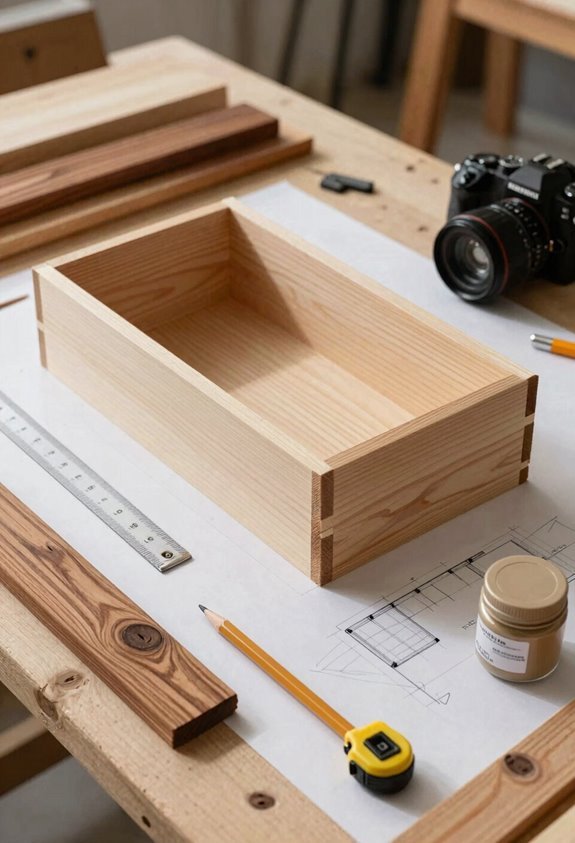
From rough-sawn cedar to finished slats, I’ve mapped out every piece. You’ll build the frame with 2×4 cedar wood and rip 6″ fence pickets to 4.5″ for thinner slats. Your planter dimensions matter: 34.5″ legs, 30″ top bars, eight 53″ long slats, eight 27″ short slats.
Drainage System
Install three layers inside your raised beds. Chicken wire adds strength. Landscaping fabric separates soil and aids drainage. Black plastic lines the interior with center-bottom holes.
Bottom Construction
Four 1.5″ x 1.5″ x 27″ rails sit 1″ up. Battens and bottom slats complete the base.
Weatherproofing
Paint the frame dark gray. Apply three coats spar varnish to slats. Container gardening starts with smart garden construction. DIY planters reward precise planning.
Cut and Sand the Cedar Frame and Slats
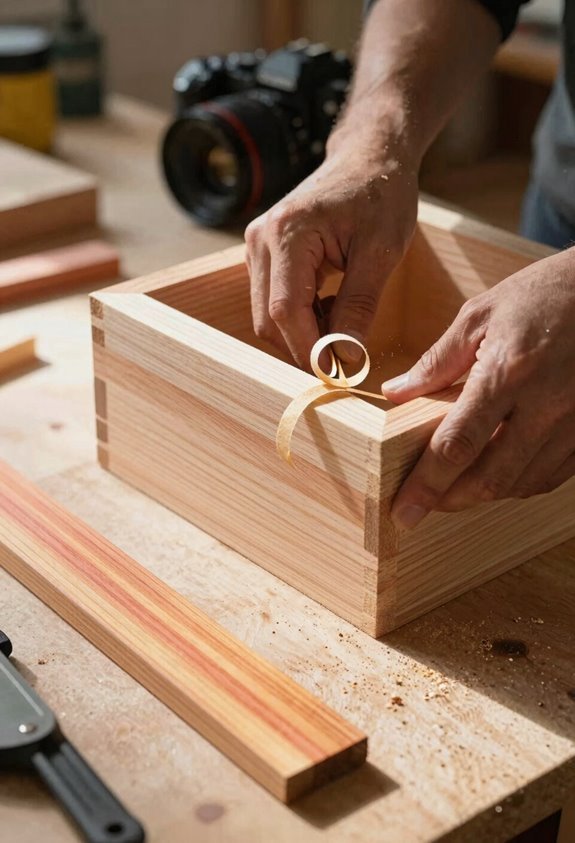
Where do you start? I grab my rough-sawn cedar 2x4s for the cedar frame and leave the surfaces unsanded to cut costs. Then I prep the fence pickets that become my slats.
Rip the pickets: I cut 6-inch boards down to 4.5 inches for a thinner profile on these plant beds.
Sand the slats: I take rough-cut stock to 180 grit for smooth planters.
Chamfer the edges: I add a 1/8 inch chamfer on front slat long edges for clean lines.
Drill pocket holes: I bore interior pocket holes 1/2 inch from leg edges for solid joinery.
My dimensions land at eight long slats at 53 inches and eight short slats at 27 inches. This setup frames my elevated plant beds precisely.
Assemble the Frame With Pocket Screws
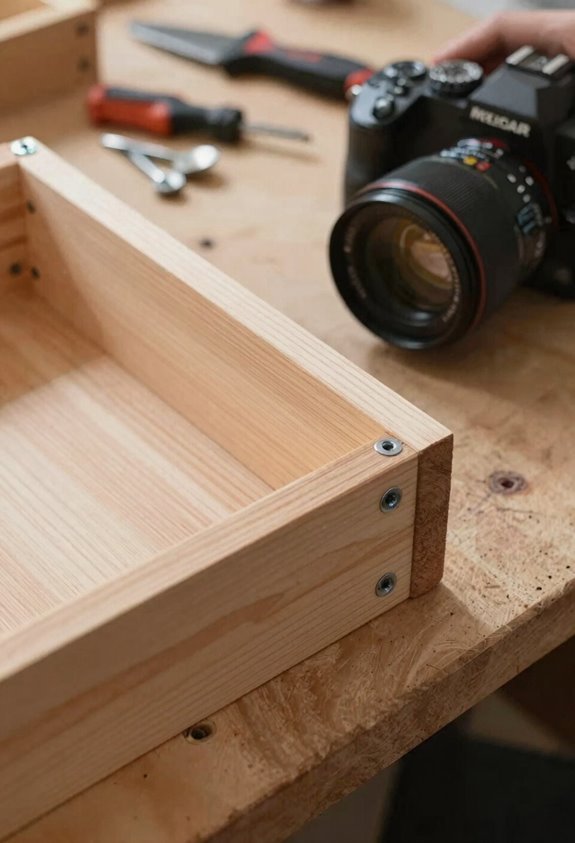
How do I start the frame? I grab my Kreg Jig and drill pocket holes into the legs and top bars for this cedar planter box. I position interior pocket holes about 1/2 inch from edges on all four legs. These holes attach slats later.
I cut six pieces total: four legs at 34.5 inches, two top bars at 30 inches.
I sink pocket screws toward leg centers to prevent splitting. I keep ends flush for clean joints. This cabinet-grade joinery creates strong long sides with back flush alignment and 3/4 inch reveal. The Kreg Jig provides consistent depth and angle throughout frame assembly. I check each joint twice before tightening.
Attach Slats and Build the Angled Drainage Base
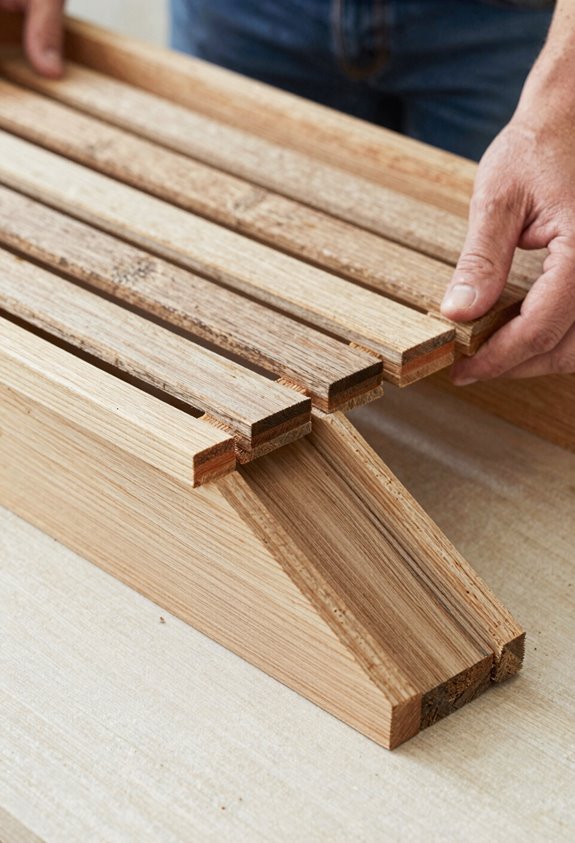
I start the angled base by attaching four bottom rails. I secure two rails on each side with the outer edge raised 1 inch from the bottom, centered between battens and side slats. I use glue and five screws per rail for solid attachments.
I build this angled base to create proper drainage in my raised-bed garden containers. I space bottom slats with 1/4 inch gaps between boards. Water flows toward the center channel.
Battens: I use 3/4 x 2 x 18 inch battens to support the raised-bottom assembly.
Bottom Slats: I cut 3/4 x 4.5 x 27 inch boards and leave gaps for drainage.
Rails: I angle rails to direct water flow toward the center.
Level Check: I verify the base stays level before the next construction steps.
These rails hold soil weight and maintain drainage pathways in finished garden containers.
Seal the Exterior and Install Interior Drainage Layers
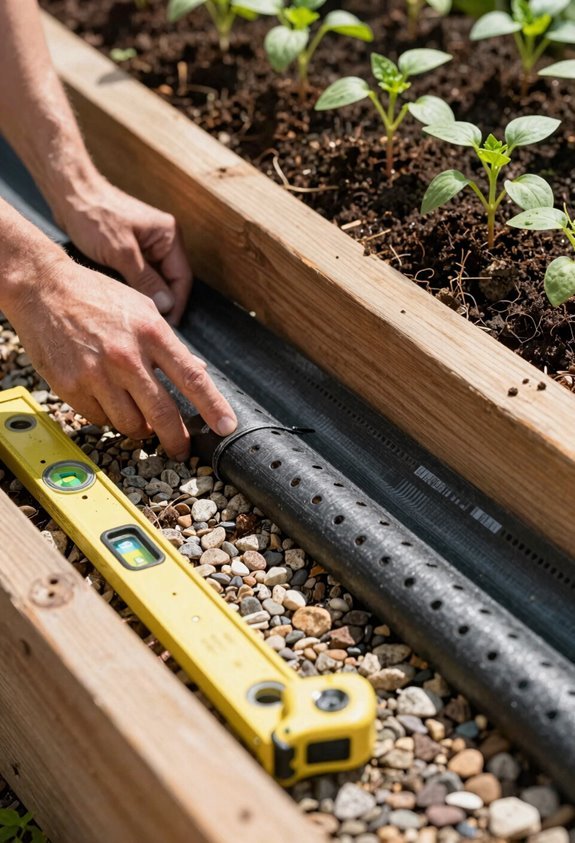
Why skip protection when it’ll cost you later? I apply two coats of exterior sealant to my planter boxes, adding a third to end-grain for wood protection. This shields raised beds from rot and weather damage.
I cut materials to my interior dimensions before installing the interior lining. I staple chicken wire across the base for strength. I layer landscape fabric over it for even dirt distribution.
I fit a plastic liner inside, extending it up all sides. I punch drainage holes in the center bottom. I secure everything with wide-head screws to prevent shifting. This three-layer system protects your wood while keeping soil where it belongs.





