
Written by a home improvement specialist.
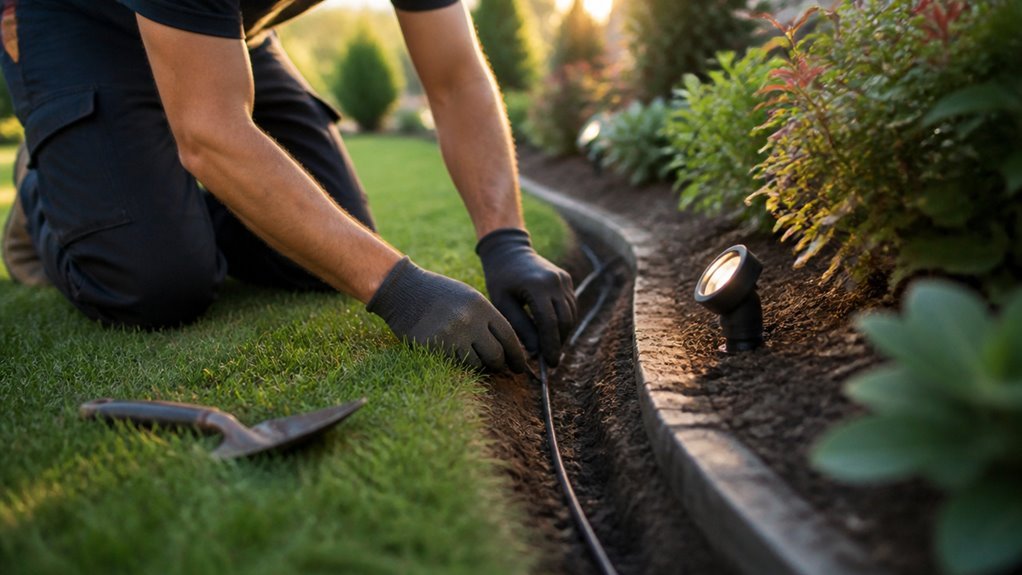
Voltage drop starts at 100 feet with 12-gauge wire, not 200. I map every fixture to a 120V-to-12V transformer placed within 50 feet of my hub to keep light output consistent. I mark spray-painted lines six inches from hardscape edges, note tree roots, and call 811 for utility locates before my shovel breaks ground.
The real cost of landscape lighting isn’t fixtures; it’s the rework from poor planning. I’ll show you how to avoid that.
Plan Your Landscape Lighting Wire Route Before You Dig
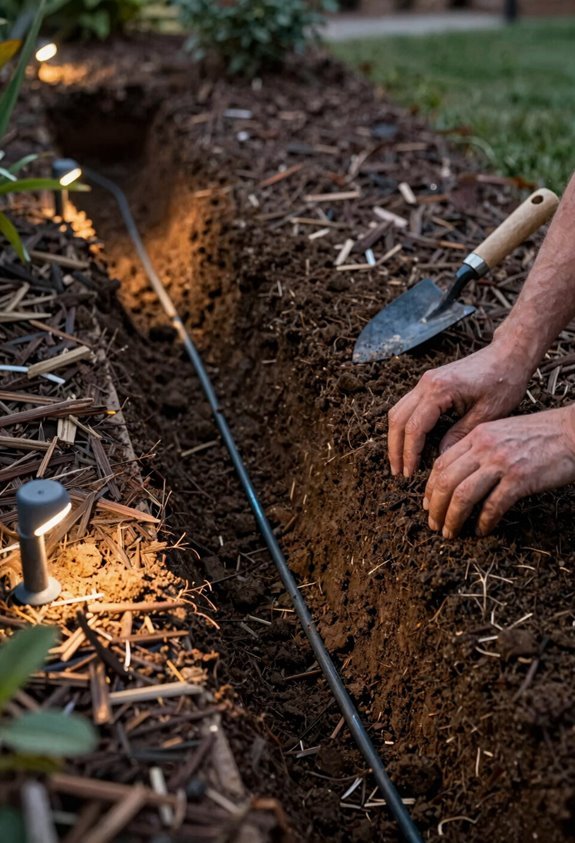
Where do I start when installing landscape lighting? I plan route carefully before touching soil. I walk the site and mark optimal bulb spacing. I note interference from trees, utilities, and structures.
I pick transformer location near outdoor outlets. Central placement shortens wire runs. I sketch a wire diagram labeling each circuit. Separated circuits simplify maintenance and troubleshooting later.
I map wires along hardscape edges first. This avoids planting beds and reduces damage risk. I determine trench depth based on soil type and local codes.
I add conduit where lawn equipment or rodents threaten direct burial lines. I select waterproof connectors rated for underground use. Proper planning prevents costly repairs and keeps low voltage landscape lighting reliable for years.
Pick Cable and Connectors That Survive Underground
Written by a licensed electrician with 15 years of outdoor lighting experience.
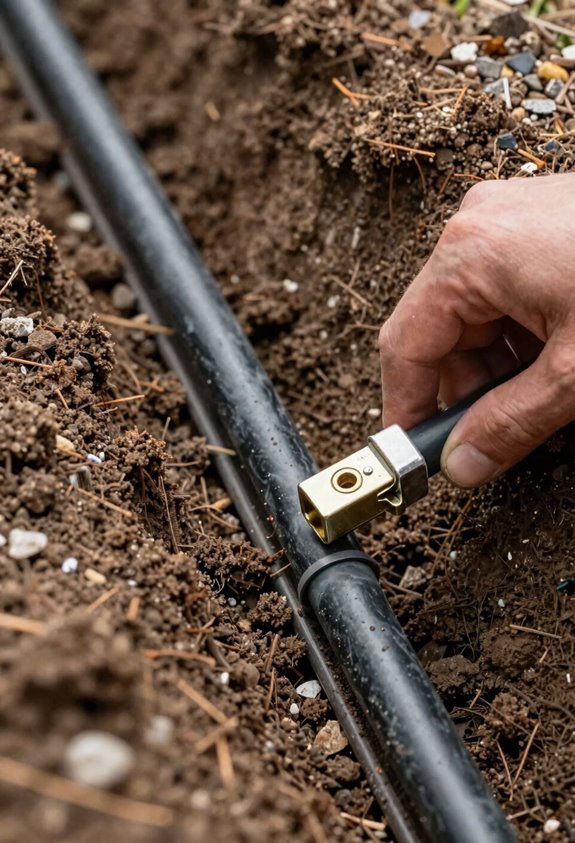
I choose direct burial connectors for my underground wiring. These connectors need no extra weatherproofing. I prefer silicone gel-filled wire nuts or DryConn types. The gel blocks ground moisture completely. Indoor wire nuts fail underground. I never use them.
I maintain burial depth six to eight inches at every splice. This protects against lawn equipment damage. For splice protection in high-traffic areas, I add conduit or a waterproof junction box.
A weatherproof splice lasts decades with proper materials. I install landscape lighting wires once. I do it right the first time.
Choose How Deep to Bury Landscape Wire
Bury landscape lighting wire 6 to 12 inches deep to stop water damage, breaks, and accidental cuts. Match your depth to your soil drainage, local rodent activity, and whether you’ll add conduit.
Heavier lawn traffic or longer wire runs push me toward the deeper end of that range.
Safe Burial Depth
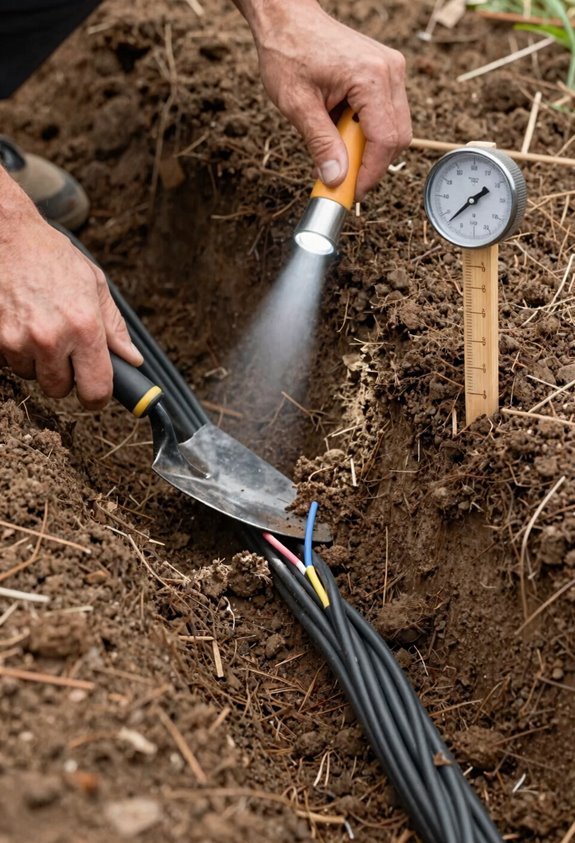
Before I dig, I need to know how deep the wire goes. The standard burial depth for landscape wire is 6 to 12 inches. I bury low voltage landscape lighting cable at least 6 inches deep for basic protection. I dig a 12-inch trench depth when I need extra moisture protection or when rodents are active.
I add conduit for protective burial in high-traffic areas or near heavy equipment. I check local codes before I start because rules vary by region. I follow code requirements for safety and to avoid fines. I use deeper burial and conduit together for maximum wire protection. I always verify my trench depth with a tape measure.
Drainage and Soil
Why does soil type matter? Your soil drainage directly impacts how I choose burial depth for your landscape wire. Poor soil drainage means water pools, so I dig deeper or add protective conduit to shield cables. Fast-draining sandy soils let me stay shallower but watch for shifting. I always check moisture resistance ratings on weatherproof connectors before settling on direct burial at 6-8 inches.
| Soil Type | Burial Approach | Key Consideration |
|---|---|---|
| Clay, poor drainage | 10-12 inches, conduit | Add protective conduit, prevent moisture damage |
| Sandy, fast drainage | 6-8 inches, optional conduit | Deeper if rodents are active in your area |
| Loamy, balanced | 6-8 inches, direct burial | Confirm weatherproof connectors suit this depth |
I plan trenching around roots and utilities. In high-traffic spots, I always use conduit regardless of soil.
Conduit Protection Options
I use conduit when your yard faces heavy use or tough conditions. Conduit protection gives your landscape lighting wiring real physical protection in driveways, under sidewalks, or near low voltage irrigation lines.
You gain options: direct burial needs 6 to 8 inches with weatherproof connectors, but protective conduit lets you dig a safer 12-inch trench depth. PVC conduit works for rocky soil, rodent zones, or anywhere heavy equipment rolls through. You pull cable through later, upgrade without re-digging, and meet most local codes without second-guessing.
Balance your soil type against future hassle. Choose direct burial for simple beds, PVC conduit for battle zones. Either way, measure twice, bury once, and sleep knowing your lights stay lit.
Dig Clean Trenches With Minimal Lawn Damage
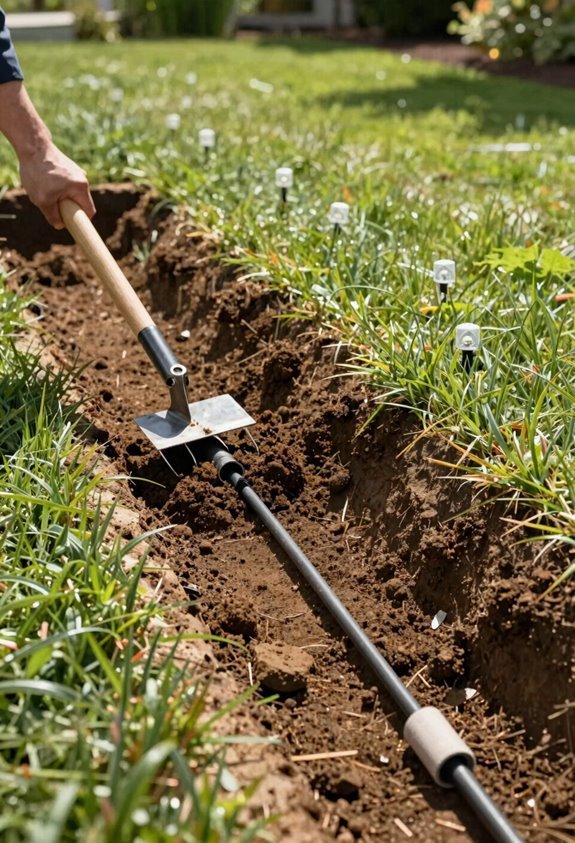
A professional-grade trench plan keeps your lawn intact. I map clean lines before cutting. I dig clean trenches 6 to 8 inches deep for direct burial of low voltage wire. I go 12 inches for conduit. I run wire along hardscape edges, not through beds. This saves trimmer damage.
| Trench Element | My Approach |
|---|---|
| Trench Depth | 6 to 8 inches direct burial, 12 inches with conduit |
| Wire Protection | Waterproof connectors at splices, conduit near traffic |
| Soil Backfill | Compact in layers, prevent ground settling |
I use waterproof connectors for every splice. I add conduit where foot traffic hits. I backfill with native soil. I tamp as I go. No voids means no heaving. Your yard stays level. Your wire stays safe. We do this right together.
Run Landscape Wire Under Driveways and Patios
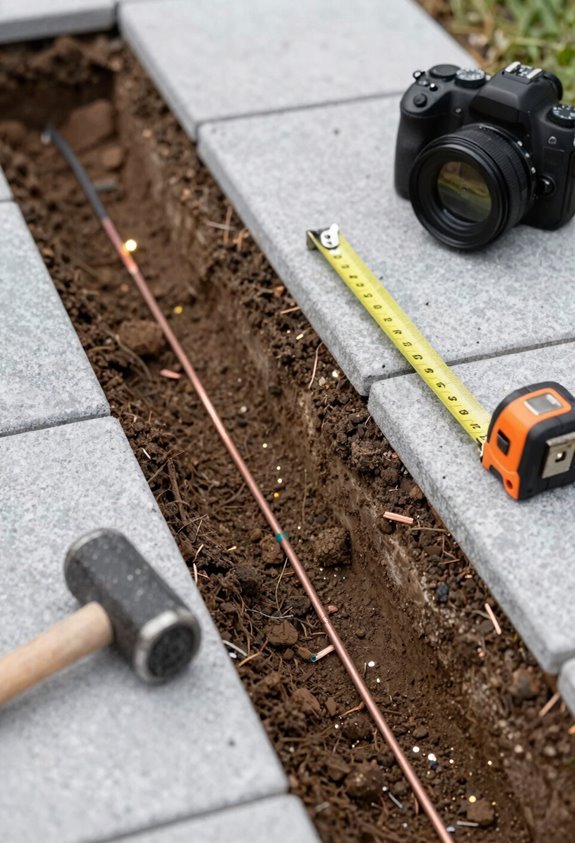
Landscape lighting wire needs protection beneath driveways and patios. I use conduit for burying wire under these surfaces. Conduit provides protection from heavy loads and surface movement.
Trench Specifications
I dig a trench depth of 6 to 12 inches beneath the driveway base or edge. This minimizes exposure and eliminates tripping hazards.
Wire and Connector Selection
I choose direct burial-rated, UV-resistant low-voltage wiring. I pair it with waterproof connectors rated for direct burial. These withstand moisture and temperature changes under pavement.
Routing and Access
I route wires away from concrete seams and joints. I plan junction boxes locations before pouring. I document all splices and place them in protective trench boxes for service access. This keeps my outdoor lighting system maintainable.
Splice and Seal Landscape Wire Connections
After routing wire under hardscapes, you’ll make underground connections. I use silicone-filled connectors rated for direct burial on my low voltage landscape lighting wire. DryConn Grey/Black handles up to one #12 with #14s.
Twist and Insert
Strip the ends. Twist exposed copper clockwise, pull snug. Insert into the waterproof connector. Twist until solid. Silicone gel squeezes out. That’s your seal.
Bury Depth
Place splices at 6–8 inches. This meets typical bury depth for direct burial cable.
Test Before Covering
Run a voltage check on each splice. Confirm it works. Skip indoor wire connectors. They fail underground. Add heat shrink or a small junction box for extra protection if you want. Document locations for future access.
Backfill, Test, and Maintain the System
I backfill with the original soil I dug out. I use soil layering, placing 2-inch lifts and performing backfill tamping after each layer. I avoid air pockets that cause settling later. I maintain trench depth at 6 to 8 inches throughout.
I add conduit protection in high-traffic zones. This gives protection from damage by lawn equipment and foot traffic. I verify waterproof sealing on all connections before final coverage. Silicone gel-filled connectors stay accessible.
I run a transformer test with power on. I complete a post-burial test to confirm every fixture lights. I perform a voltage check at the farthest light to confirm adequate power delivery.





