
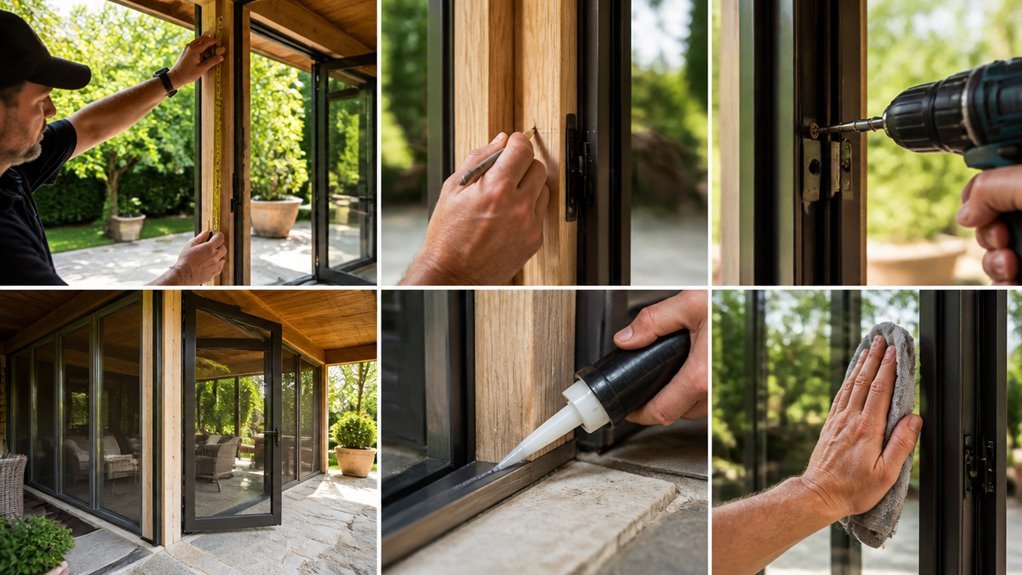
Homeowners who enclose their patios recover 75% of project costs at resale. I will walk you through measuring your space, choosing materials, and sealing the structure.
You need 4×4 pressure-treated posts, 6-mil vinyl panels, aluminum ceiling tracks, concrete mix, and weatherstripping tape. Posts go in 4-foot intervals. Tracks mount overhead. Panels slide on. Edges seal tight.
The process takes a weekend. The result extends your living space year-round. Start with your measurements. The right enclosure type depends on where you live.
Screen Room, Three-Season, or Four-Season? Pick Your Patio Enclosure Type
The choice depends on what you need and what you can spend. I look at four main types when planning a patio enclosure.
Screen Room
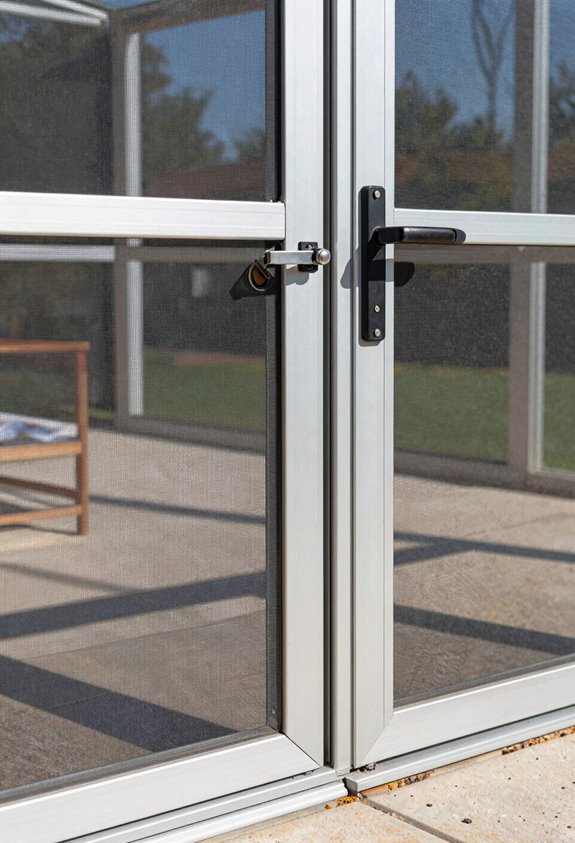
Budget-friendly option. Uses aluminum frame and rolling screen panels. Black aluminum screens keep insects out. Breeze flows through freely.
Three-Season Room
Costs more than screen rooms. Uses single- or double-pane glass. Keeps weather and bugs out. Not heated or cooled year-round.
Four-Season Room
Higher price point. Features framed-in glass walls and rolling panels. Double-pane insulated glass standard. Optional Comfort-Gard PLUS glass available. Includes heating and cooling unit.
Solarium
Maximum light option. Full floor-to-ceiling glass. Heated and cooled for year-round use. Highest cost.
I weigh my budget, climate, and desired use. Then I pick the outdoor space that fits my life.
Match Your Patio Enclosure to Your Local Climate and Budget

I pick this option when my budget is tight and my winters stay above freezing. Screen Rooms cost the least to enclose a porch. Three Season Rooms add weather protection without breaking the bank. Four Season Rooms run pricier but give year-round comfort with heating and cooling. Solariums top the budget with full glass and climate systems.
When winters stay above freezing and money matters most, I go with the cheapest option that still keeps me comfortable.
Climate Control Decisions
Mild climates suit basic screens. Harsh winters or blazing summers demand Four Season Rooms with insulated glass or a Solarium with HVAC. Skip Three Season Rooms if you need January heat or July AC.
Match your local weather to your wallet. Plan for long-term energy costs, not just upfront price.
Measure Your Patio Precisely or Call a Professional
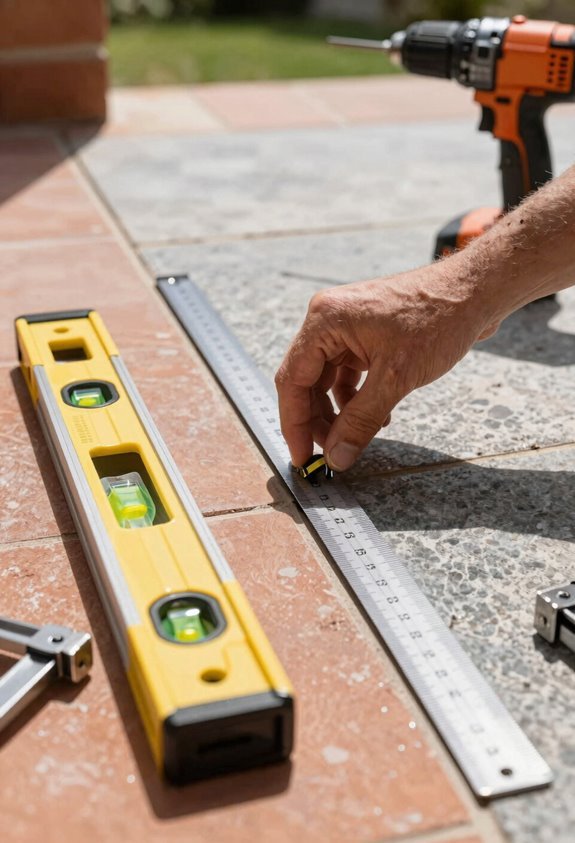
Accurate measurements prevent costly mistakes and ill-fitting panels. I recommend measuring your patio’s length and width at multiple points. Irregular shapes and slopes require this attention. Note the smallest clear dimension for material sizing.
Record existing structures including posts, rails, and roof overhangs. Document any obstructions affecting enclosure placement or clearance. Corners and angles need precise capture. Use a plumb line or laser measure for this task. Deviations impact panel alignment significantly.
I keep detailed records throughout this process. If your layout feels complex or your confidence wavers, call a professional for an in-home measurement. A professional provides precise specifications and a reliable quote. This step protects your investment and guarantees proper fit.
Choose Patio Materials That Balance Light, Durability, and Insulation
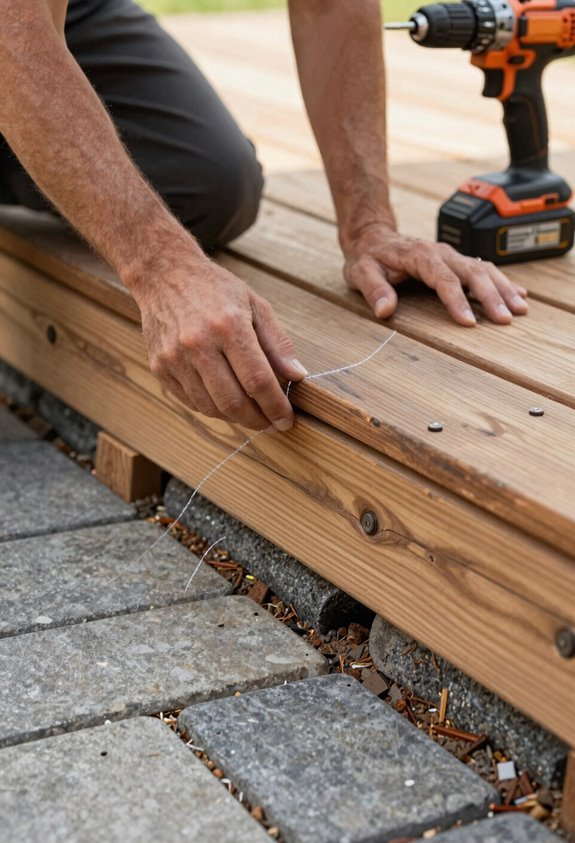
I select enclosure panels and curtains based on three factors: light transmission, weather resistance, and thermal performance. Insulated porch panels rated R3 or R6 maximize warmth in cold weather while maintaining transparent visibility. Clear vinyl curtains offer natural light with weather protection, and insulated vinyl performs better than standard options in low temperatures when paired with static, track, or zipper mounting styles that seal gaps.
Light Transmission Options
Choosing the right materials means weighing how much sun you want against how much protection you need. I look at clear vinyl when I want full visibility and natural light without sacrificing weather protection. For colder months, I choose insulated enclosures with R3 or R6 ratings. They cut light slightly but keep heating bills down.
- Clear vinyl curtains, maximize daylight and views, block wind and rain, ideal for three-season use.
- Opaque vinyl, cut glare, boost privacy, reduce natural light significantly.
- Black aluminum screens, maintain outdoor brightness, exclude insects, minimize harsh reflections.
- Double-pane glass, balance light with insulation, control heat transfer, work year-round.
Solariums flood spaces with light but spike energy costs. I match my choice to my climate and daily habits.
Weather Resistance Factors
How do you keep wind and water out without turning your patio into a cave? I choose enclosure materials that balance light and protection.
I install clear vinyl panels for visibility. I add waterproof layers behind them to block rain and snow.
For weather resistance, I select insulated vinyl curtains rated R3 to R6. These keep cold air out during winter months.
I pair breathable fabrics with protective backing for year-round use. I add optional heating when temperatures drop further.
I use 18-ounce reinforced vinyl for wind durability. I secure it with reinforced grommets and industrial webbing. This prevents tearing in strong gusts.
I mount everything on track systems with static, ceiling, or freestanding options. This minimizes gaps and seals out drafts.
Thermal Performance Ratings
Why settle for one-season comfort when you can stack materials for any weather? I choose insulated porch enclosure panels rated R3 or R6 for extreme cold. These panels deliver higher thermal performance than standard clear vinyl curtains. I remove and store them when warm weather returns.
R-Value Ratings: Insulated panels carry R3 or R6 ratings. Higher numbers mean better heat retention.
Track Systems: Insulated curtain tracks fold to the side. This cuts heat loss and controls airflow.
Climate Matching: Four-season rooms and solariums cost more. They deliver maximum climate control.
Seasonal Flexibility: I store panels in summer. This balances year-round usability with comfort.
I weigh climate severity against cost. Insulated options prioritize thermal performance over light transmission.
Budget for Your Project and Pull Permits If Required
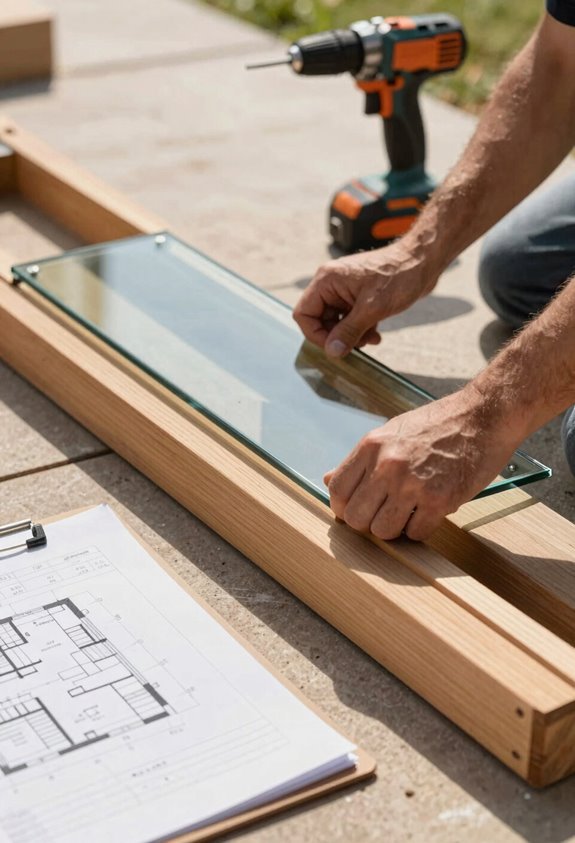
I start every patio enclosure by nailing down real numbers. I map costs for framing lumber, window panels, fasteners, sealants, and labor. I add 15% for surprises like rot repair or code upgrades.
I check city hall early. I ask if my wall height triggers a permit or if electrical for outlets needs separate approval. I get answers in writing before I buy materials.
I pad my total by one-fifth. Rotten fascia, uneven slabs, or delayed deliveries eat cash fast. A buffer keeps the job moving without panic spending.
Cost Planning Basics
Before you pick materials or call contractors, you need a realistic budget and a clear vision of what you’re building. Your outdoor living goals shape every dollar you spend.
I start with these essentials:
- Define your enclosure type: screen, three-season, four-season, or solarium each carries different costs
- Request in-home estimates — experts measure your space and tailor quotes to your specific needs
- Compare year-round versus seasonal use — climate control adds expense but extends usability
- Communicate your vision clearly — alignment between budget guidance and expectations prevents costly changes
Online estimates vary widely. They cannot account for your exact measurements or material choices. An in-home assessment provides accurate numbers. You deserve a space that fits both your lifestyle and your wallet.
Permit Research Steps
Local rules decide what you’re allowed to build. I check my city and county building codes to see if enclosing my patio needs a permit. Requirements change based on location and structure type, so I don’t skip this step.
Estimate Your Budget
I list every cost: framing, roofing, windows, doors, hardware, labor, foundation work, and HVAC or electrical changes. Permitting fees go in too. I add 10–20% extra for surprises like code changes or unexpected site conditions during review.
Research Permit Timelines
I call my local office early. Processing takes weeks or months. Fees vary by project scope. Electrical or plumbing work raises costs. I find out if I need a simple residential permit or a full structural review. This affects my budget and wait time directly.
Budget Buffer Tips
- Permit costs: Check if permits are required in your area. Factor in design, review, and inspection fees before work starts.
- Professional assessment: Compare online estimates with an in-home evaluation to match actual measurements and labor needs.
- Feature upgrades: Add costs for insulated panels, climate-control units, and 3D visualization tools.
- Timeline flexibility: Account for material delays and permit approval periods that stretch your schedule.
I verify permit requirements early. I build my budget buffer around real numbers, not guesses.
Close In Your Patio: Install Supports, Hang Panels, and Seal Edges
I space my posts every 4 to 6 feet for even load distribution. This framing creates a sturdy patio enclosure that changes your outdoor area into a true living space. I use pressure-treated 4x4s or aluminum posts set in concrete for lasting strength.
I hang clear vinyl curtain panels or screen materials from a ceiling-mounted track system. I align each panel with existing doorways and openings for smooth sliding operation. I check every panel with a level to ensure plumb placement.
I seal all edges with weatherstripping or grommeted tracks along the bottom and sides. This blocks wind and water intrusion. I test each panel by sliding it open and closed. I recheck seals and re-tighten fasteners to maintain a durable, weatherproof enclosure.
Add Zipper Doors to Your Patio Enclosure for Easy Access
Why struggle with full panels when zipper doors offer simpler passage? I integrate zipper doors into my porch enclosure to create seamless entry points. These doors use durable zippers in reinforced hems. They block wind and moisture when closed.
Zipper doors transform rigid enclosures into flexible, weatherproof spaces with effortless entry and exit.
I position them for optimal traffic flow between spaces.
Material Selection
Choose marine-grade zippers rated for outdoor use. Select clear vinyl 20-30 mil thick for visibility and durability.
Placement Strategy
Install doors at natural transition points. Space multiple entries 8-12 feet apart for balanced access.
Integration Methods
Fit zipper doors into insulated or non-insulated panels. Match panel weight to zipper load capacity.
Maintenance Protocol
Clean tracks monthly. Lubricate mechanisms seasonally. Inspect hems annually for wear.
Clean Your Patio Enclosure to Keep It Crystal Clear
How often do you notice streaks or cloudiness blocking your view through the patio curtains? I keep my vinyl curtain enclosures spotless with mild dish soap and warm water applied by soft microfiber cloths. I clean my patio enclosure monthly to prevent buildup that ruins transparency. I avoid abrasive scrubbers and pressure washers that destroy vinyl seams and grommets.
I inspect tracks weekly, wiping debris with a damp rag to stop curtain sticking. I check for mold spots and treat them with gentle cleaner immediately. I roll my curtains for storage during harsh sun months to limit UV damage.
| Task | Frequency | Tool |
|---|---|---|
| Wipe vinyl panels | Monthly | Microfiber cloth, soapy water |
| Inspect tracks | Weekly | Damp rag |
| Treat mold spots | As needed | Gentle cleaner |
| Store curtains | Off-season | Roll, don’t fold |





