
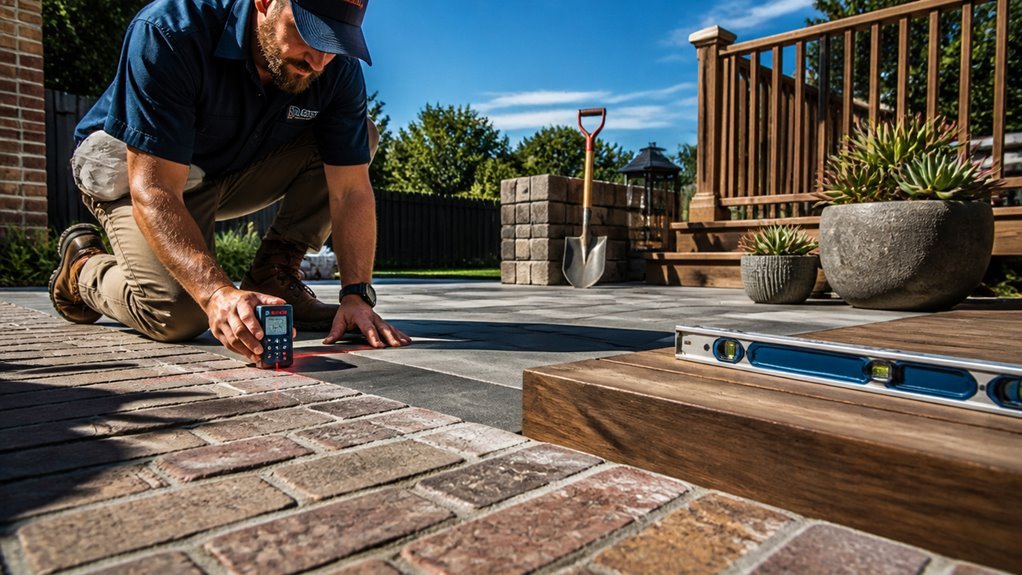
Last spring, my neighbor added twelve feet to her concrete patio for under $800. She tied the new slab to the old one with rebar dowels and used a 2% slope for drainage. The work took one weekend plus cure time.
You can match her results with proper planning and the right materials.
Plan Your Patio Extension Scope and Budget
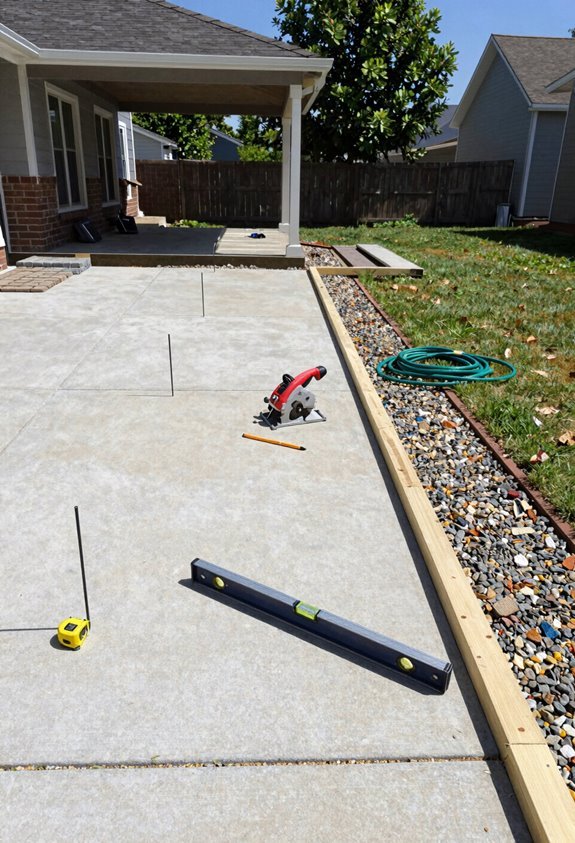
Start by deciding what to do with your existing patio. You can reuse, resurface, demolish, or extend the existing slab. Determine final thickness. Choose a 2″ topper or start from scratch.
Calculate concrete volume for your concrete patio extension. Multiply extension width by slab depth by thickness factor for cubic feet. Divide by 27 for cubic yards.
Budget planning drives material choices. Decide between concrete delivery or bag mixing. Delivered concrete cuts on-site work and curing risks.
Plan your sub-base. Excavate to 8″ depth. Compact soil. Bring in 57 stone. Backfill with compacted gravel.
Use 1″ x 6″ lumber for forms. Keep them square, level, and aligned. Slope for drainage away from your house.
Choose Your Patio Extension Material: Concrete, Pavers, or Gravel
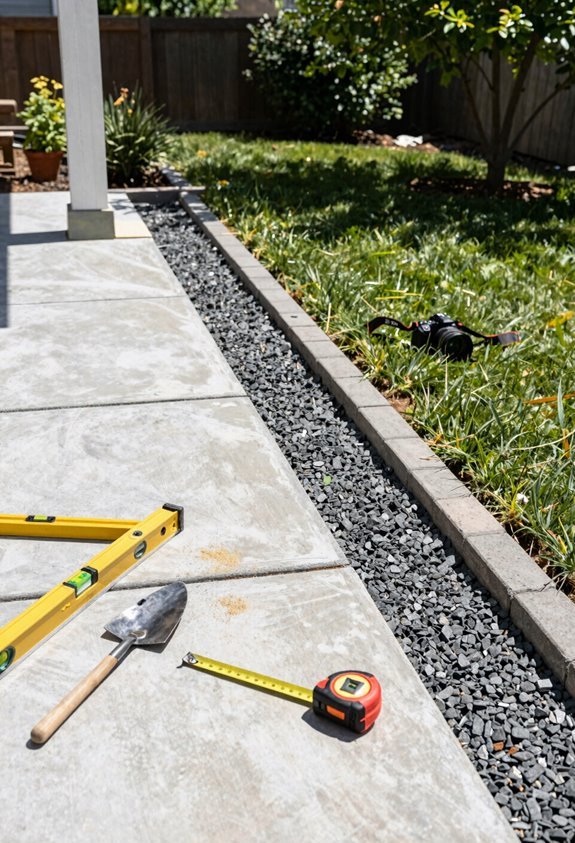
I’ve narrowed my options to three solid materials based on my budget and skill level. Concrete works if I’m ready to calculate cubic yards and handle 85 bags or a truck delivery for a 55 square foot pour. Pavers let me skip the concrete entirely with 9 units, 8 bags of base sand, and 20 feet of no-dig edging.
Gravel offers the simplest path using 3/8 inch blue chip stone, landscape fabric, and optional mulch glue for stabilization.
Concrete Patio Extensions
When I extend a patio with concrete, I first calculate how much material I’ll order. I measure length times width times thickness in feet, then divide by 27 to get cubic yards for delivery or bags.
Volume Calculation
Concrete patio extensions require precise math. My last project covered 55 square feet using 85 bags or truck delivery, costing about $500.
Reinforcement and Bonding
I drill holes into the existing slab and inject epoxy to tie old and new concrete together. Steel mesh works for lighter loads, but rebar strengthens heavy-use areas.
Drainage and Slope
I plan for water to run away from my home. I sometimes add a 2-inch topper over old concrete instead of full replacement.
Finishing Steps
I screed, bull float, edge, and broom finish. Proper curing creates a durable surface I can rely on for years.
Pavers and Installation
Why choose pavers? They let me extend my patio without pouring concrete. I can build a small area with nine pavers and eight bags of paver base sand. Materials run about $235.
Paver Base and Edging
I spread leveling sand and compact it with a straight edge. I lay the pavers, fill gaps with sand, and finish with mulch or rocks. I add edging to prevent shifting. Twenty feet of no-dig edging costs around $20. I leave seven to eight inches on each side for alignment.
Drainage Options
I can use landscape fabric under pavers for drainage and weed control. Foam boards work too, though I skip them if height becomes an issue.
Gravel Surface Options
3/8 in. blue chip gravel with gray/blue hues runs about $50-$80 per ton. I chose this for my patio expansion because it’s the most budget-friendly gravel extension option. You get instant results without waiting for cure times.
Drainage Base
Landscape fabric or foam boards go underneath. This stops weeds and lets water pass through. I use fabric for most projects.
Installation Steps
- Clear the area down to stable soil
- Lay your drainage layer flat
- Spread gravel and walk on it to pack it tight
Finishing Touches
Mulch costs less but rocks last longer. Either fills gaps around your new space. I prefer rock for a cleaner look that stays put.
Gravel extensions beat concrete and pavers on speed and price. You can still create hexagon or semicircle patterns if you want something unique.
Excavate and Build Your Gravel Sub-Base
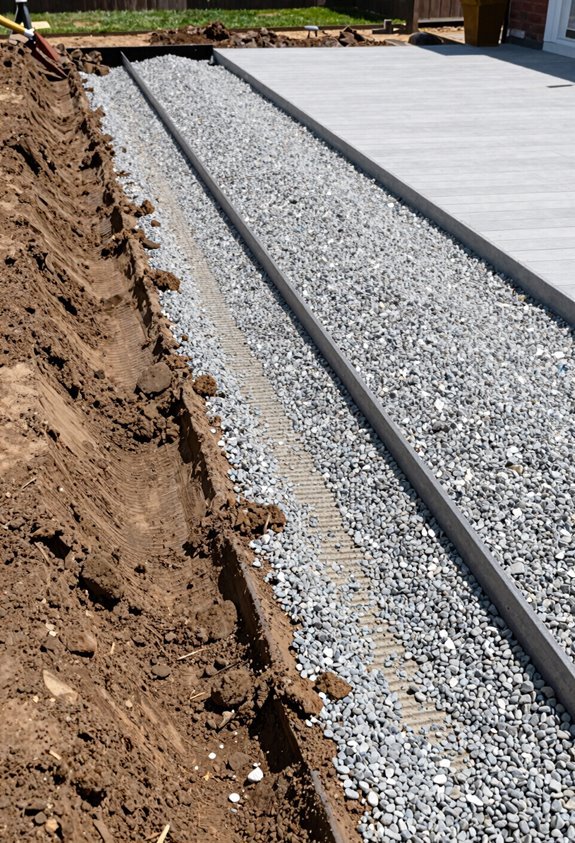
Sometimes the most critical work happens where nobody sees it.
I dig the area to 8 inches deep to make room for my gravel sub-base. I compact the soil with a hand tamper or mechanical compactor to create a stable foundation. This compaction prevents future settling.
I bring in 57 stone, also called crusher run, and water it to aid compaction. I backfill the excavation with compacted gravel sub-base to direct drainage away from my existing slab. I check that the layer is level and properly compacted throughout.
This solid base supports whatever comes next. I don’t rush this step. A well-built gravel sub-base gives my patio extension the professional result I’m after. I want my space to feel like it belongs with the rest of my home.
Frame, Edge, and Reinforce the Extension Area
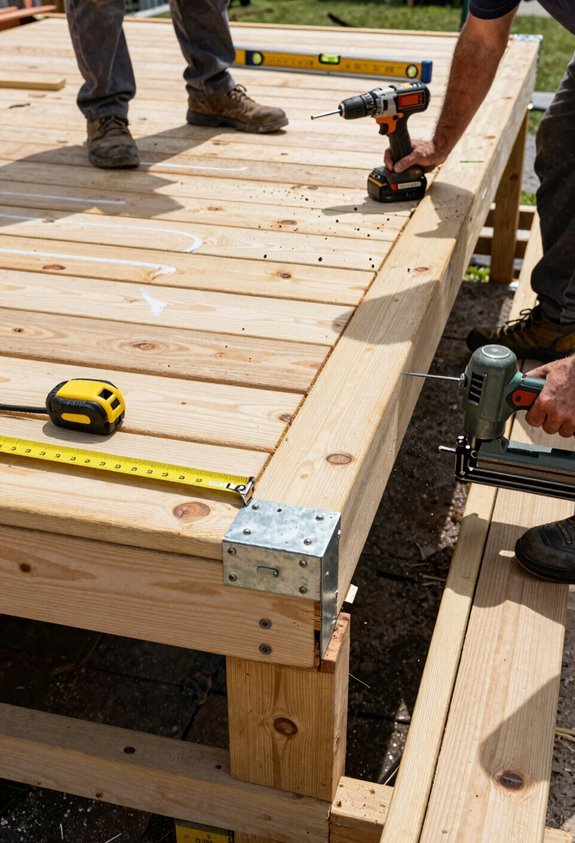
Once my sub-base is compacted and level, I set up my form walls using 1″ x 6″ lumber. I make sure they’re square, level, and aligned with my existing patio. I drive stakes on the backside to lock the forms in place. I slope the forms slightly away from my house for drainage.
I set my forms with 1×6 lumber, stake them tight, and pitch for drainage away from the house.
Next, I plan my reinforcement. I choose mesh for light use or rebar for heavy traffic. I dry-fit the steel inside my forms before pouring.
Form Setup
_Attribution: Lumber and stakes_
I use 1″ x 6″ boards for my forms. I check corners with a framing square. I secure everything with stakes spaced every two feet.
Drainage Slope
_Attribution: Water management_
I pitch my forms one-quarter inch per foot. I verify slope with a level. I keep water from pooling against my foundation.
Rebar Placement
_Attribution: Structural steel_
I anchor rebar into my old slab. I drill six inches deep and epoxy rebar in place. I position rods on chairs two inches above my sub-base.
Tie the Extension to Your Existing Patio Surface
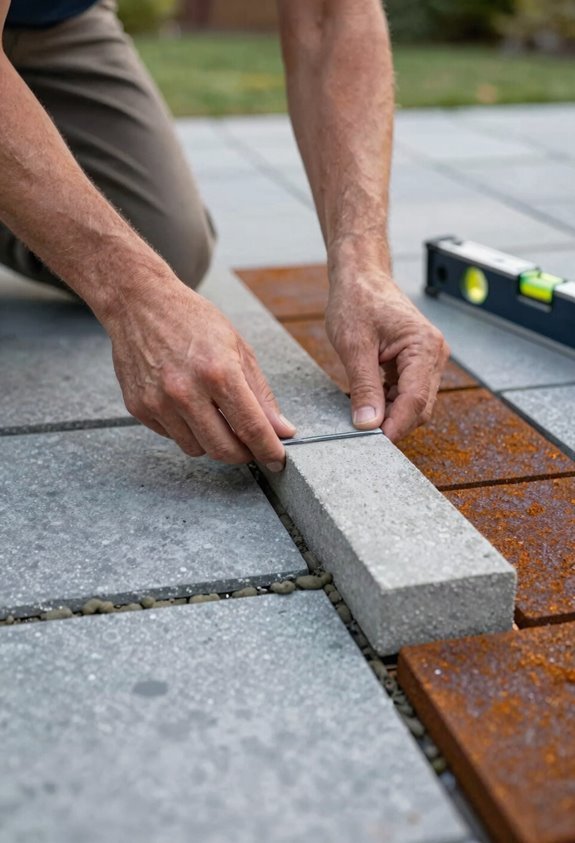
Why risk a cracked joint when I can lock my extension to the old slab? I drill six inches into the existing concrete, epoxy in rebar, and create a continuous bond. This prevents shifting and cracking at the seam.
| Connection Task | Tool/Material | Purpose |
|---|---|---|
| Drill holes | Masonry bit | Create rebar slots |
| Insert rebar | Epoxy adhesive | Bond old and new concrete |
| Add steel mesh | Dry-fit before pour | Reinforce extension body |
| Plan jointing | Match existing lines | Control crack placement |
| Compact sub-base | Crusher run gravel | Match original slab depth |
I excavate to match the existing base depth, compacting gravel for equal support. Jointing aligns with the old surface grade, directing water away from my house. I check level, slope, and texture to blend both surfaces seamlessly.
Pour, Set, or Lay Your Patio Extension Surface
I calculate my mix volume before ordering. I multiply length by extension width by thickness, then divide by 27 for cubic yards. This tells me whether I need a concrete truck or bags.
For my patio extension, I choose between three paths:
- Pour concrete, $5–$15 per sq ft. I order the mix, pour, and level.
- Lay pavers, $8–$20 per sq ft. I use 9 pavers for small areas, 8 bags of base sand, and landscape fabric. I set 7–8 inches of side spacing, fill gaps with sand, and edge with mulch or rocks.
- Spread gravel, budget DIY. I slope drainage away from the house and add no-dig edging.
I edge the perimeter on all options. This locks the surface in place and prevents shifting over time.
Finish, Texture, and Cure for Long-Term Durability
After pouring concrete, I wait for the surface to firm up before I start finishing. I use a screed with a straight edge to flatten the surface, then I finish with a bull float and hand trowel for edge detailing. I apply a broom finish after initial smoothing to create texture and improve traction. Overnight drying follows.
| Tool | Purpose | When to Use |
|---|---|---|
| Screed | Flattens surface | Immediately after pouring |
| Bull float | Smooths and levels | After screeding |
| Hand trowel | Details edges | During final finish |
| Broom | Adds texture | When surface firms |
| Sealant | Protects surface | After curing |
Proper curing prevents cracking and helps long-term durability. I keep the surface damp for several days. If roughness occurs, I apply Newcrete coating to improve appearance. Jointing controls cracks and extends patio life.





