
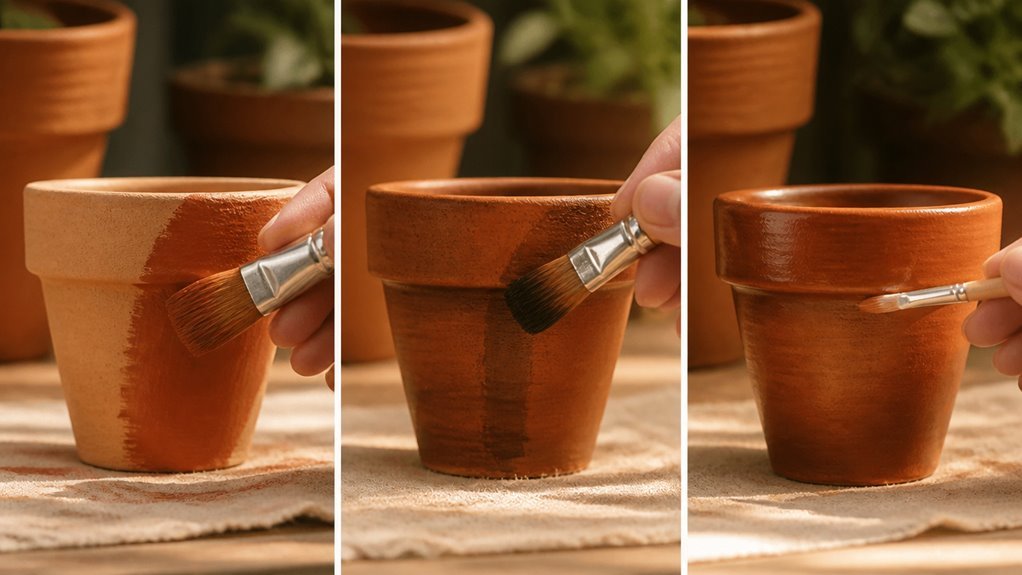
Paint prep, paint seal, paint finish: each step builds the next. I’ll walk you through the exact primers, sealants, and latex grades I use for pots that survive freeze-thaw cycles without flaking or molding.
Most guides skip the interior seal step. That’s where your paint job fails.
Clean and Prime Terracotta Pots for Paint That Lasts
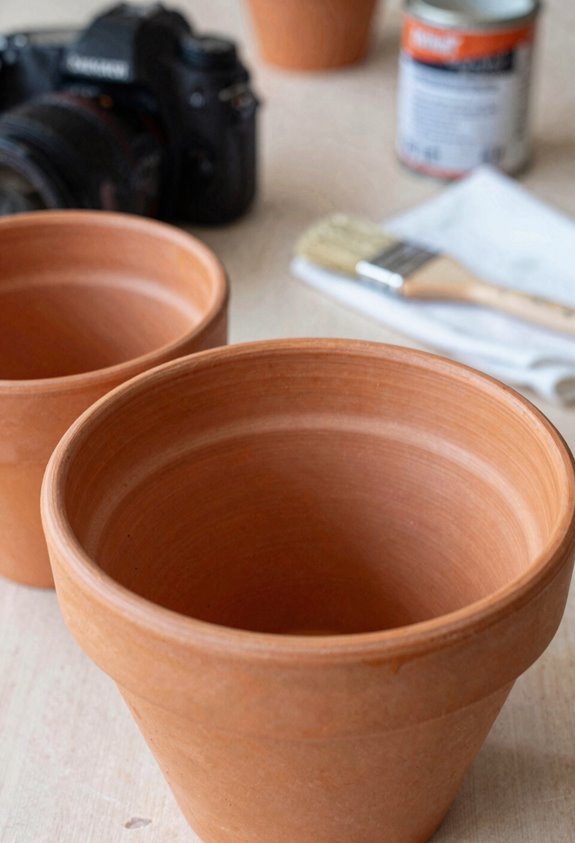
Why skip prep work when it ruins the finish? I learned this the hard way, and now I never rush priming terracotta pots.
Skipping prep work ruins the finish—I’ve learned this lesson the hard way.
Clean the Surface
Wipe each pot with a damp cloth. Remove all dust. Let it dry completely. Moisture ruins primer adhesion.
Apply Spray Primer
I prime inside and out for full moisture resistance. Spray primer works best in ventilated spaces. Use one or more thin coats. Let each coat dry fully. Choose a primer with water-blocking properties. This prevents interior moisture from bubbling paint later.
Wait for Cure
Let the primer cure per label instructions. This step builds durability for both interior paint and exterior paint. Rushing here destroys the finish. Proper priming gives lasting color and professional results you’ll want to show your friends.
Seal the Interior Before Painting (Critical Step Most People Skip)

Primed pots need interior sealing before exterior paint goes on. I seal interior surfaces with an interior coating to stop moisture from ruining my work. This moisture protection keeps terracotta pots dry inside.
I use spray primer or brush-on interior sealant on all inner walls and the base. Cure time matters. I wait 24 hours before exterior painting.
| Step | Product | Purpose |
|---|---|---|
| Prep | Spray primer | Interior sealant base coat |
| Seal | Interior coating | Moisture protection |
| Wait | Cure time | Prevention of bubbling |
I apply thin even layers for full coverage. Skipping this step causes paint terracotta failures later. Bubbles and peeling start when water seeps through unsealed clay. Proper interior sealing fixes this common mistake.
I check for dry surfaces before moving to exterior painting. This habit separates lasting results from rushed work.
Apply Exterior Paint in Thin Coats, Then Seal Again for Outdoor Use
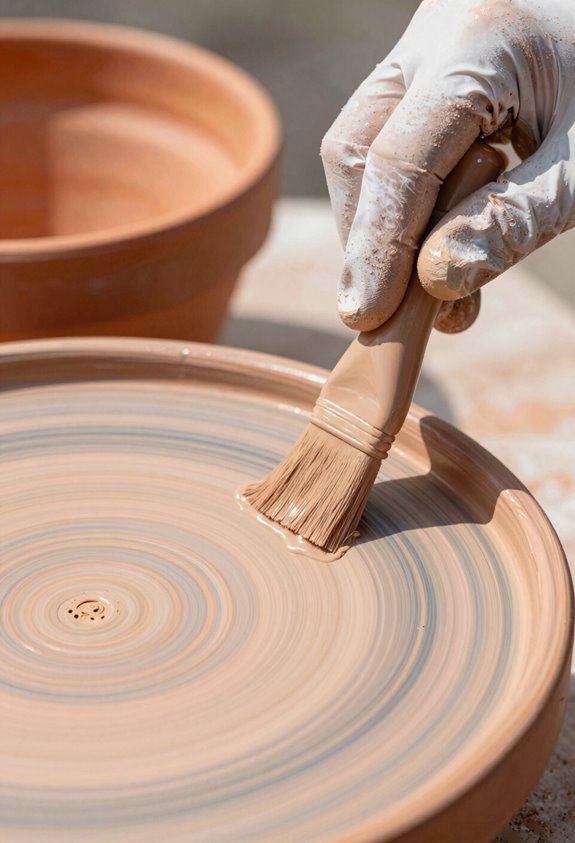
Thin coats build the finish I need. I apply exterior paint to my terracotta pots using latex paint in semi-gloss for durability. Thin coats prevent drips and even coverage. I let each coat dry fully before adding the next.
I use spray primer inside first if I skipped interior sealing. This stops bleed-through. I follow the manufacturer’s cure time between coats. Rushing causes bubbling and weak adhesion.
After the final coat dries, I brush on exterior sealant to make the surface weatherproof. This extra layer protects against rain and sun damage. I check that my sealant is rated for outdoor use. Proper sealing extends the life of my painted pots.





