
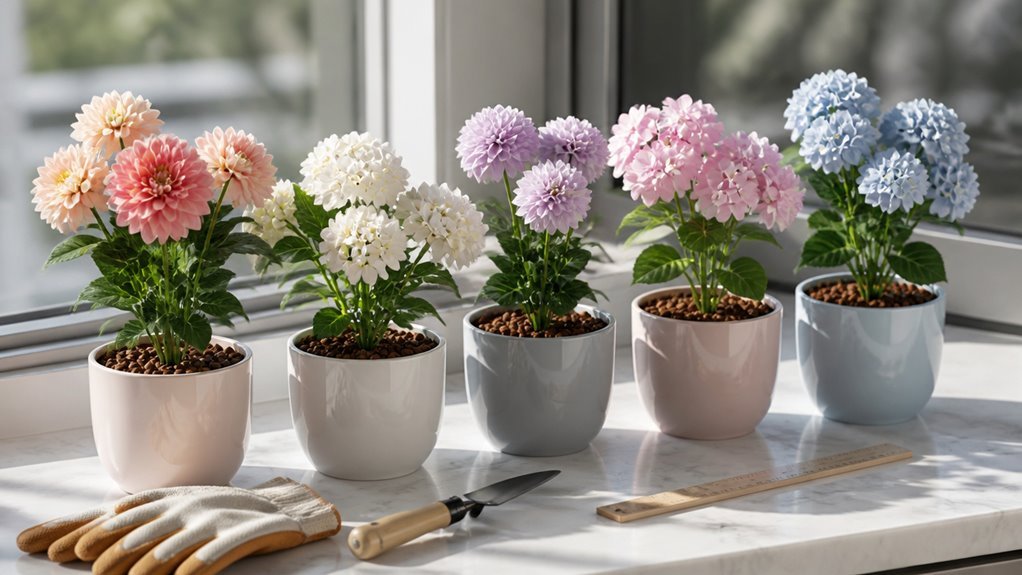
I use weatherproof pots with drainage holes and add two inches of sand for weight.
Floral foam holds stems at 15-degree angles for balance.
Real soil and moss hide the base.
UV spray protects leaves from sun damage.
The fifth step determines how long your display lasts outside.
Choose a Weatherproof Pot for Outdoor Artificial Flowers
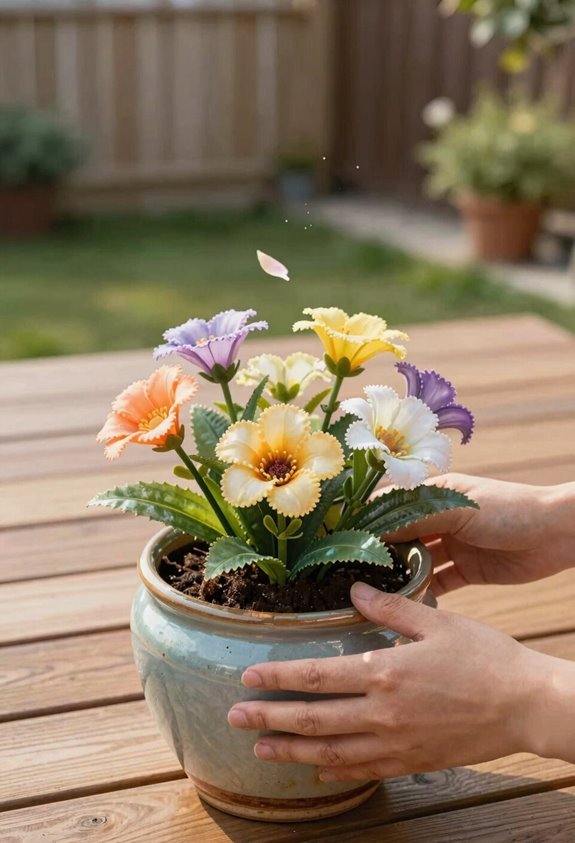
Why risk ruining your display? I’m choosing a weatherproof pot made of PE, polyblend, or PVC for my outdoor artificial flowers. These materials resist rain, wind, and temperature shifts without cracking or warping.
Check the Label
I look for UV-resistant and fade-resistant claims. This labeling means the pot withstands sun exposure. I add a clear UV protection spray at purchase to extend color life further.
Verify Drainage
I make sure planter compatibility includes drainage holes. Stagnant water pools around stems without proper drainage. This damages both pot and arrangement over time.
Prioritize Wind Stability
I select a weighty pot or add stones for ballast. This prevents tipping in gusty conditions. My display stays upright, and I maintain a neat outdoor space that meets the neighborhood standard.
Anchor Your Artificial Flowers Against Wind and Weight
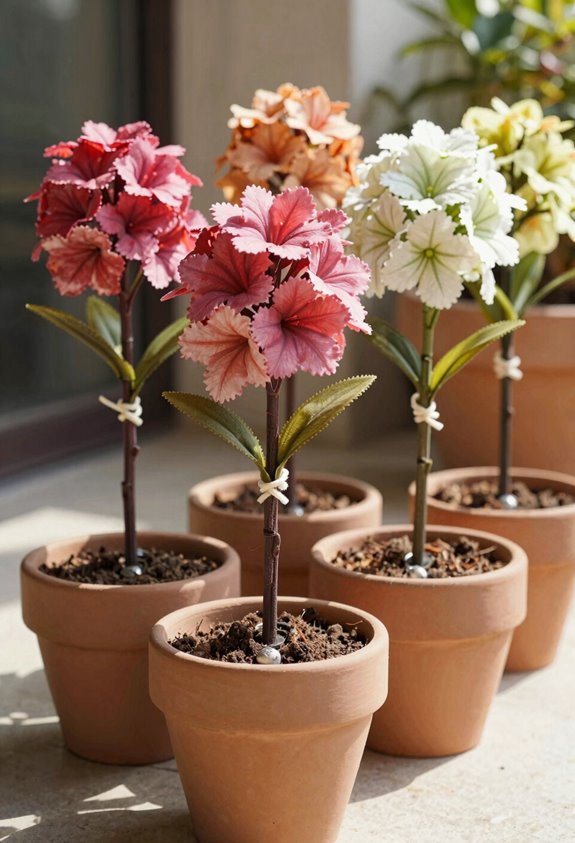
I pick a pot that weighs at least 5 pounds empty. This gives my arrangement basic stability against wind.
Add Weight Inside
I drop stones or sand into the pot. This lowers the center of gravity. The extra weight keeps everything upright in gusts.
Create an Anchor Point
I cut floral foam to fit snug inside. I secure it with hot glue or wire. This gives stems something solid to grip.
Insert Stems Firmly
I push each stem deep into the foam. I angle outward for balance. Nothing wobbles or pulls free.
Top with Natural Cover
I spread soil, moss, or small rocks on top. This hides anchors and adds more weight. The finished pot looks real. It stays put.
Arrange Stems for Natural Height and Fullness
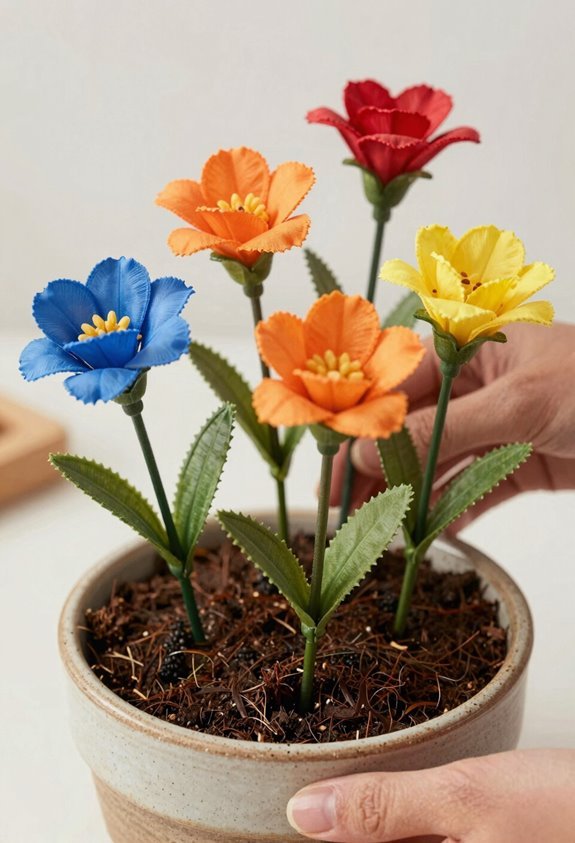
How do you make a pot look naturally full? I group my artificial stems in odd numbers. Three, five, or seven stems look balanced to the eye.
I mix textures for real fullness. I combine leafy greens, florals, and tall grasses. Different heights add depth to my arrangement.
I keep colors cohesive across all my planters. Random colors make faux plants look cheap and fake.
I place one large bloom at the center or back. I surround it with smaller stems. This builds natural height plus fullness.
| Element | Purpose |
|---|---|
| Tall grasses | Add vertical height |
| Leafy greens | Create mid-level fullness |
| Focal bloom | Anchor the arrangement |
I check my work from multiple angles. The stems should look layered, not flat. My planters welcome guests with balanced, believable greenery.
Cover the Base With Real Soil, Moss, or Rocks
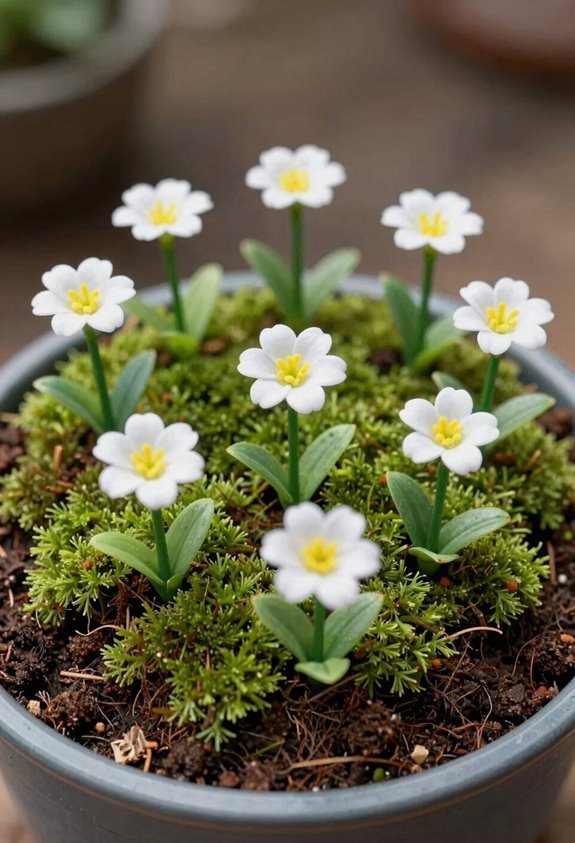
Artificial flowers need a believable base to look real. I use real soil or moss as my base cover to conceal starter pot edges and build a natural transition from planter to stems.
I layer soil first for weight distribution and stability. Real soil anchors the arrangement and hides the pot rim. I then press moss around each stem for a soft carpet-like finish.
I add decorative rocks on top for texture and height variation. Moss rocks create depth without clutter. I place stones strategically between stems.
This layered approach prevents shifting in wind. I keep soil light and avoid soaking artificial stems. Decorative rocks and moss together make the display look lived-in. The complete base cover fools the eye at every angle.
Clean, Protect, and Maintain Your Outdoor Display
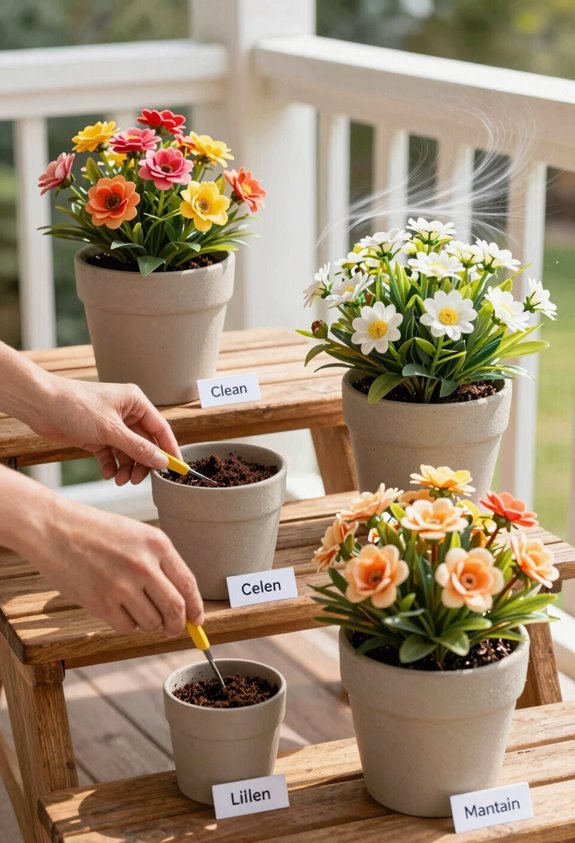
Monthly Cleaning
A soft cloth wipes dust from leaves and petals. I spray my artificial outdoor arrangements with a low hose setting to remove grime.
Deep cleaning requires warm water and mild dish soap on leaves and stems. I rinse and air dry before returning plants to my outdoor display.
UV and Weather Protection
I choose UV-resistant materials for my artificial outdoor flowers. I apply clear UV protection spray at purchase to extend fading resistance in sunny spots. Weather protection keeps my display looking fresh longer.
Planter Security and Storage
I secure artificial plants in heavy planters to prevent wind tipping. I check lightweight arrangements after storms.
Winter storage means removing plants, cleaning, drying, wrapping, and keeping them in a cool dry place, since most aren’t frost-proof.





