
Written by a home improvement writer.
I measure my yard with a 25-foot tape and mark sun patterns with spray paint. South-facing spots get six hours of light. I note water spigot distance and shade from fences or trees.
My map shows bed placement, 3-foot paths, and trellis spots. This step prevents costly mistakes later. You need this foundation before you buy lumber or seeds.
Find and Map the Sunniest Spot in Your Yard
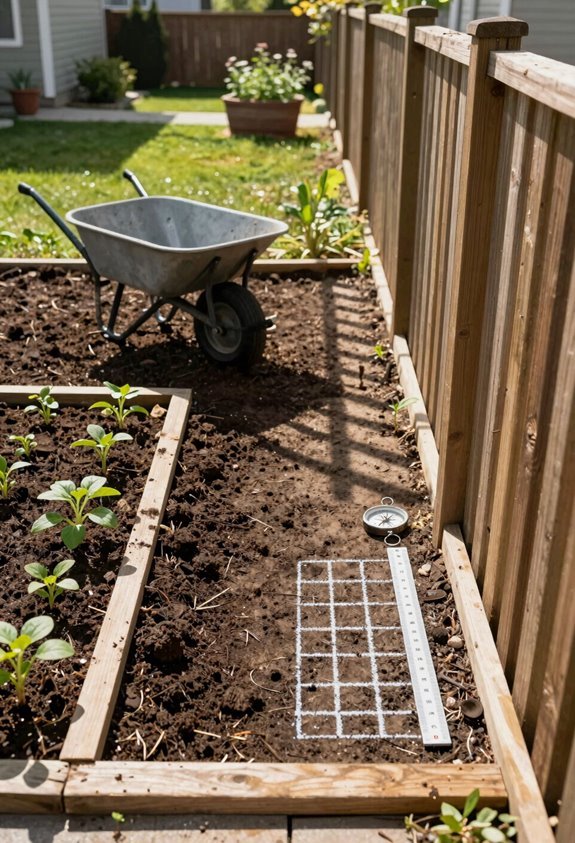
Where do I begin? I grab a tape measure and graph paper. I sketch my yard’s footprint with a pencil. I note north with a compass or phone app.
Check Your Sun Exposure
I watch where sunlight hits my yard. I mark tall fences, trees, and buildings. I track their shadows across the day. Most vegetables need six to eight hours of direct sun.
Pick Your Spot
I choose a south-facing area. I’m in the Northern Hemisphere, so this maximizes my light. I stay close to my hose spigot. Watering stays easy this way.
Build Your Placement Map
I draw sun patterns for each season. Spring, Summer, Fall, Winter each get their own layer. My placement map shows where beds go. I time my crops to match the sunlight I actually get.
Decide: Raised Beds or In-Ground Growing?

I’ll help you choose between raised beds and in-ground growing by weighing your soil condition, space limits, and physical access needs. Raised beds work best if your native soil is compacted clay or rocky, since you fill them with quality mix and skip the digging. In-ground beds cost less and suit level yards with decent dirt, though you’ll amend the soil over time.
Bed Type Basics
Why complicate your start? I chose between raised beds and in-ground gardening by testing my soil first.
Raised Beds
Build with cedar or composite boards. Use 4×4 or 4×8 foot dimensions, 10-12 inches deep. Fill with quality topsoil and compost. Raised beds drain faster and warm earlier. I skip heavy digging. Soil preparation means mixing amendments in a wheelbarrow, not breaking ground.
In-Ground Gardening
Mark plots with string lines. Till or double-dig 12 inches deep. Amend native soil with 2-3 inches compost. In-ground gardening costs less. Roots access deeper moisture. I level the surface with a rake.
Layout Rules
Space beds 24 inches apart for mower access. Align rows north-south. Add 6-foot trellises for tomatoes and beans.
Start with one 4×8 bed or a 10×10 foot plot. Expand next season.
Soil Situation Solutions
Because your soil dictates your setup, I test mine before committing to a method. Raised beds work best if your ground stays wet or compacted. In-ground growing suits yards with decent drainage and workable dirt.
- Raised beds, build with wood, steel, or stone. Measure 4 feet wide by 8 feet long. Fill with quality soil and compost. Beds drain fast and warm early.
- In-ground plots, amend existing soil with compost and organic matter. Turn the top 12 inches. Add 2 inches of compost yearly.
- Soil testing, grab a kit from any garden center. Check pH and nutrients. Adjust with lime or sulfur as needed.
- Bed depth, raised beds need 6 to 12 inches minimum. Root crops want more depth than lettuces.
- Starting small, pick one bed or plot. Expand once you know your rhythm. Both paths grow food.
Space and Access
Raised beds give you control over soil quality and drainage. I build mine 4 feet wide and 8 feet long using cedar or composite boards. This width lets me reach the center from either side without stepping in.
Accessibility
I plan pathways 2 feet wide between beds. I level the ground first. I place my garden close to the house. I run hoses or install drip lines before planting. Water proximity matters more than you think.
Starting Small
I began with one bed. I added more after I learned my rhythm. You can dig in-ground instead if your soil drains well. Test your dirt first. Improve it with compost. Match your choice to your budget and your back.
Design Your Layout: Beds, Paths, and Trellises
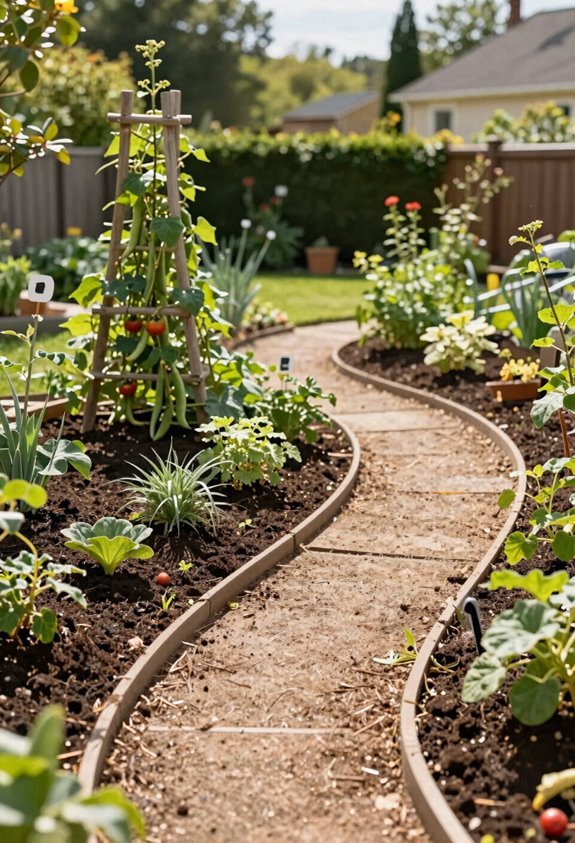
After you’ve picked your sunny spot, it’s time to map your garden. I grab graph paper and mark north to place my sunniest beds south-facing. My layout design includes raised beds for vegetables, perennial beds for pollinators, and three-foot paths between them.
I choose wood or steel for beds. I measure twice. I sketch everything before I build.
Raised beds: I space them evenly, level each one, and leave room to work all sides.
Pathways: I keep paths three feet wide so my wheelbarrow passes through.
Trellises: I plan metal panels and arch trellises for beans and cucumbers.
Water access: I mark hose bibs near beds to avoid dragging lines across plants.
Tall crops: I place corn and tomatoes where they won’t shade shorter plants.
Clear the Ground and Build Your Bed Frames
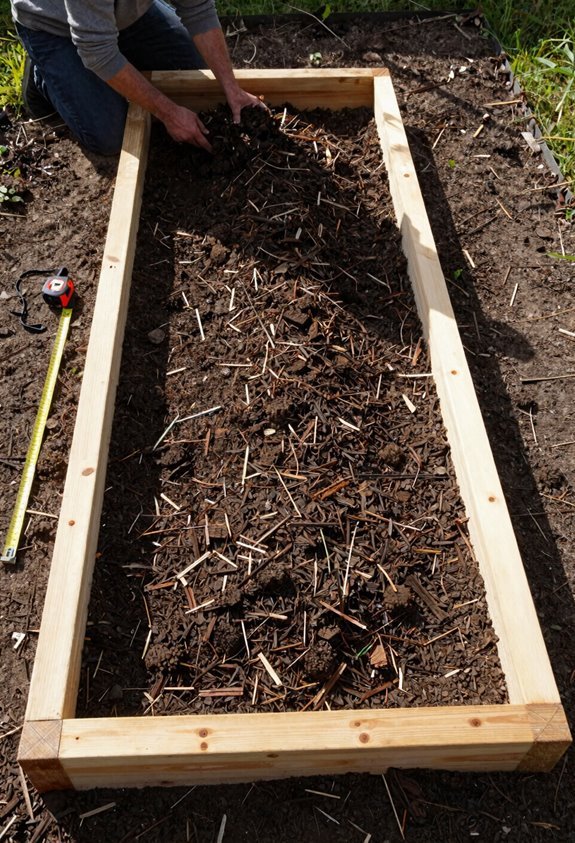
I clear the area first. I remove grass, weeds, and shrubs. I level the entire space for a solid base. I lay carpenter paper to suppress weeds beneath the beds and pathways. This groundwork prevents future problems.
I gather materials before installation day. I choose wood, steel, or stone for my raised beds. I measure each bed precisely for even spacing and full use of planned dimensions.
I build the bed frames ahead of time. Pre-installation assembly saves effort. I plan for trellises now, selecting metal panels, obelisks, or arch trellises for climbing crops.
I install the trellises in the bed area. I check that all bed frames match my planned dimensions. The structure is ready for the next step.
Fill Beds With the Ideal Soil Mix
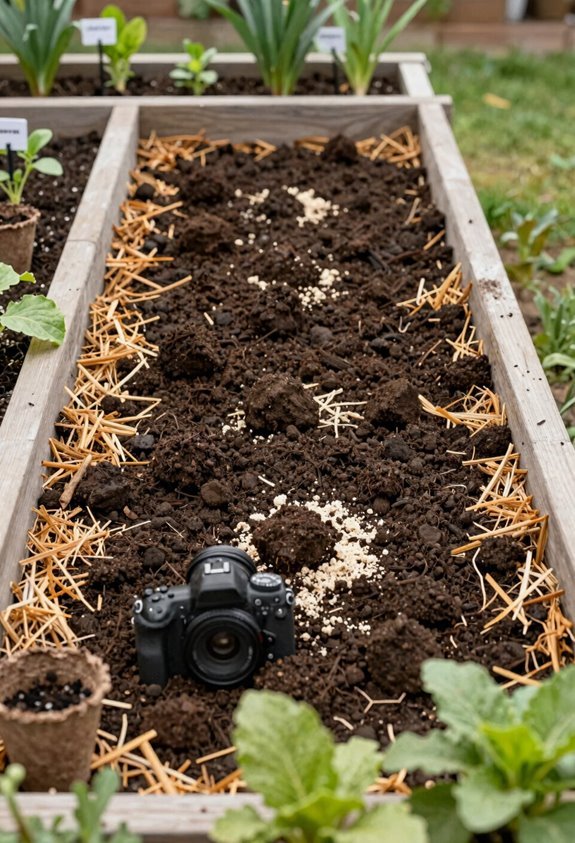
I select sandy loam soil that drains well and holds shape when I squeeze it, avoiding any clay-like textures. I source my soil from a local nursery and fill raised beds to the top edge, using layers for beds that reach 2 feet tall.
I prepare the base by clearing sod, leveling the ground, and laying carpenter paper before I add any soil.
Soil Type Selection
Attribution: Horticultural best practices for raised-bed construction.
I choose sandy loam soil for my vegetable beds. It drains well and feeds roots without waterlogging. Drainage matters for healthy growth.
My Ideal Soil Mix
- Sandy loam base gives roots room to spread and breathe
- Structure holds shape when squeezed but stays crumbly, not clay
- I fill beds to the top edge, or halfway for two-foot beds, then finish after trellises
- Compost and organic amendments keep drainage sharp and nutrients flowing
- I measure bed length, width, and final depth to order the right soil amount
I protect bed sides when shoveling. Good soil starts everything right. My garden belongs here.
Soil Sourcing Tips
Where do I find the right dirt?
I get sandy loam soil from my local nursery. I fill my raised beds to the top edge. I fill halfway for 2-foot beds if I plan trellis installation later.
Soil Mix Basics
I add compost to improve drainage and nutrients. I let in-place composting build structure over time. I hold the bed sides steady when I add soil.
Mix Check
I squeeze a handful of soil. It holds shape without feeling like clay. My roots need this balance to spread freely.
Bed Prep Note
I install trellises before I fill 2-foot beds. I prevent side damage during filling. This saves me rework later.
Proper Fill Technique
How do I fill my beds without making a mess? I’ve learned a fill technique that keeps things clean and builds a home for plants that grow well. I protect my raised beds during soil addition. I line the base with carpenter paper to block weeds. I use sandy loam soil from my local nursery for drainage and nutrients.
- Layer the base, I spread carpenter paper across the bottom before any soil touches the bed
- Shield the sides, I brace the walls so my raised beds stay level and undamaged
- Build in stages, I fill halfway on two-foot beds, install trellises, then finish
- Choose sandy loam, I source this soil locally for structure and drainage
- Top it off, I fill to the edge with nutrient-rich mix containing organic matter
Choose and Install Your Watering System
I’ll start with drip irrigation for my vegetable beds. I connect the kit to my outdoor spigot and add a timer for automated watering. This setup delivers water directly to roots without waste.
| Watering Method | Best For | Key Feature |
|---|---|---|
| Drip irrigation | Vegetable rows | Timer automation |
| Deep watering | Established plants | Strong root growth |
| Morning schedule | All garden types | Reduces leaf disease |
| Hand watering | Containers, corners | Flexible reach |
| Mulch layer | Moisture retention | Cuts irrigation needs |
I water deeply rather than often. This builds tough roots. I run my system early morning. Leaves dry before evening.
I keep a watering can handy for spots my drip lines miss. I spread mulch and compost. This holds moisture longer. My garden needs less watering.
Select Crops Matched to Your Climate and Season
When should I plant what I actually want to eat? I check my frost dates first. I find my last spring frost and first fall frost. This tells me my growing season length.
I match crops to my climate. I plant warm-season crops after frost passes. I plant cool-season crops in early spring or fall.
I track sun exposure in my yard. I note which spots get 6–8 hours. I put tomatoes and beans in full sun. I place lettuce where light dips lower.
- Tomatoes, warm-season crop. I wait until after last frost. I give them full sun daily.
- Lettuce, cool-season crop. I plant early spring or fall. I use partial shade if needed.
- Carrots, direct seed in cool soil. I thin seedlings to two inches.
- Green Beans, warm-season choice. I seed after frost danger ends. I pick bush types for small spaces.
- Regional Varieties, I buy from local nurseries. I select seeds my family eats most.
I start simple. I choose five crops max. I grow what fits my conditions.





