
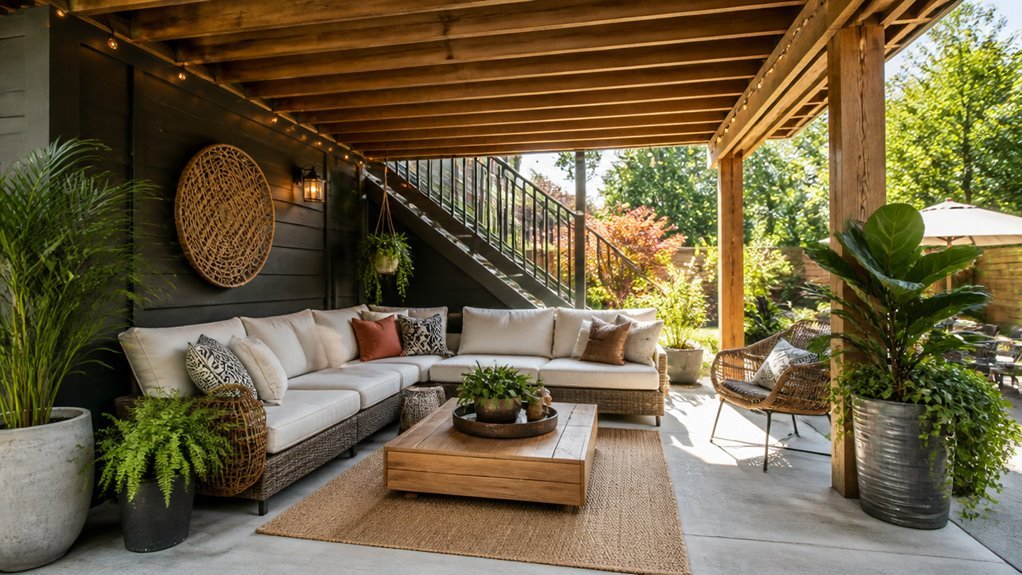
Home improvement data shows homeowners waste an average of 33% of usable outdoor square footage beneath raised decks. I will show you seven proven methods to reclaim this space.
You will learn exact materials and measurements to build functional patios that withstand weather year-round. The change starts now.
Start With Waterproofing: How to Dry Out Your Under-Deck Space
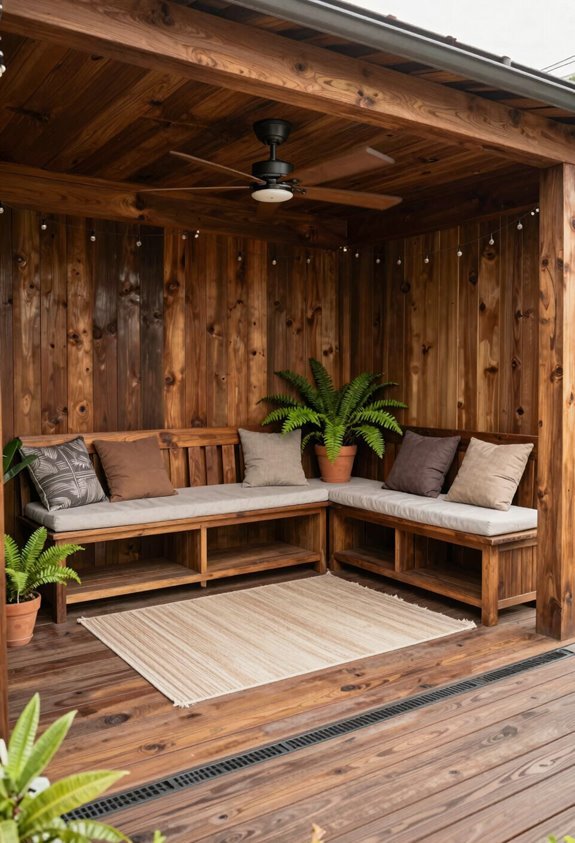
Before I finish any under-deck project, I waterproof the space.
Trex RainEscape or Similar Systems
Install a membrane or ceiling panels beneath deck joists. These create a sloped surface that channels water to gutters.
Gutter and Downspout Integration
Attach aluminum or vinyl gutters along the low edge. Connect downspouts every 10-12 feet to direct water away from your foundation.
Drainage Planning
Slope hardscaping 1/4 inch per foot away from the house. Install perforated drain pipe 12-18 inches deep if soil retains water.
Moisture Management Materials
Choose composite ceiling boards rated for exterior use. Avoid raw wood that warps and rots.
Ventilation Requirements
Leave 6-inch minimum gaps at ceiling edges. This airflow prevents condensation and mold growth in your finished space.
Build a Rain-Proof Outdoor Living Room Under Your Deck
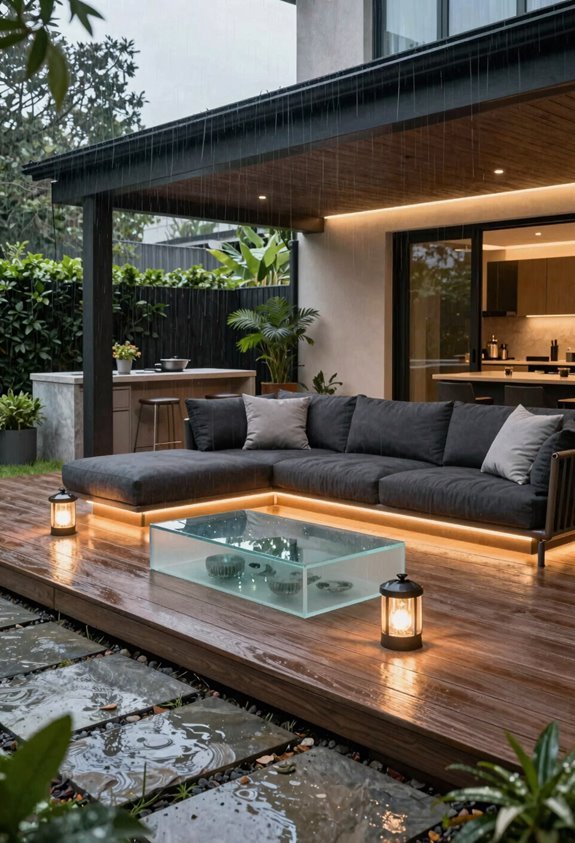
A rain-proof under-deck living room starts with a solid ceiling membrane and smart water management. You’ll want a watertight ceiling panel system, typically aluminum or vinyl, installed with a slight pitch to direct water toward perimeter gutters.
Connect those gutters to 3-inch or 4-inch downspouts that carry runoff at least 10 feet from your foundation to keep the space bone dry.
Ceiling Waterproofing Essentials
Why let rain ruin your under-deck space? Ceiling waterproofing keeps your under-deck area dry and usable year-round. I recommend this step especially when running electrical wiring or creating a true outdoor living room.
Waterproofing protects wood and composite decking from rot by stopping water intrusion into the substructure. You’ll gain a reliable space for dining, lounging, or storing outdoor appliances without weather worries.
Common approaches include integrated gutters and spouts that channel water away effectively. Under-deck ceiling systems pair with drainage systems and weatherproof materials for lasting durability. These solutions demand minimal upkeep once installed.
| Ceiling Waterproofing Option | Primary Benefit |
|---|---|
| Vinyl ceiling panels | Blocks water, reflects light |
| Aluminum ceiling systems | Resists rust, lightweight install |
| Corrugated metal roofing | Channels water to gutters |
| Membrane with integrated gutters | Seals seams, redirects flow |
Drainage System Design
Build a rain-proof outdoor living room under your deck with a drainage system that channels every drop away from your finished space. I install gutters and downspouts beneath the deck boards. I slope decking 1/4 inch per foot toward collection points.
Waterproofing requires a continuous ceiling membrane. I seal all seams with tape rated for exterior use. This protects furniture and electronics from overhead moisture.
I grade the patio surface away from the house at 2 percent slope. Retaining walls contain soil and prevent washouts. Discrete PVC piping moves water 10 feet past the foundation. I hide drains in planter beds or behind fascia boards.
Proper drainage system design lets me enjoy under-deck living year-round. No pooling occurs. The space stays dry and usable.
Add a Screened Porch for Bug-Free Relaxing Year-Round
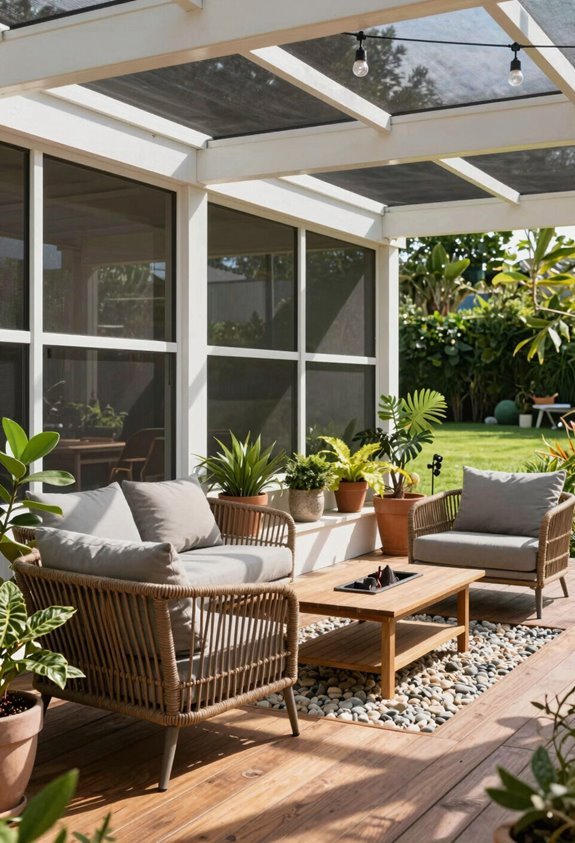
Transform your under-deck space with a screened-in porch using aluminum or fiberglass mesh screening rated 18×14 or tighter. I recommend this setup because it blocks weather and mosquitoes. You get a shady, bug-free space suitable for year-round use.
| Feature | Benefit |
|---|---|
| Indoor-style furniture | Creates cozy sunroom feel |
| Screen framing with wood supports | Blends with deck aesthetic |
| Centered seating arrangement | Encourages comfort and socialization |
| Ceiling fans with durable screening | Maintains warmth-month comfort |
I use this screened porch as a second living area beneath my deck. The design connects to my home’s interior. You’ll feel like you belong in a space that extends your home outdoors.
Design an Under-Deck Kitchen and Bar for Easy Hosting
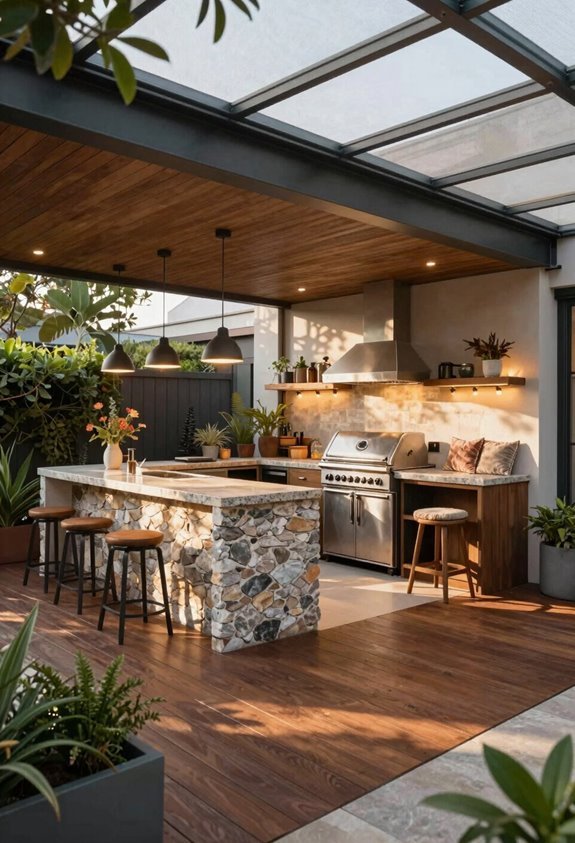
I position my grill and prep counters within 10 feet of the back door to cut trips between indoor and outdoor spaces. I install a waterproof ceiling system with integrated drainage channels to shield electrical outlets and appliances from rain runoff. I mount 48-inch ceiling fans and LED strip lights into the joist bays for airflow and visibility during evening service.
Strategic Layout Planning
Why settle for a basic patio when you can build a functional kitchen and bar right under your deck? An under-deck kitchen changes your space planning and improves outdoor living for everyone you invite over.
Position Your Counter Right
Place the countertop next to your dining zone. This creates one smooth path from prep to plate with no backtracking.
Build Storage Underneath
Add weather-protected cabinets beneath the counter. Store utensils, grilling tools, and cookware where you need them.
Map Your Traffic Flow
Design clear walkways from kitchen to dining to seating. Keep pathways 36 inches wide so guests move freely without crowding the cook.
Wire for Real Use
Install ceiling lights, task lighting, and power outlets at counter height. You will cook, blend, and entertain after sunset without extension cords.
Weatherproofing Essentials
Once you’ve mapped your layout, you need to lock out the weather. Weatherproofing your under-deck kitchen starts with a sealed ceiling and integrated gutter system. This keeps your cooking area dry and protects all electrical wiring from moisture damage.
Install water-resistant materials like Trex composite or stone countertops. These surfaces withstand spills and humidity without warping or staining. Proper drainage directs water away from your home’s foundation and patio space. Slope the ceiling panels toward collection troughs.
Ceiling waterproofing enables year-round hosting. You can cook in rain and store appliances safely. Add recessed lighting, ceiling fans, and radiant heaters for comfort.
Plan headroom, drainage, and grading before you build. This prevents water intrusion and creates smooth flow between your kitchen, bar, and lounge zones.
Create a Covered Hot Tub Retreat (Even in Bad Weather)
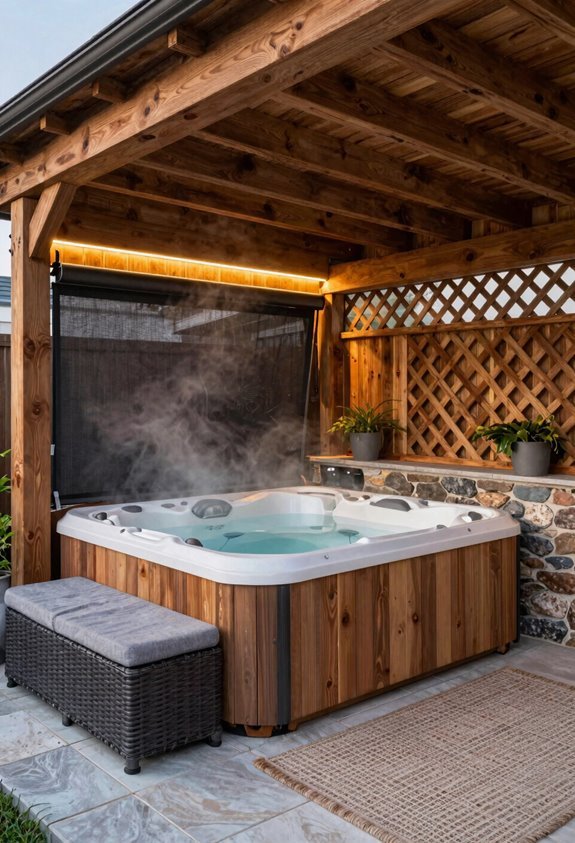
Install a covered hot tub beneath your deck for year-round soaking. I rely on under-deck drainage to keep the space bone-dry, preventing water damage to my investment. Overhead protection shields me from rain and snow, extending my soaking season through winter months.
| Element | Material/Specification | Purpose |
|---|---|---|
| Overhead Cover | Aluminum or polycarbonate panels, 10-12 gauge | Blocks precipitation, allows light |
| Under-Deck Drainage | PVC trough system, 2-inch slope minimum | Channels water away from foundation |
| Privacy Walls | Cedar planks, 6-foot height | Creates intimate, sheltered space |
| Lighting | LED rope lights, 2700K warm white | Maintains cozy ambiance after dark |
| Insect Barrier | Fiberglass mesh screens, 18×16 weave | Reduces pests during summer evenings |
I position my tub near the exterior wall for easy access and simpler maintenance hookups. Privacy walls and soft lighting complete my retreat. This setup belongs to anyone seeking reliable comfort, regardless of weather.
Tuck Smart Storage Beneath Your Deck Stairs
I turn wasted space beneath my deck stairs into a weatherproof locker for pool chemicals and garden tools. This under-stair storage transforms dead zones into functional deck storage without expanding my footprint. I gain outdoor space optimization by keeping essentials close at hand.
My setup includes these practical elements:
- Pressure-treated plywood doors, 3/4 inch thick, sealed with marine varnish for moisture resistance
- Galvanized steel hinges, 4 inches long, mounted with stainless steel screws
- Rubber door sweep, 1 inch wide, blocking water and pests at the base
- Adjustable shelving, 16 inches deep, supporting 50 pounds per shelf
This deck storage eliminates trips to distant sheds. My yard stays organized. The design blends with existing stairs. I maximize every square foot of my outdoor area.
Finish the Ceiling for Polished Indoor-Outdoor Flow
A finished ceiling turns my under-deck area into usable outdoor living space. I install an under-deck ceiling to create seamless indoor-outdoor flow between my home and patio. This upgrade delivers essential weather protection from rain, leaves, and debris.
I use tongue-and-groove boards or cedar planks for durability and low maintenance. These materials withstand moisture while matching my home’s interior style. When I run electrical wiring, code requires a finished ceiling to keep connections dry and safe.
My completed ceiling supports ceiling fans, recessed lights, and integrated drainage. These features manage water and extend usability through all seasons. The result aligns my under-deck space with indoor rooms, creating a cohesive living area my family and guests naturally gather in.





