
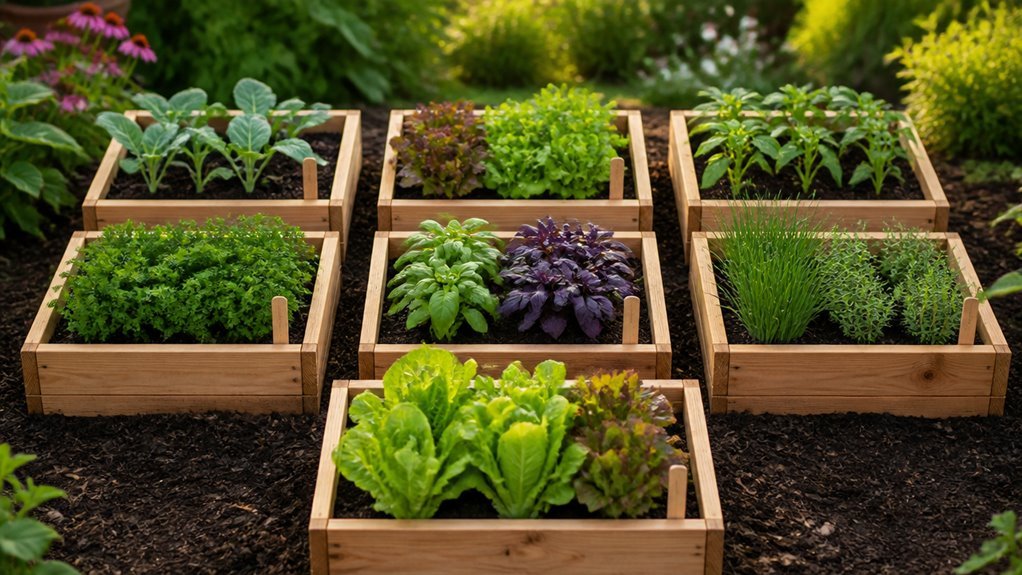
Each method teaches you something new about soil, drainage, and sun. You will make mistakes. You will also grow food you actually want to eat.
The seven options ahead match real budgets, real yards, and real beginners who do not own power tools.
Start Simple: Repurposed Bathtubs, Pallets, and Pavers
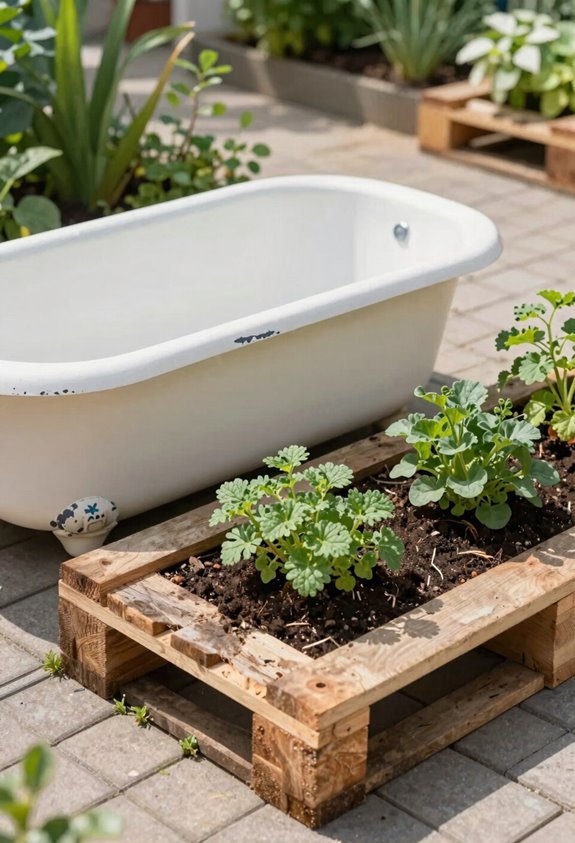
A freestanding bathtub works as a self-contained planter when you drill drainage holes in the base. Repurposed bathtubs create instant raised garden beds. You’ll want about six to eight half-inch holes spaced evenly across the bottom.
Pallet Planters
Grab heat-treated pallets marked “HT” for safe DIY garden planters. Avoid chemically treated wood. Line the interior with landscape fabric. Standard pallets run 40 by 48 inches.
Paver Beds
Stack pavers two to three layers high for basic walls. Old bricks work too. Scrape off old mortar first. Painted surfaces go straight to landfill.
Level your ground with paver sand or packed dirt. Beds hit 12 to 16 inches deep.
These three options keep costs low. You’ll build something solid today.
Planter Wall Blocks: Stack, Slide, and Grow
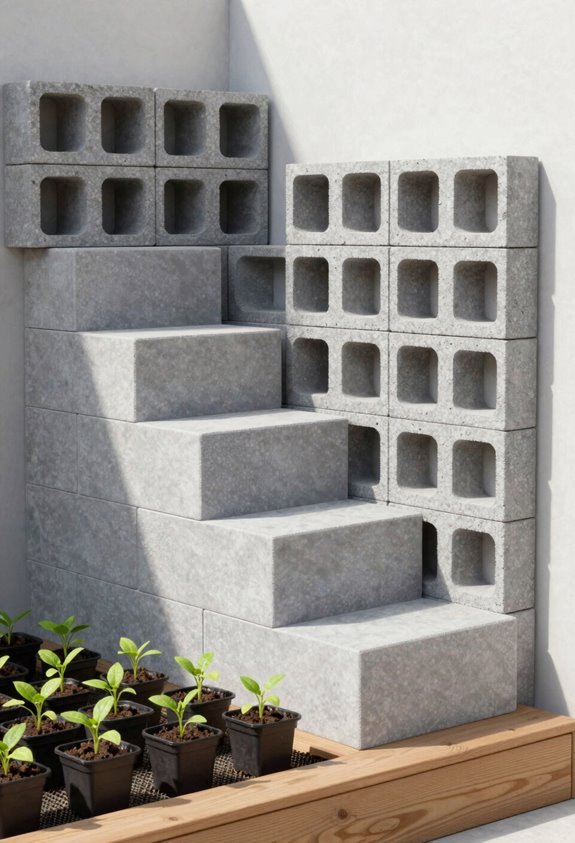
I place each block with holes facing skyward. I slide 2 x 6 wooden boards into the corner holes to build the first layer of my raised bed. I cut ends to 3.5 feet and sides to 4.5 feet for a rectangle.
This DIY garden project stays simple. I stack more blocks to raise the height. I add a wood cap with miter-cut corners and deck screws for a clean finish.
I expand the bed by adding blocks and boards at the ends. This expandable garden bed fits my space. I customize length and height without complex tools. Planter wall blocks make raised bed construction fast and flexible for any beginner.
DIY Wood Garden Boxes: Cedar, Pine, and Budget Alternatives
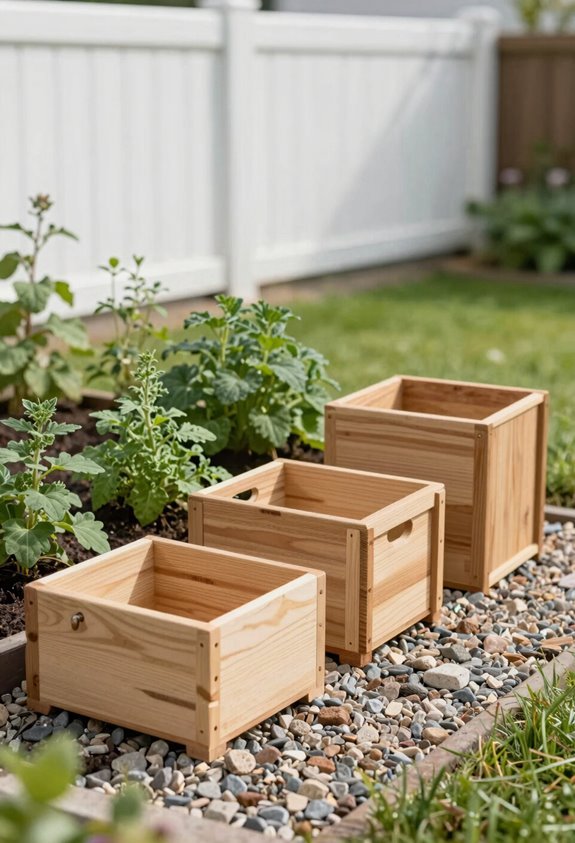
I build my boxes with cedar when I want 10-year rot resistance, or pine when I need lower upfront cost and accept 3-5 year replacement. I skip pressure-treated lumber entirely; instead, I grab 2-inch thick reclaimed boards or metal sheet inserts to cut costs and keep soil clean. I fasten corners with galvanized brackets or cut slotted notches for tool-free assembly, and I coat exterior faces with a zero-VOC stain if weatherproofing matters to me.
Cedar Versus Pine
Which wood gives you the best lifespan for your dollar? I choose cedar for rot resistance and durability. Cedar naturally repels moisture and insects. It lasts 10-15 years without treatment.
Pine works as a budget option. It costs half the price of cedar. Pine lacks natural rot resistance. Expect 3-5 years of service life.
Select cedar boards at least 2 inches thick. This improves strength and prevents warping. Apply eco-friendly, weather-resistant stains to protect cedar. Avoid contaminating soil.
Pine requires sealing every year. Cedar needs less maintenance over time. Calculate your total costs including upkeep. Cedar often saves money long-term. Pine suits temporary beds or testing layouts.
Budget-Friendly Alternatives
Salvaged Lumber Build
Salvaged lumber cuts costs and keeps wood out of landfills. I choose reclaimed boards at least 2 inches thick for solid builds. I avoid chemical-treated boards to prevent soil contamination.
Cedar Garden Box Options
A cedar garden box offers durability without replacement hassle. I pick weather-resistant wood like cedar, cypress, or redwood when budget allows. I apply weather-resistant stain to protect my investment longer.
Budget-Friendly Materials
Pine and hemlock work as budget-friendly materials for beginners. I line untreated lumber with landscape fabric to slow rotting. I skip pressure-treated options entirely for food gardens.
Modular Planters
Ready-made modular planters include standing cedar boxes under $250. I find 4x4x1 and 4x8x1 plans free online. Metal-infilled beds cut new lumber use while keeping strength.
Construction Best Practices
Why settle for flimsy builds when cedar offers natural rot resistance? I build cedar garden boxes that outlast pine and hemlock in wet soil. I use boards at least two inches thick.
I apply eco-friendly weather-resistant stain if finishing wood. For untreated wood lining, I add landscape fabric. This slows rotting and keeps soil safe for edibles. I skip chemical-treated boards entirely.
Corner hardware matters. I bolt two-inch cedar corners with metal brackets. This gives clean lines and stops warping.
- Choose rot resistance. Cedar defends naturally against moisture and decay.
- Anchor with corner hardware. Metal brackets lock frames square for years.
- Line with fabric. Untreated wood lining buys two extra seasons.
- Contain with care. Reinforced walls keep soil contained without bowing.
Reclaimed wood or cinder blocks work for budget builds.
Galvanized Metal Garden Boxes: Built to Last
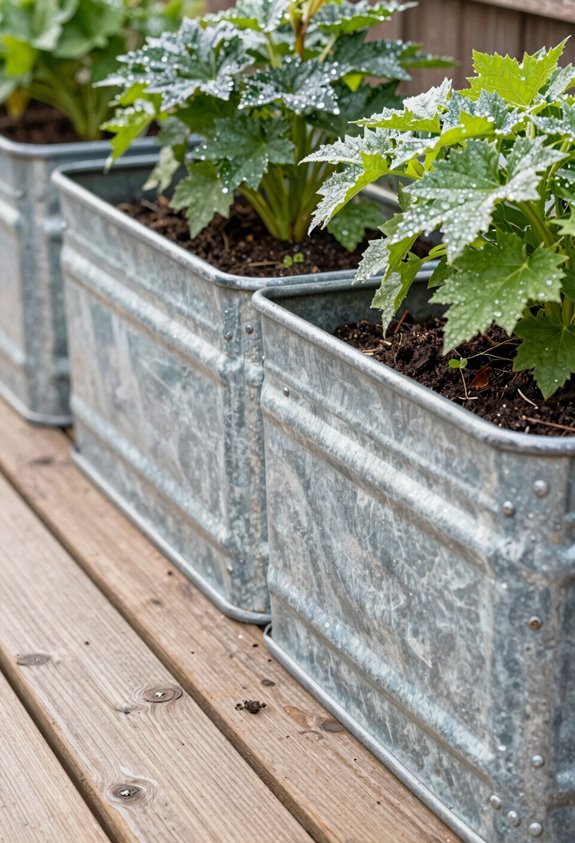
I’ve found that galvanized steel boxes give you 20 years of service with zero rot or insect damage. You’ll want to drill drainage holes in any planter missing a bottom to stop root rot. These metal beds come in standard sizes from 24-inch oval tubs to 48-by-96-inch raised configurations.
Durability and Lifespan
Galvanized metal garden boxes resist rot and degradation for 20+ years with minimal maintenance. I chose galvanized steel for my garden because I wanted something that would outlast my enthusiasm. The durability means I won’t replace boxes every few seasons like my neighbors do with wood.
- No rot, no regret: I sleep better knowing my investment won’t dissolve in damp soil
- Weatherproof peace: powder-coated finish shields against rust when storms hit
- Built for my future self: 20+ year lifespan means my kids might inherit these beds
- Assembly that respects my time: panel construction eliminates warping worries
I drill drainage holes in bottomless designs to protect longevity. The powder-coated finish keeps everything food-safe. My galvanized steel boxes anchor my garden’s identity.
They’re not temporary experiments. They’re permanent members of my growing space.
Drainage Considerations
Metal lasts. I’ve learned that galvanized planters need proper drainage to protect your plants. Without it, waterlogging kills roots fast.
I drill drainage holes in any galvanized container that lacks a bottom. Multiple holes work better than one. I size them so seedling roots won’t slip through.
I elevate box setups slightly off the ground. This improves airflow underneath and stops water from pooling. A simple stand or even bricks works fine.
Standing water rots roots in days. I’ve seen it happen. Good drainage keeps your galvanized planters productive for those 20+ years they’re built to last.
Check your holes each season. Clear debris. Your plants depend on it.
Elevated and Tiered Garden Boxes: Grow Without Bending
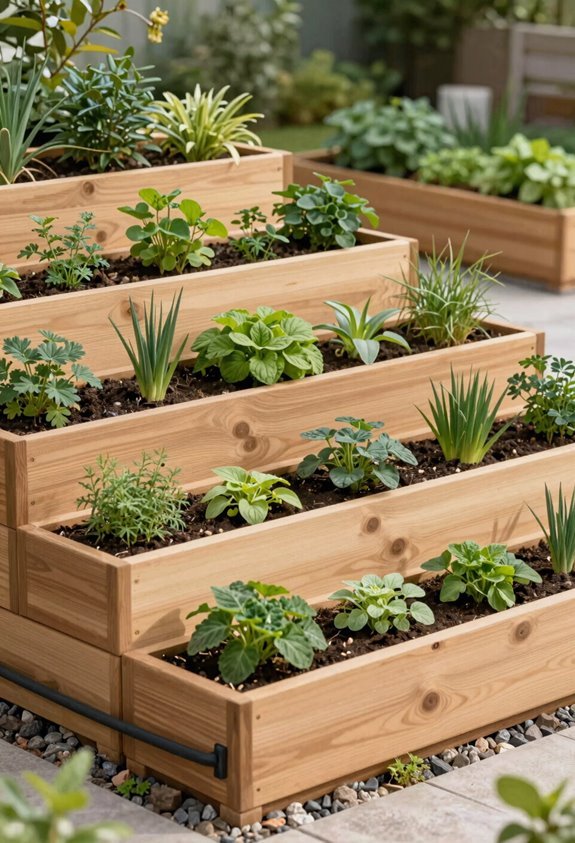
- Freedom from bending lets you garden longer without pain
- Pride in building something lasting with your own hands
- Connection to others who’ve discovered this simpler way
- Joy of harvest without the strain that stops so many
Tiered garden beds stack multiple small boxes vertically. You save space. You organize plants by height and need.
Sturdy legs or corner supports keep planters stable. They deter pests. Add wheels for mobility.
DIY garden boxes combine wood frames with galvanized metal or bricks. These materials create strong, space-saving solutions. Cedar works best. Pine, cypress, or redwood need treatment.
Vertical and Wall-Mounted Garden Boxes: Upward Solutions
Where does your garden grow when ground space runs out? I look up. A vertical garden turns bare walls into productive growing space. I mount wall-mounted planters at comfortable heights for ergonomic gardening with minimal bending. Small containers suit lettuce, radishes, basil, and chives.
Tiered Vertical Beds
Stack multiple garden boxes in a compact footprint. I arrange various heights and layouts to fit tight spaces.
Simple Plant Walls
I pair wall-mounted planters with brick hangers. This hardware creates a cohesive system on porches or exterior walls.
Expandable Design
I plan for growth. Adding blocks and boards at the ends builds a modular system as skills develop. Start small. Expand later.
Choose Your Garden Box: Cost, Skill, and Space Guide
I build my raised garden bed with planter wall blocks and 2×6 boards. I slot boards into block notches. I make ends 3.5 feet and sides 4.5 feet. This modular setup fits my space.
Galvanized Planters
Metal tubs and oversized beds last 20+ years. I pay more upfront. I save on replacement cost.
Elevated Cedar Planter Boxes
Waist-level boxes cut bending. I find 48-inch lengths under $100. Cedar resists rot.
Wall-Mounted Hanging Planters
Shallow containers grow herbs and small vegetables. I plant lettuce, radishes, basil, chives. Vertical growing saves floor space.
Tiered Vertical Garden Bed
Stacked small beds flex in compact areas. I adjust heights and layouts.
Beginners match planter boxes to budget, skill, and available space.





