
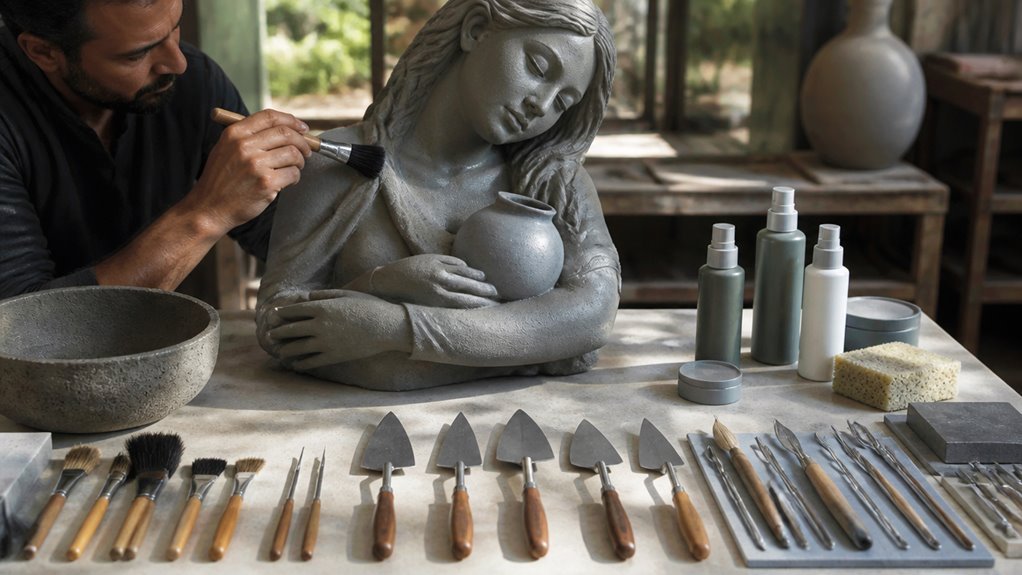
I’ve painted dozens of concrete statues over fifteen years. Most people skip the prep work and ruin their finish in six months. You need acrylic latex primer thinned 1:1 with water, two-inch natural bristle brushes, and a UV-rated masonry sealer. The base coat goes on damp concrete. The top coat calls for dry-brushing. Nine details remain that separate amateur work from professional results.
Choose the Right Paint and Supplies for Concrete Statues
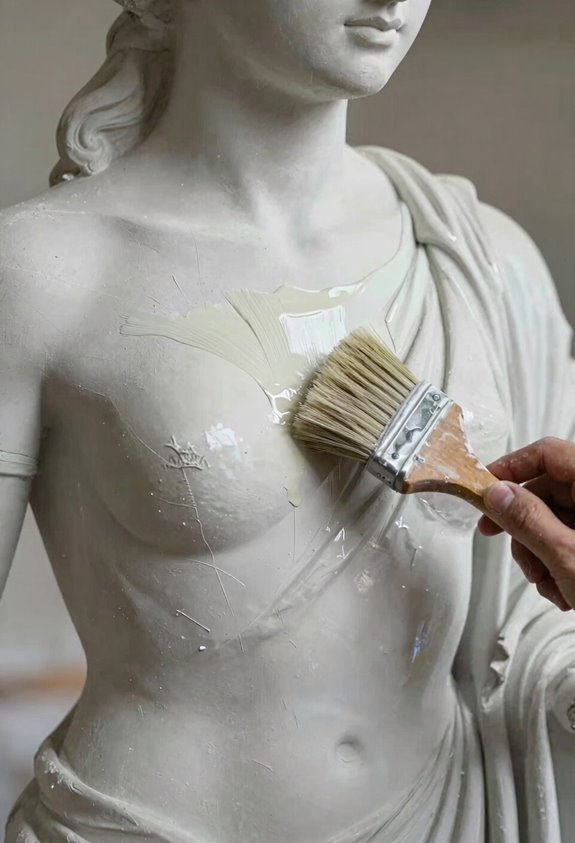
Why start with the wrong paint? I use exterior paint for concrete statues. Acrylic latex works best for base coats and top coats. It sticks well and lasts outdoors.
I pick a good brush for this job. A dampened brush helps paint sink into porous concrete. I dampen it with clean water before applying base coats. This boosts absorption.
Spray paints give more color choices. I skip them for outdoor pieces. They fail faster than brushed paint.
I keep a dry brush ready too. I use it for texture details on animals or rough surfaces. It adds weathered looks.
I buy clear UV sealant for after painting. It blocks sun and water damage. I check labels for concrete compatibility.
Clean Your Concrete Statue Without Soap or Chemicals
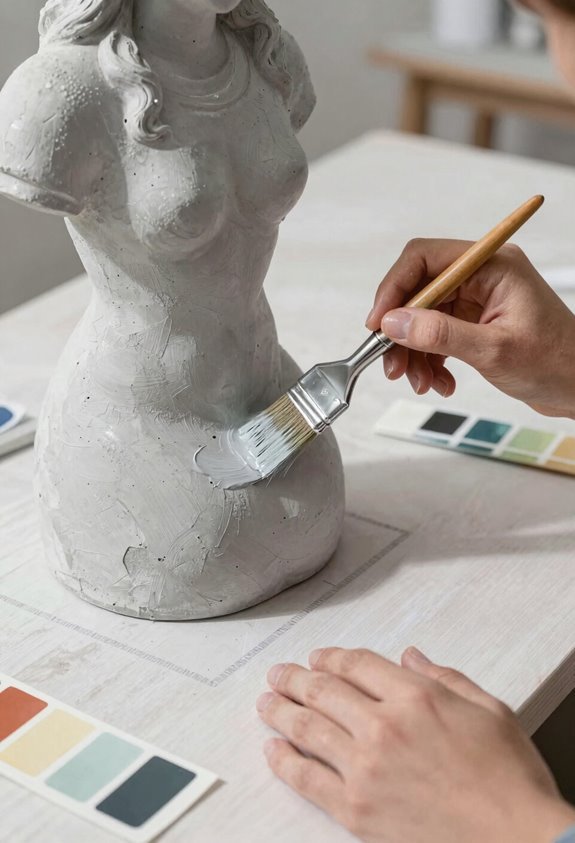
I fill a bucket with plain water and lower the statue in. I let it soak for a few minutes to loosen dirt. This prepares the surface for scrubbing without introducing chemicals that interfere with paint.
Scrub Every Surface
I scrub the statue with a large brush to remove grime and buildup. I use a toothbrush for smaller nooks and crannies. This gets into detailed areas where mildew hides. I work methodically to ensure thorough dirt removal.
Dry With Care
I lift the statue from the water and dry it in the sun. Sunlight kills moss and improves appearance. I avoid outdoor drying in winter since trapped moisture causes cracks. I wait until the statue is completely dry before moving forward with any base coat.
Dry Fully, Then Repair Cracks With Color-Matched Epoxy Putty
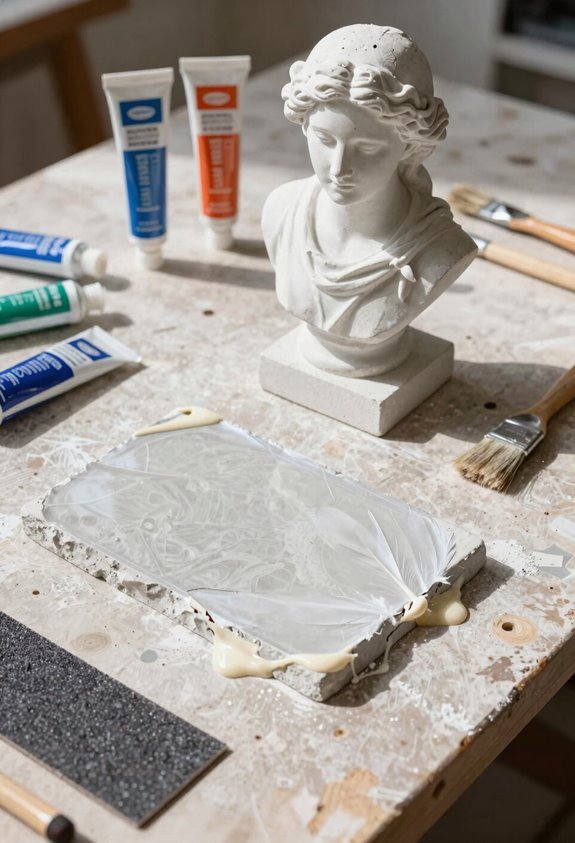
How do you know when the statue’s ready? Touch the surface. If it feels damp, wait longer. Drying takes time, but rushing ruins the repair.
Waiting costs less than redoing. Touch, test, trust what your fingers tell you. Rushing is the repair’s first crack.
I inspect my statue for cracks once it’s bone dry. Small gaps let water in and destroy paint later. I choose epoxy putty matched to my statue’s color, white or gray for light concrete. I dampen a putty knife and press the epoxy putty deep into each crack.
I smooth it flush with the surface. No bumps, no hollows.
I let the epoxy putty cure hard. I check again for voids. Second repairs now save headaches later. The surface must stay even. Drying completes the bond.
Apply the Base Coat: Wet, Paint From Bottom Up, and Let Dry
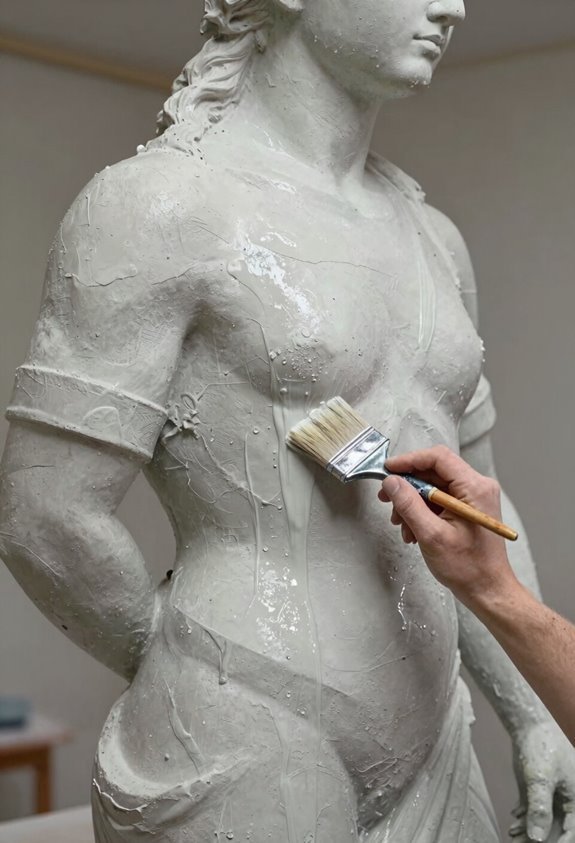
The concrete needs moisture before paint goes on. I dampen the statue with plain water to help the paint sink in. I mix water into my exterior acrylic latex base coat so it absorbs better and colors evenly.
I grab a 2-inch chip brush. I start at the bottom and paint upward. This stops drips from ruining my work. I cover every inch with the thinned base coat.
I lay the statue on its side to dry. This lets air reach all surfaces. I feel the concrete to check for moisture. The base coat must be fully dry before I move on. I wait until it feels cool and firm, not damp or tacky.
Paint the Top Coat in Solid, Even Layers
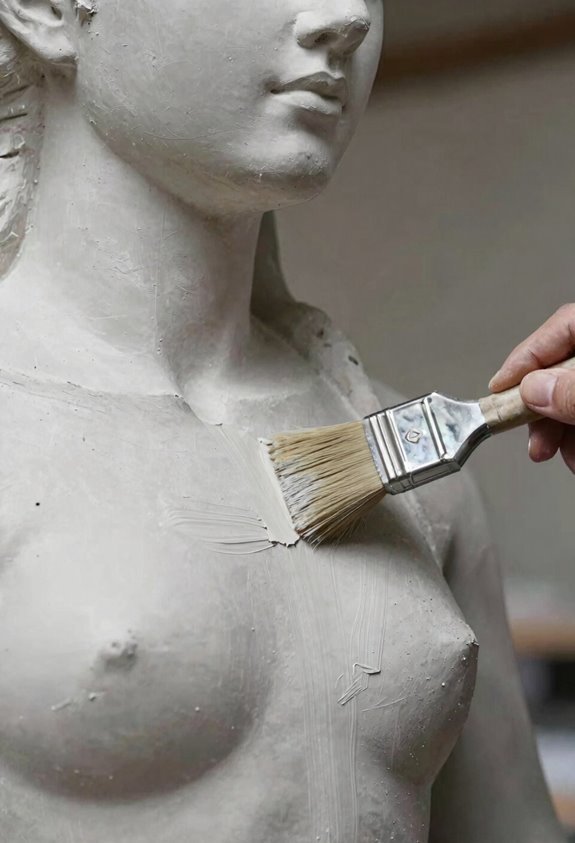
A 2-inch chip brush and exterior acrylic latex paint give me control over the finish. I apply the top coat with a brush instead of spray painting. This reduces cracking and improves long-term durability on outdoor concrete statues. I start from the bottom and work upward for even coverage.
Top Coat Application
- I add a small amount of water to thin the paint slightly for smoother application.
- I’m continuing to use careful brush strokes on textured surfaces to maintain uniform color and minimize blotching.
- I allow the top coat to dry for 24 hours before any detailing or sealing.
Drying Time
I wait the full 24 hours. This provides a solid, even finish before moving forward.
Use Dry-Brush Technique to Add Texture and Detail
Why settle for flat color when texture brings a statue to life? I use the dry brush method to catch every ridge and groove. I grab a stiff flat or filbert brush. I load it with a small amount of paint. I wipe nearly all of it off on a paper towel. I drag the brush lightly across raised areas. Quick parallel strokes build subtle color without killing details underneath.
I work from base coat toward lighter shades. Layering creates depth and an aged look. For fur or feathers, I pick complementary hues and hit the high spots only.
| Brush Type | Best For |
|---|---|
| Stiff flat brush | Broad surfaces, stone texture |
| Filbert brush | Curved details, rounded forms |
| Small flat brush | Tight corners, fine edges |
| Angled brush | Feathers, layered fur |
| Fan brush | Grass, hair, wispy effects |
Paint Realistic Eyes and Fine Features
I start with a clean, primed surface and lay down smooth white base coat using a #2 round brush. I take a little water to use for thinning acrylics. This keeps edges soft.
Build the Eye Structure
Artist technique. I paint a colored circle for the iris. I center a black pupil inside. This gives sharp definition.
Add Natural Details
Skin tone method. I dab subtle pink at inner and outer corners. I draw thin dark lines for eyelids. A small lighter dot creates sparkle.
Seal for Durability
Protective finish. I apply UV/water sealer with a soft brush. This prevents fading outdoors.
Every statue deserves a new account of personality through its gaze. These steps join our community of careful crafters.
Add an Antiqued or Weathered Look (Optional)
Antiquing technique. I use a dry-brush method for this step. I load my brush with light-colored paint, then wipe most of it off on a paper towel. I apply quick, sparse strokes across the surface for an uneven top coat. This builds texture without hiding details.
Dry-brushing light paint in quick, sparse strokes builds texture without hiding the details beneath.
Weathering the Surface
After the top coat dries completely, I take a damp cloth and wipe away small sections. This reveals hints of the base color underneath. The effect looks like natural wear from years outdoors.
Adding Depth and Highlights
I brush a darker glaze into creases and recessed areas. This creates aged shadows. On raised edges and ridges, I add small touches of contrasting color. I blend these softly to mimic sun-bleached highlights or patina.
Seal Your Painted Concrete Statue With UV and Water Protection
I apply a UV and water sealant after the top coat dries to protect against sun fading and moisture. I choose an outdoor-rated sealant that offers both UV protection and water resistance for maximum durability.
I apply thin even coats, let each dry fully, and reapply periodically after harsh weather or when wear appears.
Choose Your Sealant
A UV-resistant sealant protects your painted concrete statue from sun damage and color fading. I’ll walk you through picking the right one for our project.
1. Match Your Sealant to Your Paint
,Product Selection
I use UV-stabilized acrylic or polyurethane for outdoor pieces. I check compatibility with acrylic latex or enamel paint before buying.
2. Pick Clear, Non-Yellowing Formulas
,Color Preservation
I grab clear sealants to keep colors true. I test on a hidden spot first. I verify color integrity before full application.
3. Check Water-Repellent Properties
,Moisture Control
I select water-repellent sealants that block moisture without trapping it underneath. I wait 24 hours after the top coat dries. I follow manufacturer guidelines for thickness and recoat times.
I re-seal every 1–3 years, or when wear appears.
Apply Protective Coating
I seal my painted concrete statue with a UV and water sealant after the final top coat dries. This protects against sun fading and moisture intrusion. I choose a sealant labeled for exterior concrete and outdoor use. This guarantees durable adhesion and weather resistance.
Application Timing
I wait 24 hours after painting completion before applying sealant. I guarantee the statue is fully dry and dust-free.
Coat Application
I apply the sealant in thin, even coats. I follow the manufacturer’s directions. I allow each coat to dry before applying the next.
Maintenance Schedule
I re-seal periodically based on environmental exposure. I inspect for wear or peeling to determine reapplication timing. Sun, rain, and temperature cycling affect how often I reapply.
Cure Outdoors and Troubleshoot Common Finish Problems
I cure my painted concrete statues outdoors in warm dry conditions for at least 48 hours after the final coat. I apply a UV and water sealant only after the paint is fully cured to block sun and rain damage. I check the base coat is dry to the touch before adding top coats so moisture won’t crack during outdoor curing.
Cure Time Essentials
Proper curing locks in your paint job and prevents ugly failures down the road. I’ve learned that rushing this step ruins everything.
1. Outdoor Cure Conditions
Warm, dry air hardens paint fast. I let my top coat dry 24 hours before sealing. This stops tackiness and builds full hardness.
2. Moisture Check
I feel the surface with my hand. Any dampness means I extend outdoor time. Skipping this causes cracking or peeling later.
3. Troubleshoot Finish Problems
I inspect for cracks or moisture intrusion. I re-sand, re-prime, and re-coat with proper cure time between each step. Cloudy finishes come from wet layers, so I never stack or move statues during cure.
Weather Damage Prevention
Warm, dry air prevents moisture from trapping in concrete pores. I avoid winter curing to stop cracks from forming. I let painted statues dry outside in warm conditions only.
Dry Before Sealing
I wait 24 hours after the top coat before applying sealant. This step prevents tackiness and helps the finish set hard.
Apply UV and Water Sealant
I use a UV and water sealant for outdoor protection. Sun, rain, and moisture break down unsealed paint fast.
Prep for Paint
I wet the statue before base coating to help paint penetrate. I use a brush or dry-brush method outdoors. Spraying causes chipping.
Repair and Finish
I fix cracks with epoxy putty before painting. I let the surface fully dry after sealing. Trapped moisture ruins the finish.





