
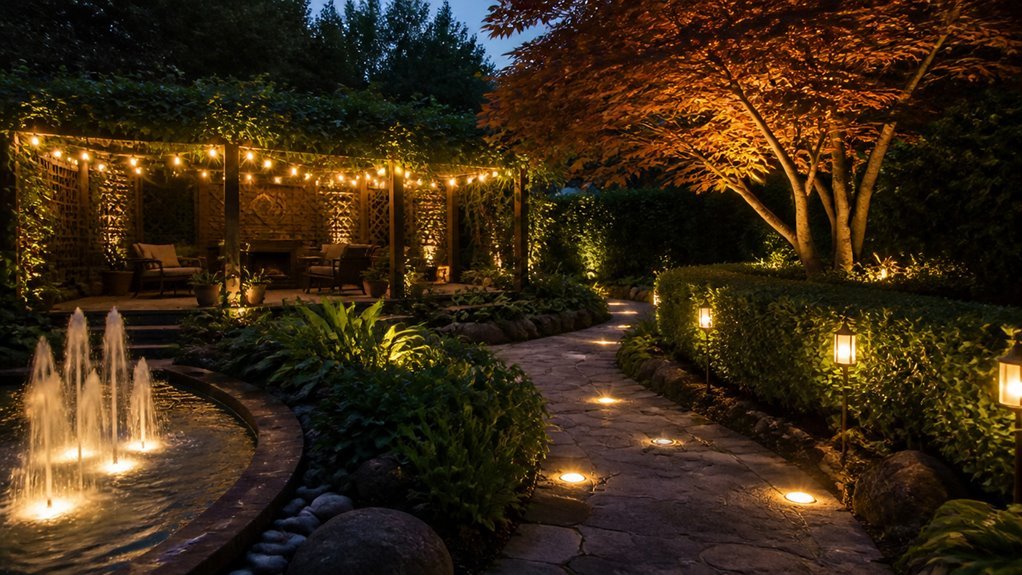
Practical guidance from a home improvement editor.
I have lit thousands of gardens. Most homeowners stop at path lights. They miss the layers that turn a yard into a usable evening space.
This guide covers seven specific techniques: spacing fixtures every 6–8 feet, grazing walls at 12–18 inches, and moonlighting trees from 25-foot heights. You will need fixture codes. You will need Kelvin temperatures. These details determine whether your installation works or wastes power. The first mistake costs $800 in rewiring.
Light Pathways First for Safety and Welcome
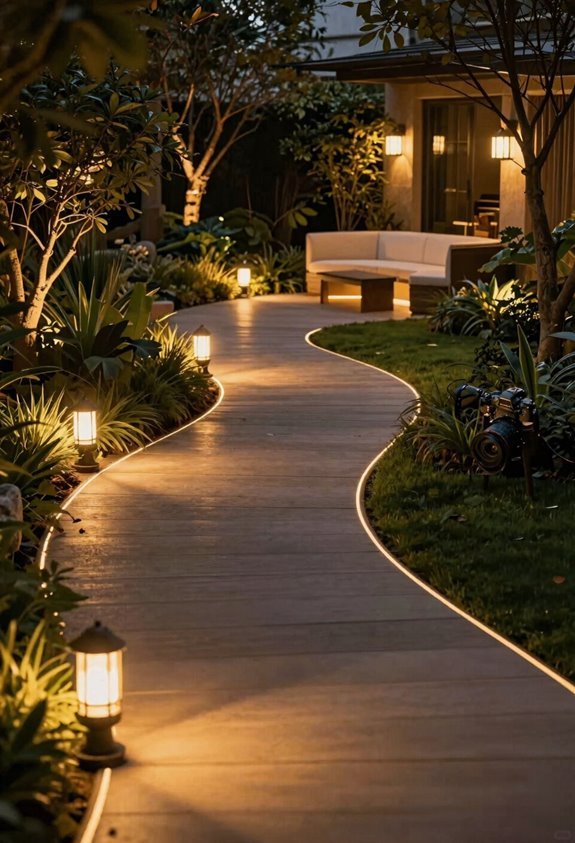
Start your garden lighting design with pathways to create safety and a warm, welcoming atmosphere for every evening stroll.
Where do you start with garden lighting? I recommend beginning with path lighting and walkway lighting to establish the foundation of your outdoor design. You’ll create safety illumination by spacing ground-level lights 6 to 8 feet apart along your routes.
I choose low-profile fixtures with warm color temperature around 2700K for pathway aesthetics that feel inviting. You’ll avoid harsh shadows and trip hazards with this even coverage. I position lights from the sides or slightly behind walkers for glare reduction, never shining directly into eyes.
You build layered lighting by combining these fixtures with subtle uplighting on nearby plants. This enhances depth and readability throughout your garden.
Add Garden Lighting to Trees From Above and Below
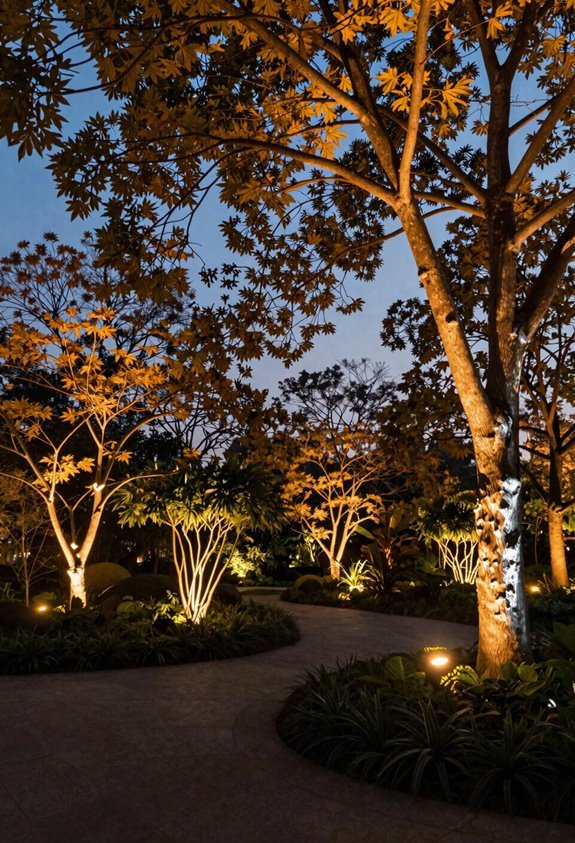
Once your paths are lit, I turn my attention upward to the trees. Tree lighting creates depth and drama in your outdoor lighting scheme. I use uplighting at bases to highlight bark texture and branch structure. For moonlighting, I position fixtures 20–30 feet high and angle them down. This produces gentle, dappled patterns on the ground below.
| Technique | Purpose | Key Consideration |
|---|---|---|
| Uplighting | Reveals trunk architecture | Hide fixtures at base |
| Moonlighting | Mimics natural light | Mount 20–30 feet high |
| Multi-trunk illumination | Even form emphasis | Use multiple fixtures |
I practice glare control by pairing uplighting with downlighting or surrounding plantings. For landscape lighting that lasts, I select IP65 weatherproof fixtures. These weatherproof fixtures withstand rain and snow while staying hidden among branches. Your trees become living sculptures after dark.
Graze Walls and Fences to Show Texture
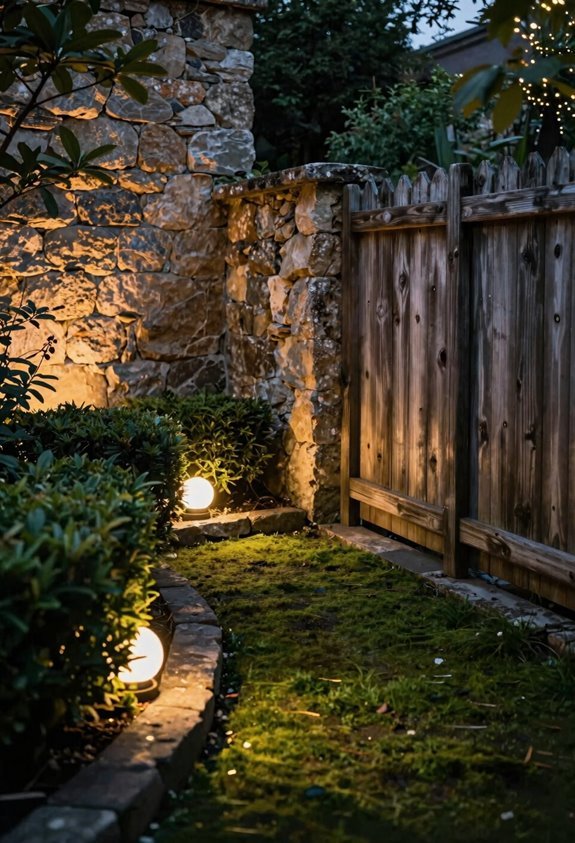
I position fixtures 12, 18 inches from exterior walls and angle them to graze surfaces. This technique reveals brick grain, wood grain, and stucco patterns through low-angle light. I space fixtures every 3, 4 feet for even coverage without hotspots.
Optimal Fixture Positioning
Position fixtures 12–18 inches from exterior walls. I graze surfaces at shallow angles to pull depth from stone, brick, or stucco. Spacing matters, so set units 3–4 feet apart for even wall washing without gaps or hotspots. I select beam spread based on my goal: 60–90 degrees covers wide areas, 15–30 degrees pinpoints columns or tracery. Shrubs concealment keeps hardware invisible so texture reveal stays center stage. I pair wall grazing with backlighting from uplights to build shadow play on vertical surfaces.
My Positioning Checklist
- Measure the gap. Keep fixtures 12–18 inches from walls for optimal grazing.
- Space evenly. Set units 3–4 feet apart for continuous architectural details.
- Match the beam. Use wide beam spread for coverage, narrow for targeting.
- Hide the source. Tuck fixtures behind shrubs so light alone tells the story.
Surface Texture Enhancement
Why let your stone walls fade into darkness? I position grazing wall light fixtures 12–18 inches from stone, stucco, or wood surfaces to reveal texture enhancement that turns flat walls into dimensional backdrops. Side-lit illumination and oblique illumination cast deliberate shadows that reveal every grain and groove.
I space wall lighting 3–4 feet apart along long wall spacing to eliminate hotspots and maintain even coverage. Warm color temperature at 2700K–3000K preserves natural material tones while inviting guests into your space. I layer grazing with offset uplights on architectural features to build depth without overwhelming the scene.
| Element | Specification | Purpose |
|---|---|---|
| Fixture height | 12–18 inches from surface | Prevent glare on viewing areas |
| Spacing | 3–4 feet apart | Ensure even texture enhancement |
| Color temperature | 2700K–3000K | Render natural wall tones |
| Technique | Side-lit illumination | Cast shadows for material detail |
Architectural Detail Emphasis
Place wall grazing fixtures 12–18 inches from exterior surfaces. Angle them to skim stone, brick, or stucco. This technique creates texture emphasis and reveals shadow patterns.
Space wall graze lights 3–4 feet apart for even façade illumination. Low-intensity light minimizes glare while highlighting mortar lines and grooves.
I integrate uplights nearby to build lighting layers. This adds depth without over-brightening walls. I select warm color temperature around 2700K for historic styles. Cooler temps suit modern textures.
Architectural wall grazing belongs in every outdoor space I design. It honors material details and creates belonging through crafted exterior lighting.
- Find your rhythm. Measure twice. Install once. Trust the process.
- Honor the craft. Stone and brick carry stories worth revealing.
- Layer with purpose. Each fixture earns its place in the garden.
- Welcome home. Light transforms walls into invitations.
Submerge Lights in Ponds and Fountains
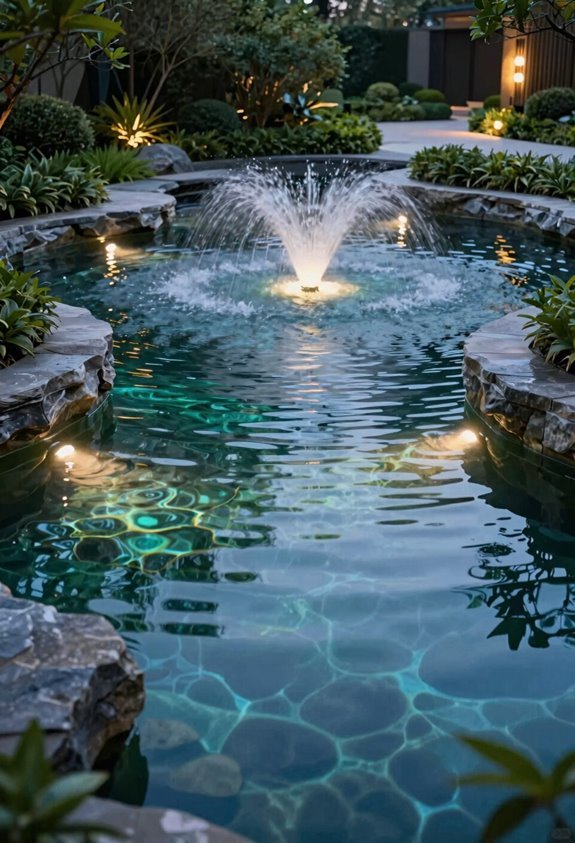
I always start with IP65 or IP68 rated submersible fixtures when lighting water features. I position lights beneath moving water to create shimmer and reduce surface glare. I place edge-mounted fixtures for still water to wash the surface and reveal bank textures.
Submersible Fixture Selection
Water features need specialized lighting. I choose submersible fixtures rated IP65 or IP68 for wet locations. These ratings ensure safe underwater lighting that withstands constant immersion. I always verify compatibility with low-voltage systems and install waterproof connectors to prevent failures.
Edge-Angling for Still Water
*Placement technique for ponds*
Angle fixtures from pond margins toward center. This eliminates hot spots on still water. It creates even illumination across the surface.
Moving Water Lighting
*Active display for fountains*
Position units beneath cascading flows. This produces the shimmering effect. It draws the eye to nearby plantings.
Rating Selection
*Safety specification*
Specify IP68 for full submersion. Use IP65 for partial wet locations. Check manufacturer depth limits.
Connector Standards
*Installation requirement*
Specify marine-grade waterproof connectors. Match wire gauge to transformer output. Test seals before filling the basin.
Positioning for Shimmer
Submersible lights sit below the waterline. I position submersible fixtures beneath moving water in fountains, ponds, and waterfalls. This placement maximizes reflections and eliminates surface glare. I verify IP65 or higher ratings for all wet locations.
Still water needs edge-mounted angles to skim surfaces and reveal textures.
Layering Technique
I combine water illumination with nearby landscape lighting. This defines edges and highlights surrounding plants. Warm white at 2700K creates daily ambiance. I reserve colored options for events.
Proper positioning turns ordinary features into unified nightscapes.
Safety and Ratings
Three ratings matter for pond and fountain lights. I check IP65 and IP68 ratings. These confirm waterproof protection for wet locations. I select submersible fixtures for underwater placement. I verify transformer compatibility before installation. I follow electrical safety protocols every time.
IP Ratings
*Technical Specification*
IP65 resists water jets. IP68 withstands continuous submersion. Both work for submerged fixtures.
Submersible Placement
*Installation Guidance*
I place lights beneath moving water for shimmer. I angle lights from edges in still water.
Transformer Matching
*Power Requirement*
I match underwater lights to rated transformers. I double-check voltage and wattage specs.
Even Spacing
*Layout Design*
I position multiple lights for even illumination. I eliminate hot spots across water features.
Extend Garden Lighting to Pergolas and Patios
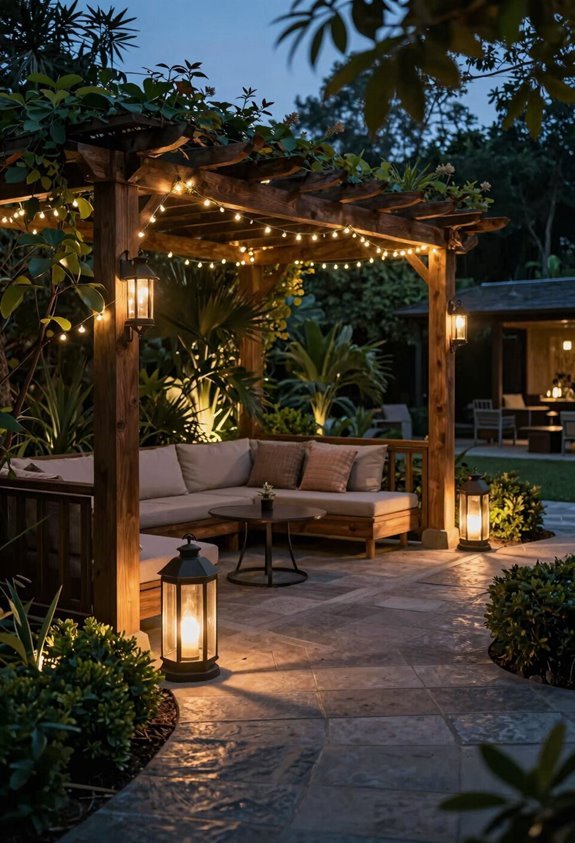
By extending your lighting scheme to these structures, you’ll expand your usable living space well past sunset.
Pergolas and Patios: Core Lighting Strategy
Drape LED string lights across beams for ambient glow. Mix warm white LED string lights (2700K–3000K) with candlelight. This layered lighting balances function with comfort.
Practical Specifications
Overhead fixtures create ambient lighting. Wall sconces add horizontal balance. Recessed accents eliminate glare.
LED options cut energy use and last longer than incandescent bulbs.
Design Integration
Blend vertical and horizontal elements. String lights complement sconces without competing. This approach unites Pergolas and Patios with surrounding Garden Lighting.
Outdoor Lighting Ideas work best when they invite gathering. Your outdoor living space becomes an extension of home after dark.
Backlight Plants and Sculptures for Silhouette Drama
Place lights behind plants or sculptures to cast dramatic shadows against walls or fences. Backlighting transforms ordinary foliage into striking silhouettes that command attention after sunset.
I position each fixture 4–6 feet behind the subject with a narrow 15–30 degree beam. This maximizes contrast and keeps light from spilling where it doesn’t belong. Uplighting works alongside backlighting to reveal texture and branching structure from below.
1. Create Your Focal Point
Backlight a single sculptural tree or art piece to anchor your landscape lighting design and draw the eye through the garden.
2. Master Shadow Play
Angle lights to project branching patterns onto flat surfaces for dramatic lighting that changes with the seasons.
3. Build Depth with Layers
Add uplighting around silhouetted subjects to prevent flat outlines and enrich outdoor illumination.
4. Control the Glare
Screen fixtures with shrubs or architecture to keep focus on texture and shadow rather than the source.
Leave Dark Spaces for Depth and Contrast
While backlighting sculptural elements creates striking silhouettes, I balance those bright accents with intentional darkness throughout the garden. I use layering to highlight focal elements while leaving 30-40% of my outdoor spaces in shadow. This contrast adds depth and keeps the ambiance natural.
I avoid overlighting. Too many path lights or fixtures create flat, airport-runway effects that wash out the landscape. Instead, I let darkness settle between illuminated areas. The eye needs rest; pools of shadow give the mind space to wander and imagine what might lie beyond the light.





