
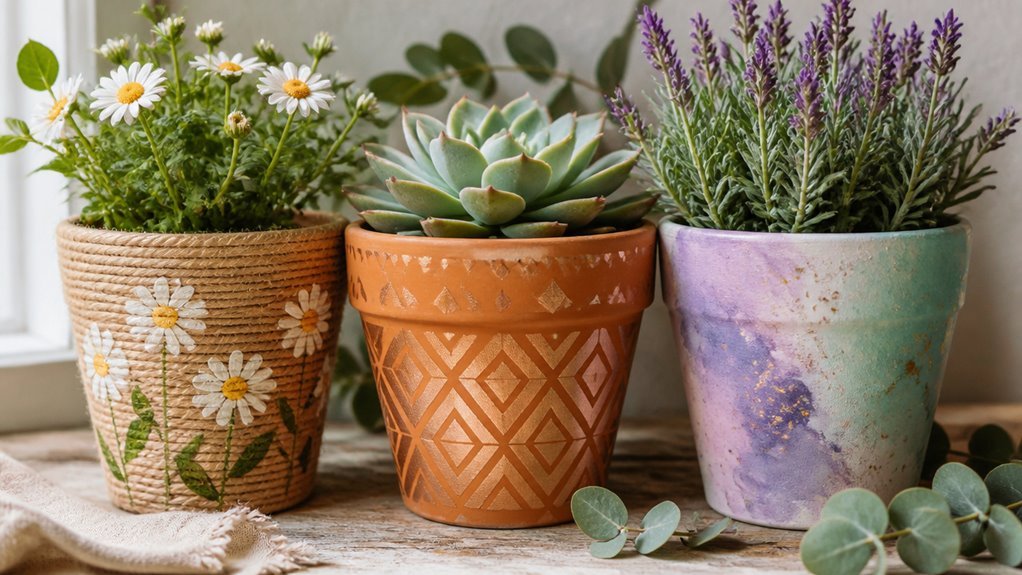
Like the empty canvas awaiting its first stroke, an unsealed pot holds more promise than meets the eye. I learned that raw terra cotta drinks paint unevenly without proper prep. You need two coats of water-based primer, 30 minutes dry time between each. A 4-inch foam brush covers a standard 6-inch pot with zero lap marks.
Seal the interior with clear acrylic to prevent moisture bleed-through. The real choices come after this foundation sets. I will show you three approaches that hold up to sun and rain.
How to Seal and Prime Terracotta Pots for Painting
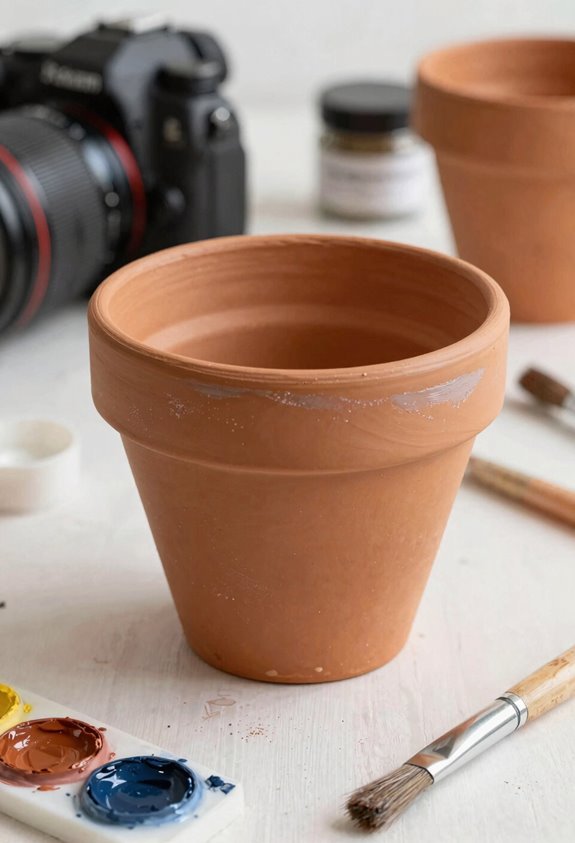
I learned that unsealed terracotta soaks up water and ruins finishes fast. I’ve sealed dozens of terra cotta pots since, and the difference is night and day.
Clean and Dry First
I scrub my terracotta with soap and water. I let it dry 24 hours. Moisture trapped inside causes blistering later.
Choose Your Sealer
I spray Clay Pot Sealer or brush FolkArt Outdoor Sealer. I apply two to three coats. I dry between each coat. I wait until completely dry before priming.
Prime and Paint
I use FolkArt Acrylics, Delta Ceramcoat, or Apple Barrel on indoor pots. These acrylic paints stick well. Outdoor pots need UV-resistant paint for durability. I add extra acrylic sealer outside. This sealing routine keeps my painted terra cotta pots looking fresh for years.
Decorate Terracotta Pots With Decoupage, Stencils, or Washi Tape
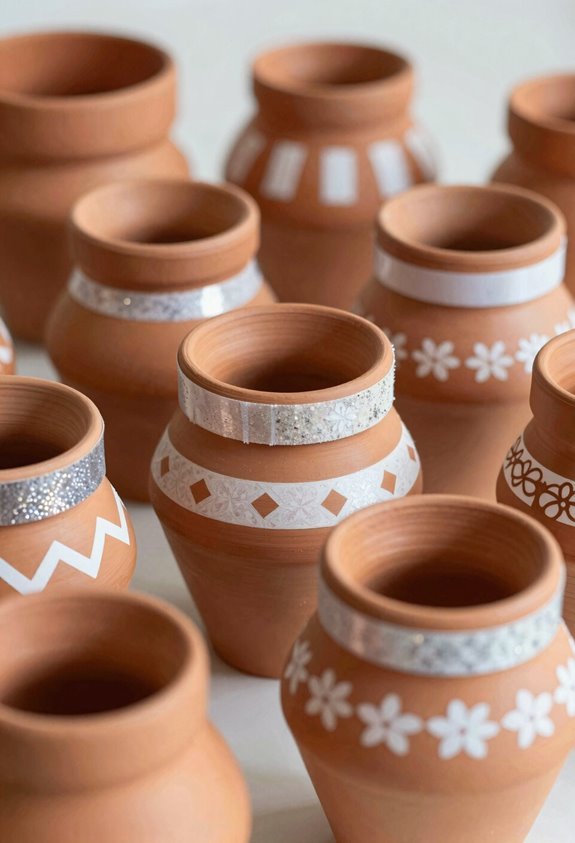
Once the sealer and primer are dry, you’re ready to add patterns and designs.
Decoupage
Apply torn napkin pieces to terracotta pots with Mod Podge. Keep the orientation consistent. Seal with Mod Podge for a durable finish on your DIY decor.
Stenciling
Use foam spouncers with stencil sheets. These often contain four designs. Adults help kids press letters neat. This garden craft builds shared home decor.
Tissue Paper
Layer tissue paper with Mod Podge as adhesive and sealer. Pale blue underlay shows texture. Darker base colors hide the paper details.
Washi Tape
Press tape flat on pottery. No drying needed.
Drying
Air dry fully between layers. Wait before you display. Join others making handmade pieces. This craft connects you to a community of makers.
Weatherproof Finished Pots for Indoor or Outdoor Display
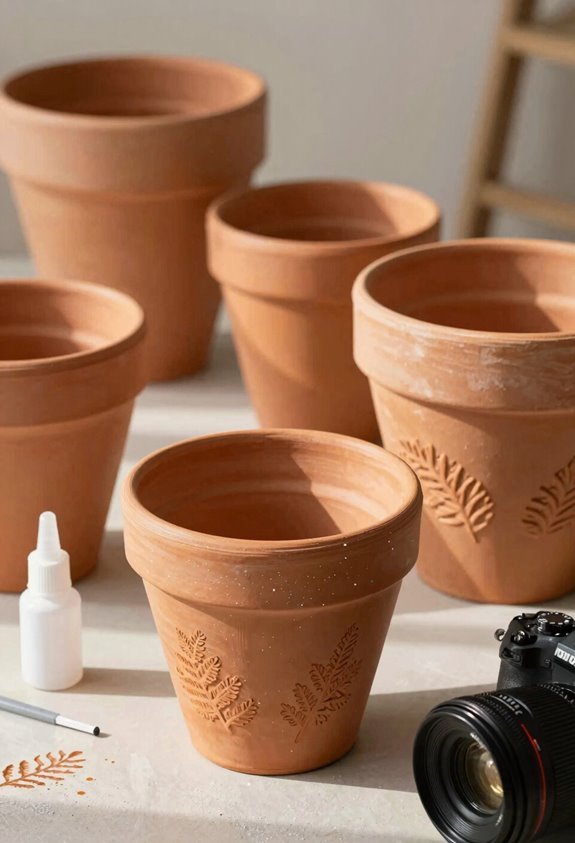
I select weatherproof paints such as FolkArt Outdoor or Multi-Surface for terracotta pots I intend to weatherproof. These paints supply UV-resistant protection and endure through rain or sun.
Sealing Steps
I seal the interior first with Clay Pot Sealer or FolkArt Outdoor Sealer. I apply several coats. I allow each coat to dry. This prevents moisture blistering and keeps my pots durable.
Outdoor Finish and Curing
I allow 48 hours for outdoor finishes to cure. Then I apply UV-resistant sealer and let coats dry between applications.
Long-Term Durability
I incorporate UV-protective additives over my design. This guarantees longevity and color that lasts.
Indoor or Outdoor Display
I employ satin-finish weather-resistant paints. They dry to a satin finish and are suitable indoors or outdoors.





