
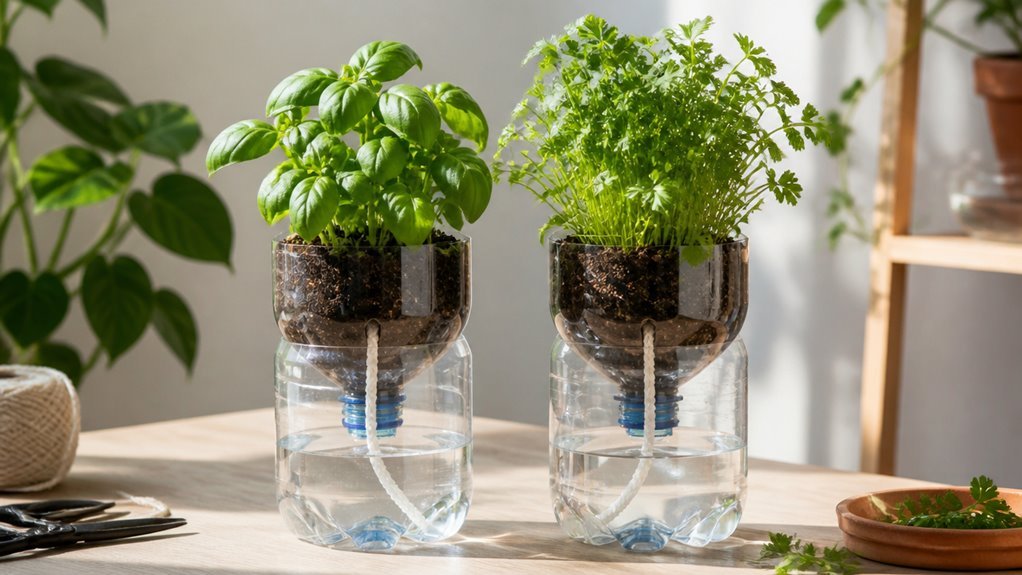
I cut a 2-liter bottle at the shoulder to create a reservoir. You nest the top section inside the bottom. A rock wool cube pulls water up to the soil. Pack the top with moist potting mix. Plant seeds one inch deep, two inches apart. Learn how to prevent root rot before you start.
Gather Your Plastic Bottles and Basic Supplies
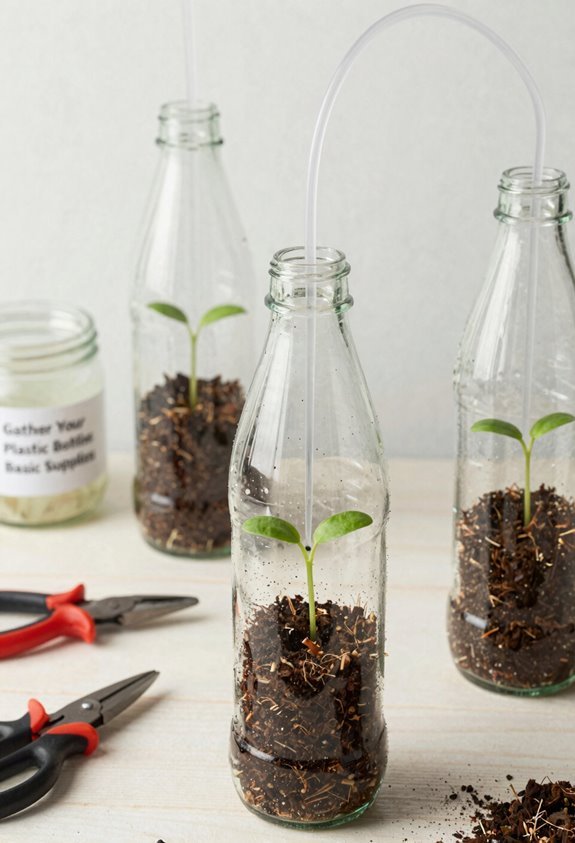
Collect two plastic bottles, potting soil, rock wool, and bean seeds to build your simple self-watering planter system.
A 2-liter soda bottle forms the core structure. You’ll need two bottles total: one for growing and another for the watering reservoir. Grab potting soil, a 2-inch piece of rock wool or sponge, and bean seeds.
Materials List
Collect one 2-liter soda bottle, one recycled plastic bottle, standard potting soil, and rock wool or household sponge. Bean seeds work best for beginners.
Reservoir Setup
The second bottle serves as your watering reservoir. Choose any clear plastic bottle. It holds water for the wicking system. You’ll fill this reservoir three-quarters full during assembly.
Growing Medium
Pack potting soil into the top section. Space bean seeds evenly across the surface. The rock wool chunk prevents soil loss and draws water upward.
Cut and Fit the Bottle for the Wicking System
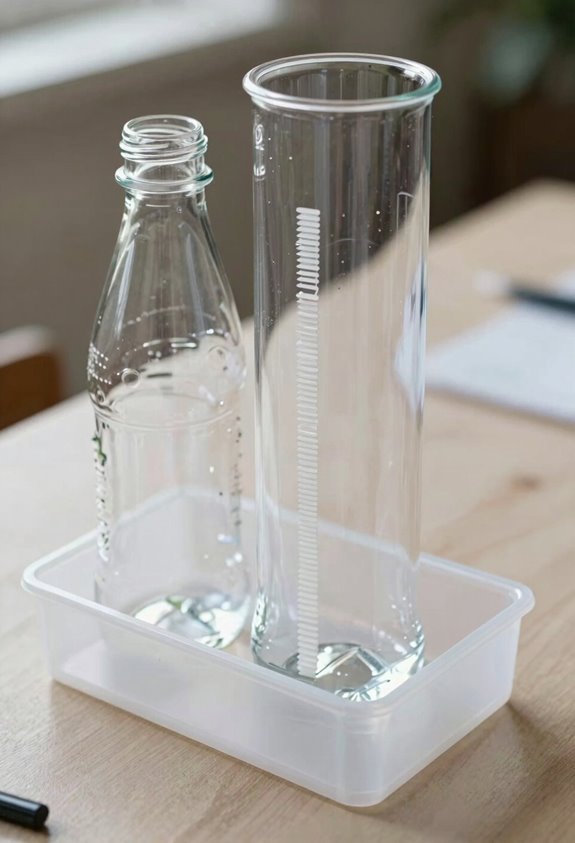
I start with the bottle I collected. I strip the label. I cut the soda bottle in half with scissors. This creates two pieces for my self-watering planter.
I take the top half. I flip it upside down. I nest it inside the bottom half. The top section holds my growing medium. The bottom section becomes my water reservoir. This setup forms the core of my wicking system.
I check the fit. The top must sit securely. Soil stays above. Water stays below. I leave enough space for roots to breathe. I make sure I can see the water level. This visibility helps me monitor moisture for my self-watering setup.
Insert Rockwool or Sponge to Draw Water Up
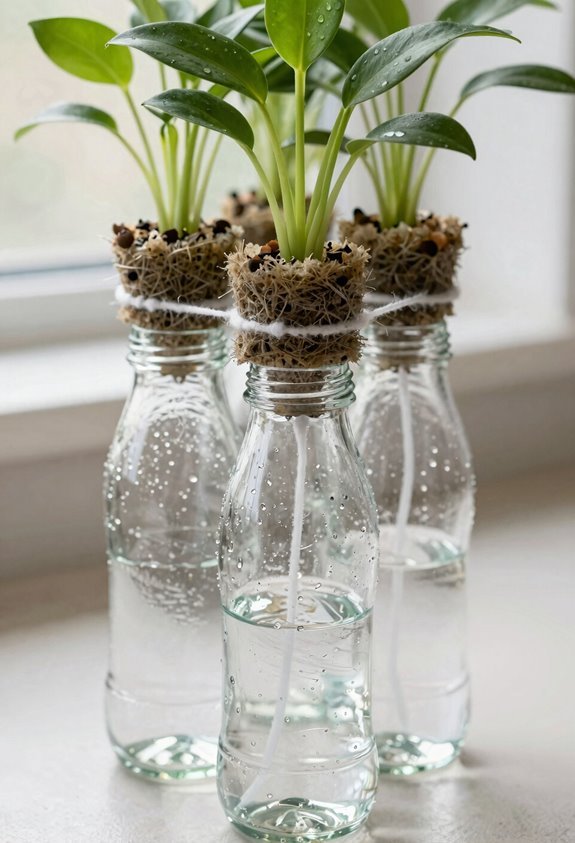
You need a wicking material now. I use rockwool or a household sponge for this self-watering setup.
Rockwool Option
Rockwool works best. I cut a 2-inch cube and stuff it into the bottle opening. This creates a barrier. Soil stays put. Water travels up.
Sponge Alternative
A clean kitchen sponge cuts to fit. I squeeze it through the hole until it touches the reservoir below. It wicks just fine.
Placement Check
I verify the wicking material bridges both sections. The top holds soil. The bottom holds water. Moisture moves steadily upward.
Function
This wicking action feeds roots continuously. I water less often. The system maintains even moisture without my daily attention.
Pack Soil and Plant Seeds in the Top Section
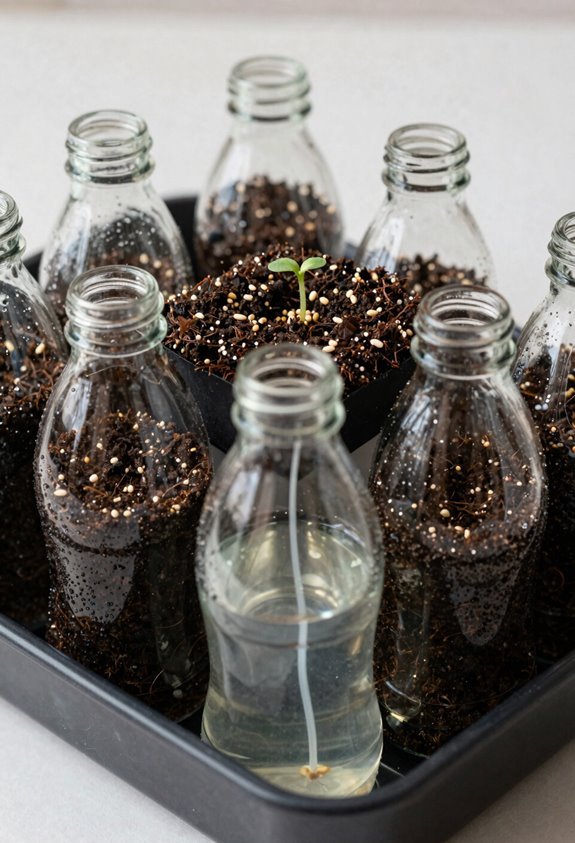
Now I’ll fill the upper bottle section with potting soil, pressing it down lightly so it stays put but doesn’t get too compact. I’ll drop bean seeds in, spacing them about two inches apart across the surface.
This top part needs to sit steady above the water reservoir with a small hole or rockwool plug keeping soil from falling through.
Soil Filling Tips
Fill the top section with moist potting soil up to one inch below the rim. I pack the soil down slightly to create a stable growing medium for my self-watering planter. This soil filling step provides consistent contact with the beans or seeds I’ll plant next.
Soil Leveling
I keep the soil level and avoid overfilling. This leaves room for seed placement and growth. The top chamber needs space for young plants to establish.
Reservoir Connection
I maintain water in the bottom reservoir. Excess drains while moisture wicks upward into the soil. This drip watering system keeps roots hydrated without daily attention. The wicking action replaces traditional watering schedules. My plants access water as needed through the soil column.
Seed Spacing Guide
With the soil packed and level, I plant bean seeds across the top section. I space them two inches apart in a grid pattern. This seed spacing prevents overcrowding and lets each plant access nutrients.
I press each seed one inch deep into the firm soil layer. I cover them with a light mantle of soil matching the planting depth. The top section connects to the bottom reservoir through a wick. This setup allows steady drip watering without saturating the roots.
I check the bottom reservoir weekly. I add water only when levels drop. This maintains even moisture and stops waterlogging. The rockwool barrier keeps soil separate from the reservoir while drawing water upward.
Fill the Bottom Reservoir and Assemble the Planter
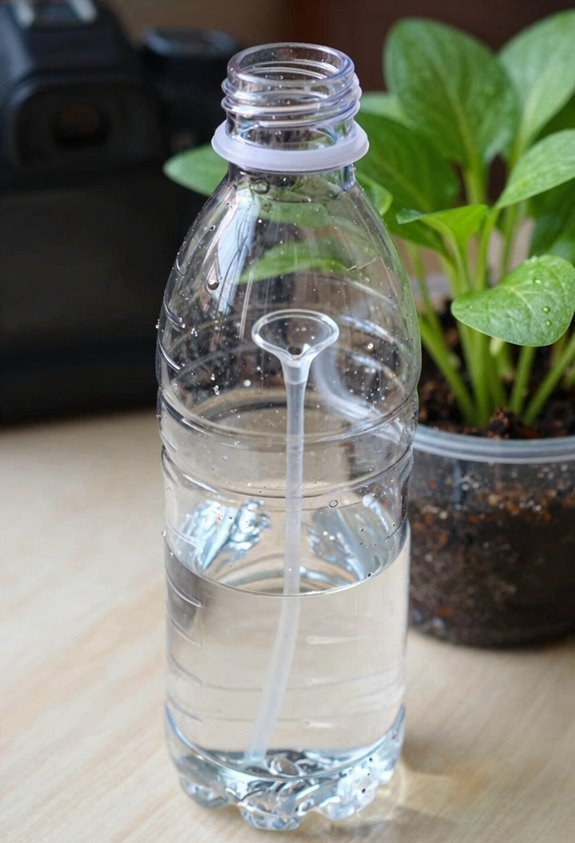
I fill the bottom bottle section with water to about three-quarters full. This leaves room so excess water drains when I reattach the top. The bottom reservoir holds what the plant needs over days.
I stuff a chunk of rockwool or sponge into the neck hole. This barrier stops soil from falling through. The wicking action pulls moisture up to the roots without drip watering.
I pack soil into the top section and space my seeds or seedlings evenly. I seat the top onto the bottom reservoir. The water wicks upward through the rockwool into the soil. Roots stay moist and I water less often. The system works hands-off once it starts.
Watch Your Water Level and Spot Problems Early
I check the bottom reservoir every 10 days and refill it to keep the roots moist. I watch for clogs in the drip cap hole and clear them fast if water flow stops. I rely on the rockwool wick to move water steady, so the soil stays damp without daily fuss.
Check Reservoir Regularly
The bottom chamber needs your attention every week or so. I check my reservoir regularly as part of basic maintenance. You should too. This keeps your drip watering system running smooth.
- Check Water Levels. I peek at my reservoir every 10 days. I refill when it runs low. I never let it overfill. That causes root rot.
- Watch for Bubbles. I look for air bubbles rising. Bubbles mean proper drainage. No bubbles mean trouble.
- Test Soil Moisture. I feel the top of the soil. Dry soil means I adjust water flow. Dried roots tell me my reservoir ran empty too long.
I built this planter to make growing easier. Regular checks keep it working. You and I both want healthy plants. Simple maintenance does that.
Identify Clogs Quickly
Water level tells you everything. Check it daily to catch problems before they grow.
Watch Your Flow Rate
Slow flow means trouble. Inspect the top hole and cap drainage area for soil or debris. Clear any blockage you find. Rockwool or sponge hardens when water runs low, so keep the reservoir filled.
Read the Bubbles
Air bubbles show proper drainage. No bubbles mean a drainage clog is forming. Look for them after each watering.
Position Matters
Keep the top section slightly above the bottom reservoir. This prevents backflow and reduces clogging risk. Adjust cap clearance if flow runs too fast. Controlled drip beats a flood every time.
Maintain Steady Moisture
Keeping water levels stable prevents root stress. I check my bottom reservoir every 10 days. I lift the planter and peer inside to gauge water depth. If it’s low, I refill immediately. This mimics a drip watering system without the cost.
My wicks handle moisture regulation from day one. Rockwool or sponge draws water upward steadily. I don’t fuss with daily spritzing anymore.
- Peek weekly. Lift the planter and check water status through the side.
- Top off promptly. Fill the bottom reservoir when levels drop below one inch.
- Inspect monthly. Clear cap holes and wick material of debris; adjust clearance if soil stays dry.
Two weeks in, my seeds germinated with zero extra watering. The reservoir does the work. You belong here, growing smarter not harder.
Use a Clear Bottle to See Roots as They Grow
Attribution: Practical observation methods for self-watering systems.
I use a clear bottle for root observation in my self-watering planters. The transparency lets me watch roots develop without disturbing the setup. I can see exactly when water moves up the wick and when soil needs attention.
A 16-20 ounce clear bottle works best. I cut the label off completely. The clear bottle shows root color changes immediately. I spot root rot early when roots turn brown or slimy. I notice air flow problems when condensation builds unevenly.
I track water uptake timing through the walls. The self-watering reservoir level drops predictably. I see white healthy roots reaching toward moisture. Mold shows as fuzzy patches I catch before spread.
This visibility makes me a more attentive grower.
Skip Soil With This Simple Hydroponic Variation
Attribution: Soil-free growing using rockwool and capillary action.
I want you to try hydroponics with your self-watering bottle. Skip the soil. Grab rockwool instead. Wet it thoroughly. Poke a small hole in the center. Drop your seed inside. Add two tablespoons of liquid fertilizer to your bottom reservoir. The rockwool wicks water up through capillary action. Your roots get direct moisture. No mess. No soil spills. Faster nutrient access.
- Start with wet rockwool, soak cubes until saturated. Squeeze gently. Place in the cut bottle top.
- Feed the reservoir, mix fertilizer with water in the base. This sustains growth for two weeks.
- Watch it work, capillary action pulls moisture upward. Germination happens fast. Roots do well without dirt.
This method belongs in your DIY toolkit.
Clear a Clogged Cap on Drip-Style Bottles
When your bottle stops dripping, you’ll need to clear the blockage fast. I remove the bottle and drip-cap, then inspect the interior holes for debris or mineral buildup. I use a small nail or finish nail to gently poke through any clogged hole. I wipe away residue with a damp cloth or alcohol swab.
For bottle-cap cleaning, I soak the cap in warm water with one drop of dish soap for five minutes. This loosens mineral deposits. I recheck for unobstructed flow. If residue persists, I use a thin pin to clear both holes from the inside.
I make sure the gaps stay open for drip control. I reassemble and test by squeezing the bottle. I confirm a steady drip without flooding the soil.
Scale Up: More Bottles for Your Indoor Garden
Why stop at one? I build multiple self-watering units to create a lush indoor garden together. Scaling lets each plant get its own reliable water source.
Why stop at one? Build multiple self-watering units and give every plant its own reliable water source.
Here’s how I expand the system:
1. Match Bottle Sizes to Pots
Use 500 ml bottles for small herbs. Use 1.5 L bottles for larger plants. Cut each at different depths to control how fast water moves up.
2. Keep Wicking Consistent
Slide rockwool or sponge into every top section. This pulls water evenly from each bottom reservoir. No plant gets left dry.
3. Space and Secure Bottles
Arrange units evenly around plants. Add simple stands or straps to stop tipping.
Check all reservoirs every 10 days. Refill before roots dry out.





