
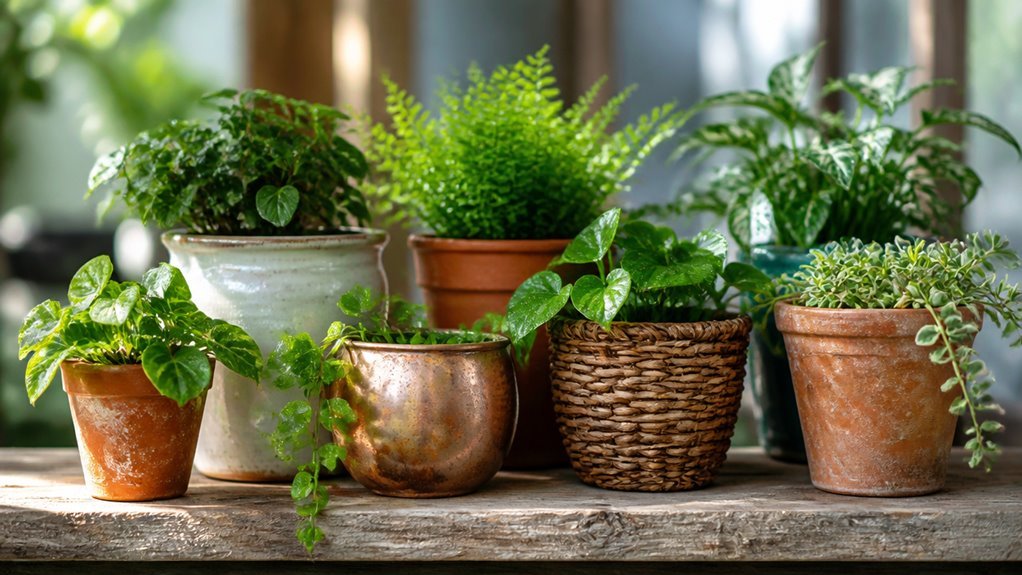
Paint Flower Pots With Patterns That Hide Flaws
Primer seals terracotta in one coat.
Three thin layers of acrylic cover chips and stains.
A clear spray sealant protects against water damage.
Patterns distract from surface imperfections.
Paint Flower Pots With Patterns That Hide Flaws
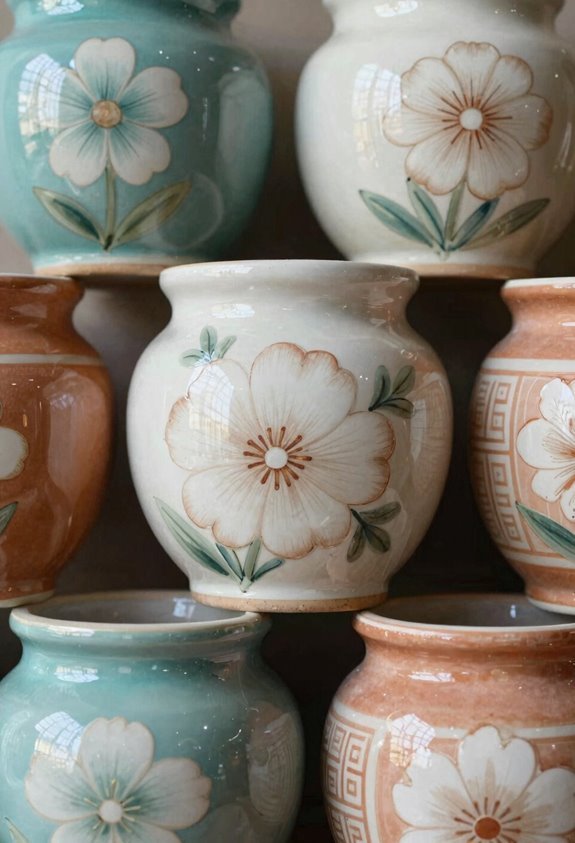
Why let a chipped rim ruin your display? I grab my brush and turn flaws into features with strategic paint and patterns that camouflage every imperfection.
A chipped rim isn’t failure—it’s an invitation to create something intentional.
Prep the Surface
I sand the pot lightly with 120-grit paper. I apply one coat of primer. I wait two hours.
Choose Your Pattern
I paint stripes, geometric shapes, or florals. Bold patterns distract from uneven surfaces. I match colors to my plants and room decor.
Build the Finish
I apply three thin coats of acrylic paint. Each coat dries 30 minutes. I seal with clear polyurethane topcoat.
Result
My pots look intentional. My collection feels cohesive. I belong among people who make broken things beautiful.
Wrap Pots in Twine, Rope, and Fabric Scraps
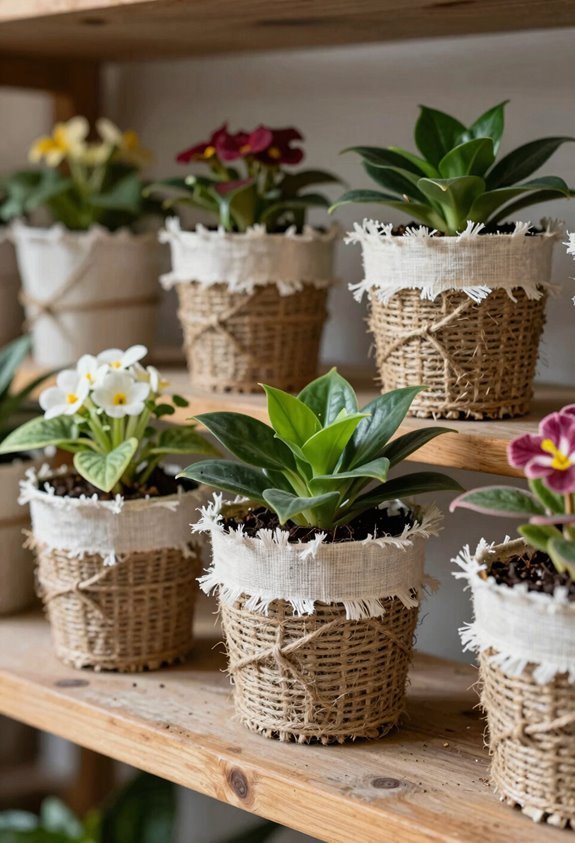
You can wrap pots with jute twine, sisal rope, or cotton fabric scraps measuring 2-4 inches wide. These materials add instant texture and hide plain plastic or chipped ceramic surfaces. Select natural fibers for a farmhouse look or bright fabric strips for modern color blocking.
Simple Application Steps
Secure one end with hot glue, wrap tightly around the pot, and finish with a second glue dab at the back. Overlap each layer by half an inch for full coverage on containers up to 8 inches tall. Work on clean, dry pots for adhesive that grips properly.
Style Variations Gallery
Layer different rope thicknesses or alternate fabric patterns in spirals for custom designs. Add a jute bow or wooden bead at the rim for finished detail. Seal fabric wraps with clear acrylic spray to block moisture and extend wear.
Textured Wrapping Choices
Plain plastic pots lack character.
Twine Wrapping
Jute twine adds farmhouse style. Coil 4mm twine around the pot base. Use hot glue every 5cm for hold. This creates natural texture against green leaves.
Rope Detailing
Thick cotton rope gives nautical appeal. Wrap 12mm rope in tight spirals. Make sure no adhesive shows on outer layers. Seal cut ends with craft glue to stop fraying.
Fabric Accents
Cotton or linen scraps introduce color. Cut 8cm wide strips. Tie them with tight knots below the rim. Avoid bulk where soil meets air.
Layered Textures
Combine jute with fabric for contrast. This draws eyes upward toward foliage. Place wrapped pots inside wicker baskets filled with water for humidity control.
Simple Application Steps
I start with a clean plastic pot and 4mm jute twine. I wrap the twine around the pot, securing each layer with hot glue. I add fabric scraps near the rim for color. I alternate sections of rope and fabric for texture. I tuck small beads into the twine for detail. I seal fabric areas with clear spray sealant.
| Material | Purpose | Best Use |
|---|---|---|
| 4mm jute twine | Base texture | Full pot coverage |
| Fabric scraps | Color accents | Rim or band sections |
| Decorative beads | Detail points | Twine intersections |
| Clear sealant | Moisture protection | Fabric-wrapped areas |
I use Dollar Tree containers for this project. I apply craft adhesive for fast repairs. I layer materials while glue remains tacky. I work in sections to maintain control. I let sealant dry before adding plants.
Style Variations Gallery
Natural jute twine, 3mm thickness, 50 feet per pot. Wrap in tight spirals from base to rim. Secure ends with hot glue every three inches. Pair with unglazed terracotta and trailing pothos.
Nautical Rope Coat
Braided sisal rope, ¼ inch diameter, marine-grade. Coil in horizontal bands around plastic nursery pots. Leaves ½ inch gaps for drainage visibility. Hold shape with construction adhesive dots. Display with succulents near windows.
Shabby Chic Fabric Layer
Cotton muslin scraps, 6-inch squares, pre-washed. Overlap edges with running stitch, ¼ inch seam. Allow raw edges to fray naturally. Creates soft color blocks against dark soil.
Mixed Texture Display
Combine all three wraps in one arrangement. Keep materials in shared neutral palette. Position twine pot center, rope and fabric flanking. Unifies varied heights and plant types.
Turn Mugs, Tins, and Jars Into Instant Planters
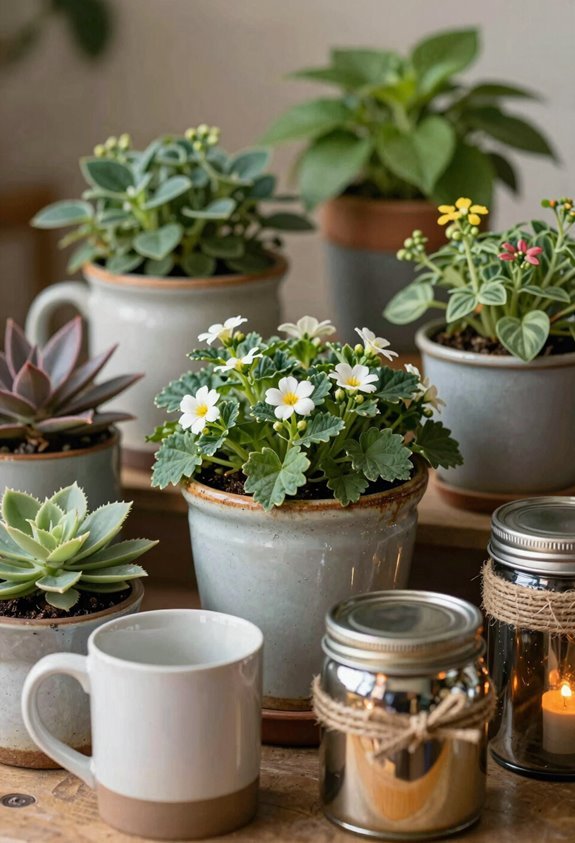
Several household containers work as planters with minor modifications. I drill drainage holes in mug bottoms using a ceramic bit. I poke holes in tin cans with a hammer and nail. I use dollar-store supplies for budget-friendly displays.
Protect Surfaces
Line containers with removable plastic liners or seed-starting trays. This keeps soil contained and surfaces clean.
Choose Proper Mix
Select potting mix for your plant type. Add moss or decorative stones as filler for a finished look.
Customize Exteriors
Apply chalk paint, acrylics, or washi tape. Match your decor theme with simple materials.
Label Containers
Mark each with plant names and care tips. This maintains plant health and creates cohesive arrangements.
Match Painted Pots to Your Room’s Color Scheme

I’ve painted my repurposed containers before. The trick is matching them to what you already own.
Choose Colors That Echo Your Space
Pick pot paints in blues and whites for coastal rooms. Use beiges or greys for minimalist setups. Let the plant provide a splash of color.
Apply Color Harmony Principles
Pair analogous or complementary palettes with your upholstery and walls. Sample swatches against curtains and throw pillows before committing.
Select Finish by Style
Use matte paints for casual rustic spaces. Choose glossy finishes for modern or glam interiors. The sheen matters as much as the hue.
Balance Bold and Neutral Rooms
Paint soft neutrals for calm spaces. Pick one contrasting accent color for bold rooms. Don’t compete with existing decor.
Stack and Cluster Pots for Taller Displays
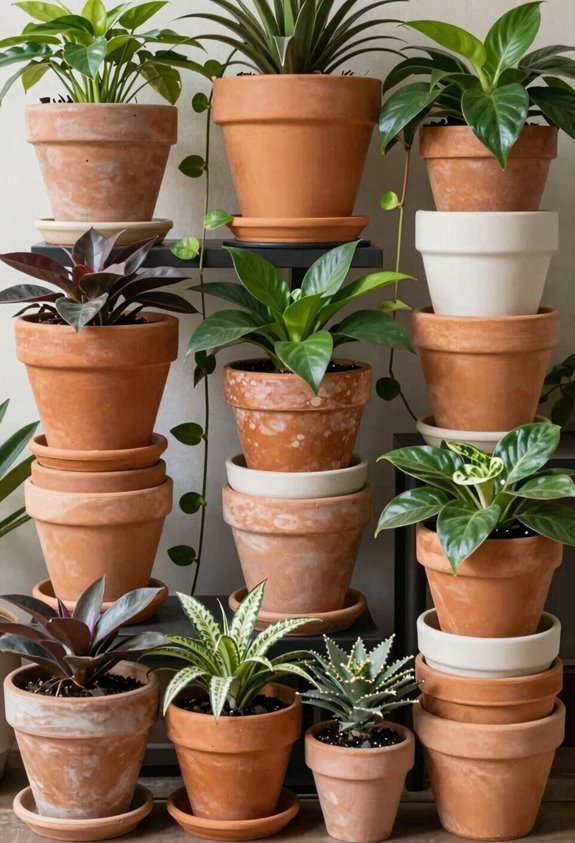
Why settle for flat arrangements when you can build upward? I stack pots of varying heights with taller ones at the back and shorter ones in front. This creates tiered displays that add vertical interest to your space. I cluster three to five pots together mixing textures like wicker, ceramic, and metal for a dynamic cohesive look.
Build upward with tiered pots—tall at the back, short in front—for instant vertical interest in any space.
Layer by height: Place 12-inch pots behind 6-inch pots to build clear visual tiers that guide the eye naturally.
Mix your materials: Combine two textures maximum such as ceramic with wicker to keep unity without monotony.
Pair with purpose: Match trailing pothos with upright snake plants to emphasize height differences within the stack.
Anchor your display: Position clusters on console tables or floor corners near walls to save walking space.
I keep color consistent repeating one or two finishes to unify the cluster while letting plant variety shine.
Build DIY Plant Stands From Dollar Tree Finds
Where do you find affordable plant stands? I build mine from Dollar Tree finds. I stack plastic containers, metal risers, or candle holders with strong adhesive. I avoid heavy tools. I create multi-tiered displays without spending much.
| Base Item | Top Addition |
|---|---|
| Storage cube | Small pot |
| Dishware plate | Ceramic riser |
| Wooden crate | Plastic tray |
I secure each layer with lightweight screws or glue. I paint pots and trays to match my room. I choose wide bases for stability. I add non-slip pads under tall stands.
I repurpose dishware and crates for different heights. I skip specialized hardware. I build vertical stands that hold my plants safely. I unify the look with coordinating colors. I check balance before placing heavy pots on top.
Mix Wood, Metal, and Ceramic for Layered Texture
Once my stands are built, I focus on the pots themselves. I combine wood, metal, and ceramic to build layered texture in my displays. The rough surface of wood pairs against smooth ceramic and brushed metal. This mix gives my plant corner depth and tactile interest.
I stick to odd groupings. Three or five pots arranged together create rhythm. I vary heights so each material catches light differently. Matte ceramic, natural wood, and metal finishes share a cohesive palette without matching perfectly.
Start with wood: Choose rough-hewn wooden pots for rustic warmth and grounded texture.
Add metal: Select brushed aluminum or steel containers for industrial edge and cool contrast.
Layer ceramic: Pick smooth matte pots in neutral tones to bridge the other materials.
Odd numbers rule: Group three or five pieces to enhance visual flow and highlight texture differences.





