
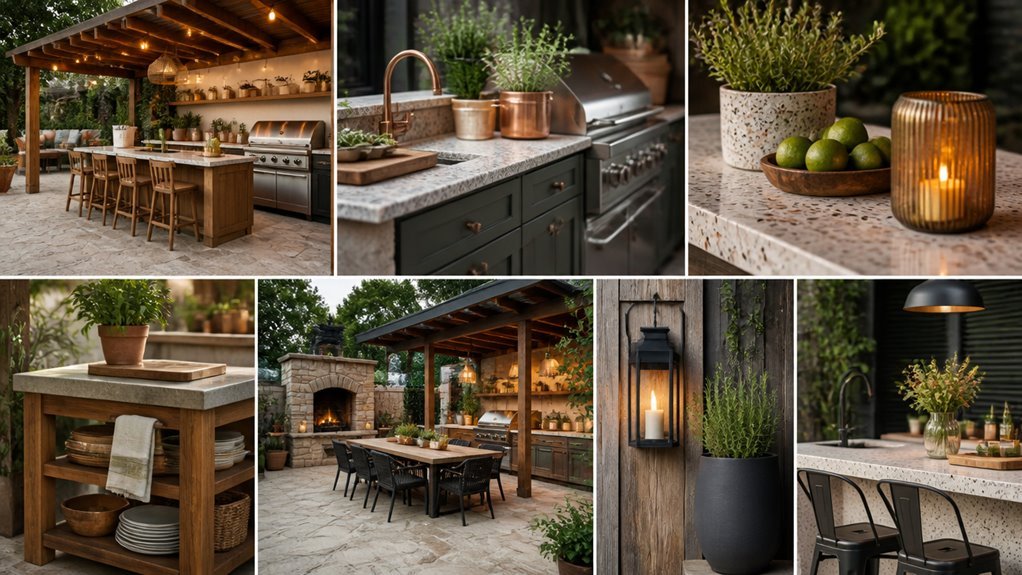
I planned my outdoor kitchen around how I actually cook and who I entertain. You need 36 inches of clearance on all sides of your grill, and your prep zone sits within arm’s reach. The rest depends on what you prioritize most.
Plan Your Outdoor Kitchen Layout Around How You’ll Cook and Entertain
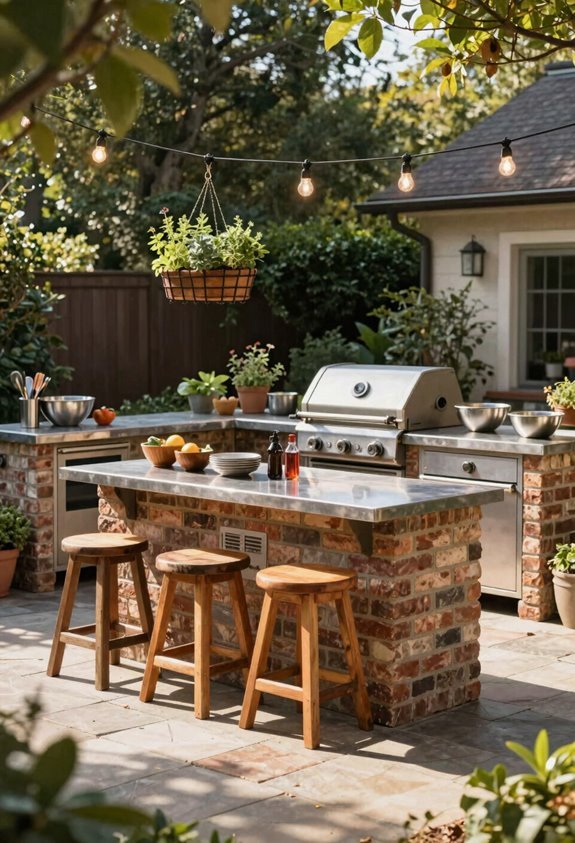
From a functional design perspective, the placement of your cooking zone determines every other element’s position. I place my built-in grill and cooktop as the central cooking zone with adjacent prep counters and a dedicated prep sink. This creates an efficient workflow that keeps me in control.
Outdoor Kitchen Ideas for Social Flow
I arrange seating and dining areas within easy reach of the kitchen. This facilitates social interaction while I cook and promotes cohesive entertaining. I use an L-shaped or straight-line layout to maximize counter space and make sure there are clear sightlines between the grill, beverage station, and seating.
Traffic Management
I position wet bars, ice storage, and beverage stations near the dining zone but slightly offset from the main cooking area. This minimizes traffic interference while guests serve themselves.
Material Selection
I integrate weather-resistant materials including stainless steel appliances, stone countertops, and durable cabinetry to sustain outdoor entertaining use.
Choose a Roof or Pergola That Extends Your Cooking Season
Weather Protection Options; Automated Louvered Systems
Weather Protection Options
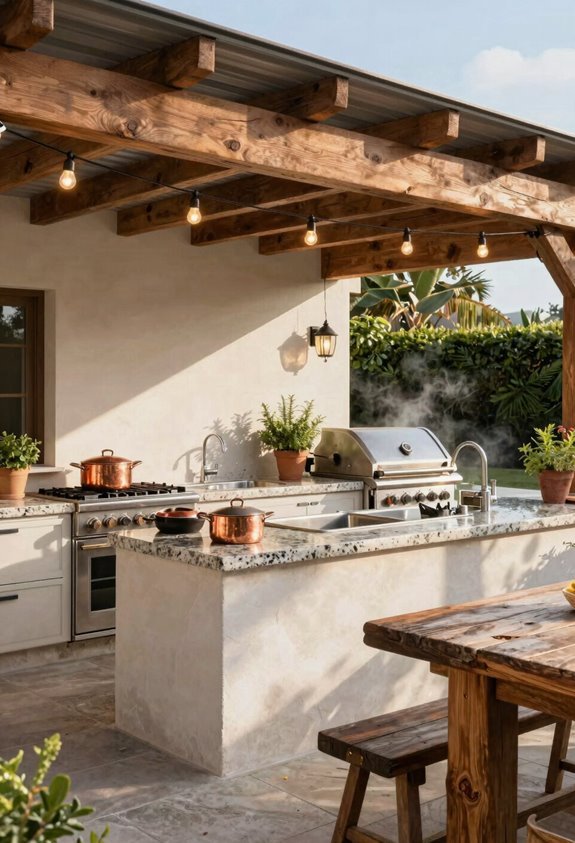
Because I’m extending my outdoor cooking season, I’m installing a louvered roof with adjustable aluminum slats that open to 180 degrees. This outdoor kitchen design adapts to sun and rain on demand. Covered spaces keep my grill and dining area dry year-round.
I pair ceiling fans with weather-resistant furniture to cut heat and humidity. Integrated LED lighting along my countertops and steps improves visibility after dark. Pergolas with stone columns and climbing vines give me partial shade with steady airflow.
| Feature | Benefit |
|---|---|
| Louvered roof | Opens to 180 degrees for full sun or total cover |
| Covered structure | Blocks rain and UV rays for year-round cooking |
| Ceiling fans | Reduce heat and humidity during summer meals |
| LED lighting | Illuminates work surfaces and walkways at night |
| Pergola with vines | Filters sunlight while maintaining ventilation |
Automated Louvered Systems
Why settle for fixed shade when I can control my cover with a button? An automated louvered roof turns my outdoor kitchen into a year-round command center. I program motorized aluminum slats to open in seconds for airflow or seal tight against rain.
These systems pair with sensors and apps. I adjust for sunset, wind, or incoming storms without leaving my grill. The roof spans 10 to 20 feet typically. I add integrated fans, LED strips, and retractable screens for full climate control.
My equipment stays put. Guests stay dry. I host through shoulder seasons without hauling furniture indoors. This upgrade belongs in serious outdoor kitchen plans.
Build Around a Statement Grill and Appliance Setup
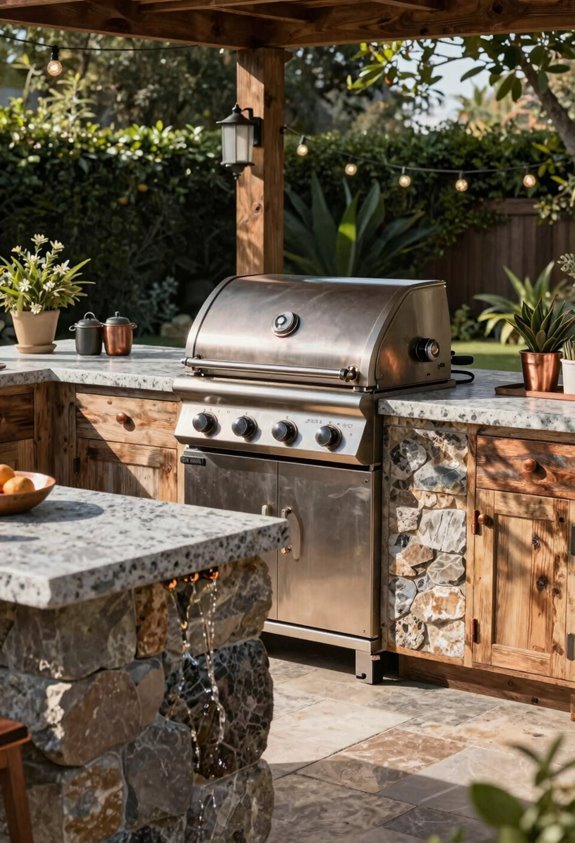
Choose one high-quality built-in grill as your anchor point. I build my entire outdoor kitchen around this centerpiece. I select stainless steel construction with weather-resistant features and integrated covers. This material withstands rain, heat, and heavy use without corroding.
A premium built-in grill anchors your entire outdoor kitchen—choose stainless steel that withstands the elements and heavy use for years.
My kitchen design places the cooking area central to everything. I arrange counter space, storage, and seating in a cohesive flow. I position prep stations and refrigeration within reach of the grill. This minimizes movement during gatherings.
Stone Surrounds: I frame the grill with brick or stone. This defines the cooking zone and adds visual weight.
Workflow Zones: I map paths between grill, sink, and fridge. Guests move freely without crowding me.
Social Layout: I place the dining area nearby. Conversation flows without interrupting my work.
Select Countertops and Cabinets That Survive the Elements
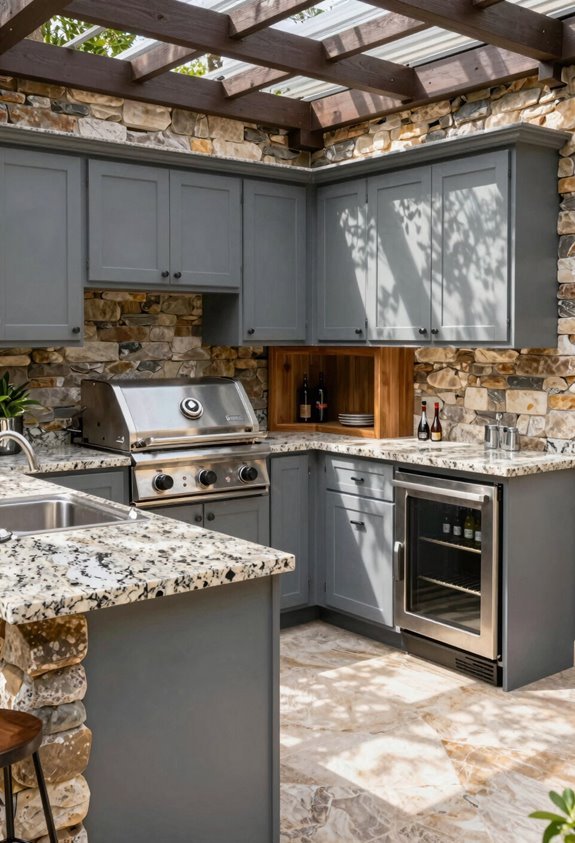
I’ve learned that picking materials rated for outdoor use prevents costly replacements within three to five years. Quartzite countertops give you marble looks with weather resistance granite can’t match without sealing. I pair these with stainless steel cabinets that handle heat, humidity, and UV without corroding, then frame everything in stone or brick for a finish that holds up season after season.
Durable Material Selection
Three material choices determine whether your outdoor kitchen lasts five years or twenty-five.
Your outdoor countertops face heat, rain, and stains daily. I choose granite, quartzite, or concrete. These materials resist damage and clean easily. Granite and quartzite need sealing. I reseal them per manufacturer guidelines to block moisture.
Stainless steel works for cabinets. It resists rust and holds up in harsh weather.
- Granite: Choose sealed slabs; reseal annually.
- Quartzite: Pick treated surfaces. They resist staining better than standard stone.
- Concrete: Select sealed, reinforced mixes. They handle temperature swings.
Powder-coated aluminum frames and stainless hardware prevent corrosion. I check that all finishes rate for outdoor use. Mix stone surrounds with weatherproof cabinetry. Drainage grooves and sealed seams stop water damage. Your kitchen stays solid, season after season.
Weather-Resistant Cabinetry
Countertop Selection
I select quartzite or granite countertops for durability and heat resistance. I seal granite annually to prevent staining from rain and spills.
Hardware and Framing
I install rot-resistant framing with stainless steel handles and weatherproof gaskets. This keeps moisture out of my cabinets year-round.
Surface Finishes
I pick porcelain or stained concrete cabinet surfaces with UV-resistant finishes. This prevents fading from constant sun exposure.
Moisture Management
I make certain my outdoor kitchen cabinetry is moisture-rated. I add proper drainage and ventilation to stop warping and mold growth.
Functional Workspace Design
Designing an outdoor kitchen starts with surfaces that handle heat, rain, and daily use. I choose materials that keep my outdoor cooking area functional year-round.
Granite countertops resist heat and scratches. Seal them regularly to block moisture and prevent stains.
Stainless steel surfaces clean easily and look modern. Pick weather-resistant builds with covers to stop UV and moisture damage.
Powder-coated aluminum cabinets with weather-treated plywood or steel frames fight rust and warping in wet conditions.
I build multi-level prep zones with lower shelves near the grill for tools and higher shelves for items I use less often. Light or dark surfaces cut heat absorption. I seal stone to preserve color and strength.
Arrange Seating So Guests Can Gather Near the Cook
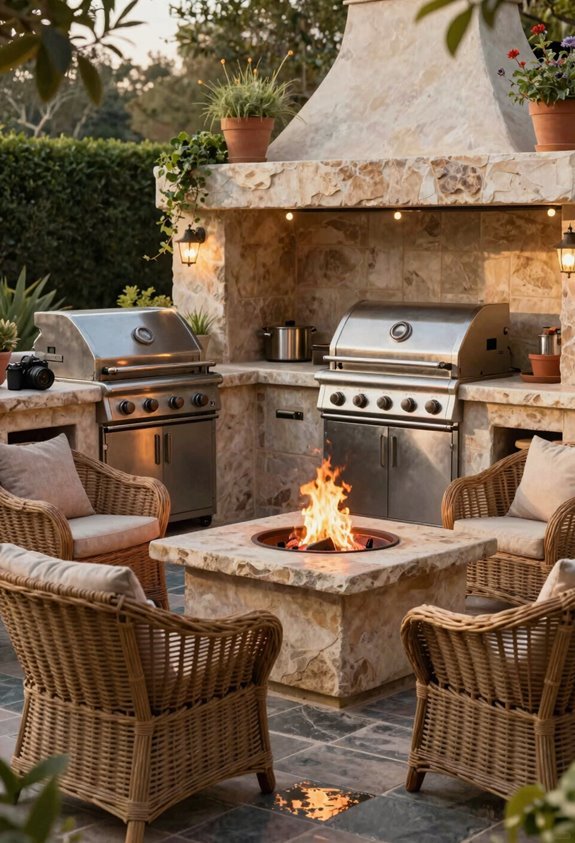
Why should the cook miss the party? I don’t let that happen in my space.
Outdoor kitchen seating
I arrange banquettes or lounge clusters facing the cooking area. Guests talk with me while I work. I mix bar stools at counters with low-back chairs. Everyone sees each other without crowding my grill zone.
Sightlines and flow
I place dining within steps of the kitchen. A glass-top table or lounge area connects to prep surfaces with clear paths. Built-in benches or sectionals around a fireside let conversations continue while food rests.
Flexibility and clearance
I add movable stools and lightweight chairs. I reconfigure for different groups. I keep 36–42 inches of clearance around islands so people move freely. The cook stays connected. Everyone belongs.
Light Your Space for Prep Work and Evening Ambiance
How do I keep cooking after sunset? I rely on smart outdoor kitchen lighting that works as hard as I do. Here’s how I layer light for function and warmth:
- Task lighting: I install under-counter LEDs along prep surfaces for clear visibility when chopping and plating.
- Ambient fixtures: I add wall sconces and string lights at 2700–3000K for soft, welcoming glow.
- Integrated ceiling fans: I mount weather-resistant units with built-in lights for comfort and even coverage.
I run exterior lighting along steps and countertops to prevent trips and unify the space. I use dimmable controls to shift from prep mode to dinner ambiance. I uplight nearby trees for depth without glare. Mixing these elements keeps my kitchen safe, comfortable, and ready for evening gatherings.
Add a Beverage Station to Keep Hosting Simple
Built-in ice bin, sink, mini-fridge, and garnish zone keep drinks flowing without kitchen traffic.
Keep drinks flowing and guests happy with an all-in-one beverage station—no back-and-forth to the kitchen required.
Position this station near your grill or dining zone in the outdoor kitchen area. This placement minimizes guest movement and keeps refreshments within arm’s reach. You’ll spend less time fetching drinks and more time with your crowd.
Choose weather-resistant materials for lasting performance. Install stainless steel appliances, stone countertops, and sealed cabinetry to withstand sun exposure and rain damage.
Add a countertop-height bar with integrated seating to encourage gathering. Install task lighting for evening use. Include a bottle rack, glassware storage, and drainable ice bin cover to maintain organization. These features turn your outdoor kitchen area into a self-sufficient entertaining hub where guests feel welcome and hosts stay relaxed.





