
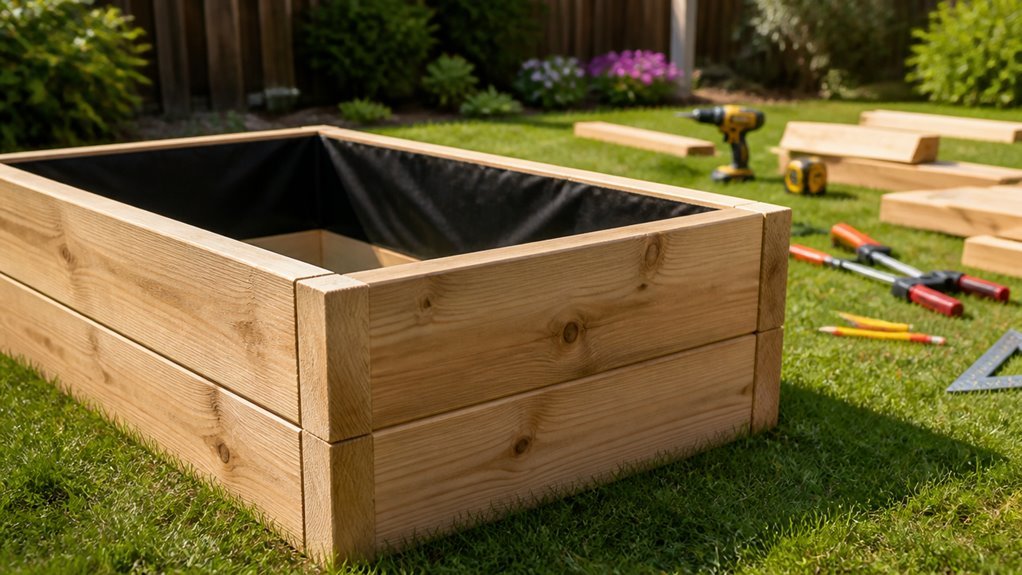
A single cedar plank holds enough water to warp its grain in one season of rain.
I learned that cedar resists rot for 15 years with proper sealing.
You need 1×6 cedar pickets, 2×2 legs at 30 inches, and 4.5-inch slats ripped to width.
The frame uses pocket screws set 1/2 inch from edges.
Three coats of Spar Varnish protect end grain from splitting.
Your soil choice determines whether roots flourish or rot.
Choose Lumber and Gather Materials for Your Elevated Planter
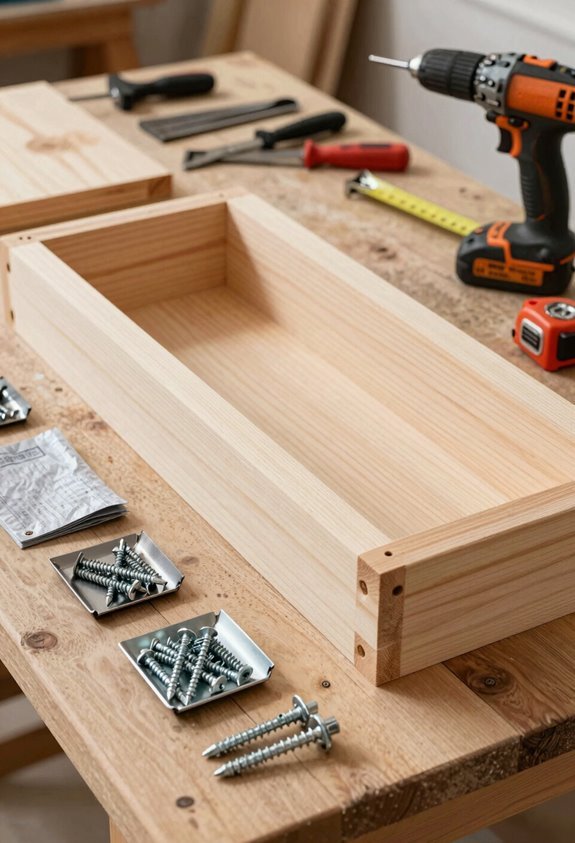
Why settle for flimsy planters when you can build one that lasts? I use rough-sawn cedar 2x4s for my frame and 3/4 cedar fence pickets for slats. This balances rot resistance with cost. The rough-cut edges give my raised planter a rustic look.
I skip plywood entirely. My frame legs measure 34.5 inches. My top bars measure 30 inches. I cut eight long slats at 53 inches and eight short slats at 27 inches.
I gather hardware for assembly. I use a pocket hole jig for hidden screws. This simplifies assembly.
I paint my frame with exterior latex. I apply Spar Varnish to slats. I add extra end-grain paint for protection.
Rip Pickets and Cut All Parts to Size
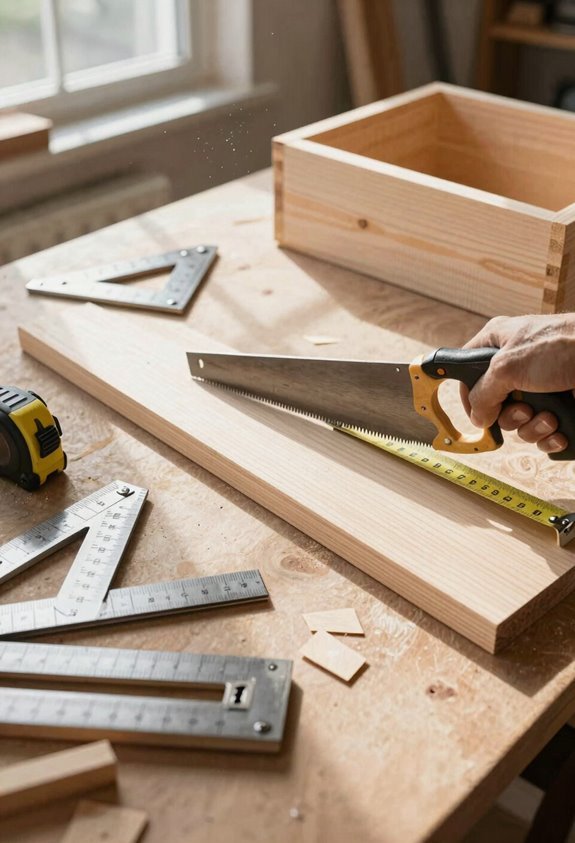
I rip the fence pickets from 6 inches down to 4.5 inches for a slimmer profile. I cut all pieces to the rough sizes on my list, using scraps where I can since exact measurements aren’t critical for hidden parts.
I trim the edges clean and add a 1/8-inch chamfer to the front slats before drilling pocket holes in the legs and slats.
Picket Preparation
Standard fence pickets measure 6 inches wide. I’ll rip these cedar boards down to 4.5 inches for my raised planter. This picket preparation gives the slats a thinner, cleaner profile on the planters sides. I’m working with cedar fence boards that start rough. They’ll get sanded to 180 grit later for a smooth finish.
- Ripping: I run each board through the table saw at 4.5 inches. The offcut becomes scrap or kindling.
- Trimming: I clean up the torn edges from ripping with a quick pass on the jointer.
- Pre-drilling: I mark interior pocket holes 1/2 inch from leg edges. These hide completely on the inside.
- Sizing: I cut all parts to approximate lengths now. Visible pieces don’t need exact dimensions.
Cut List
Once the pickets are ripped to 4.5 inches, I’ll cut every part to its finished size.
Slats
The planter box needs eight long slats and eight short slats. Cut the cedar long slats to 53 inches. Cut the short slats to 27 inches.
Frame and Supports
Rough-sawn cedar 2x4s form the raised bed frame. Cut bottom rails to 1.5 x 1.5 x 27 inches. Cut battens to 3/4 x 2 x 18 inches.
Bottom
Cut bottom slats from 3/4 cedar to 3/4 x 4.5 x 27 inches. These support soil inside the planter box.
Pocket Holes
Drill pocket holes on all four legs, placed 1/2 inch from edge. Drill two pocket holes per slat for hidden screws.
This cut list gives exact dimensions. No guessing. Measure twice, cut once, and you’re ready to build.
Drill Pocket Holes to Hide Your Screws
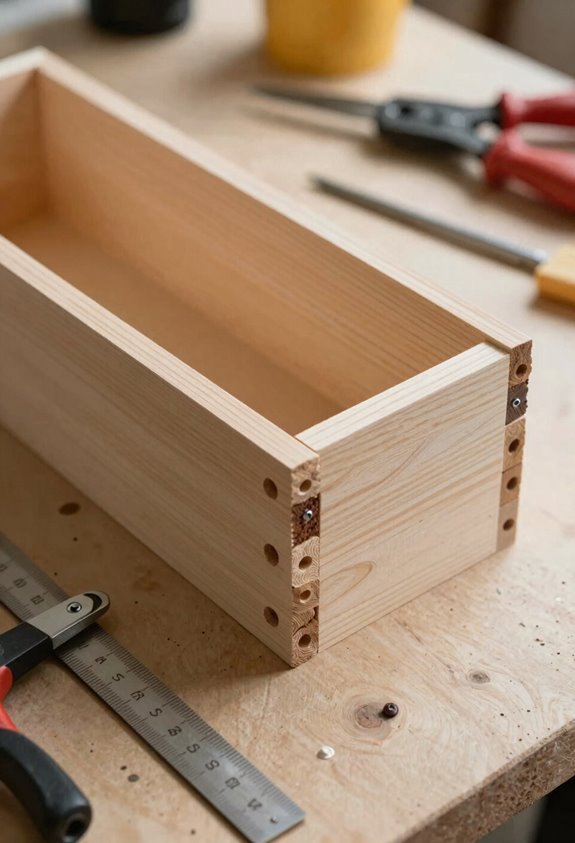
Where do you hide screws on a planter box? I use pocket holes to keep fasteners out of sight on my raised planter box. A Kreg Jig makes this easy. I drill angled holes in hidden spots on legs and slats. This gives me hidden screws that hold tight without showing.
Set Up Your Jig
*Kreg Jig setup*
Clamp the jig to each board. Set the drill bit collar for your wood thickness.
Clamp the jig tight and size your bit collar to match the board thickness for clean, precise pocket holes every time.
Mark Interior Pocket Holes
*Positioning guide*
Place interior pocket holes 1/2 inch from edges. This keeps wood strong and stops tear-out.
Drill the Slats
*Sixteen slats, two holes each*
Drill two pocket holes per slat. Attach them to legs later with wood screws.
Test for Square Assembly
*Frame alignment check*
Pre-drill and test-fit joints. Check frame alignment before final fastening.
Sand Slats and Finish Pieces Before Assembly
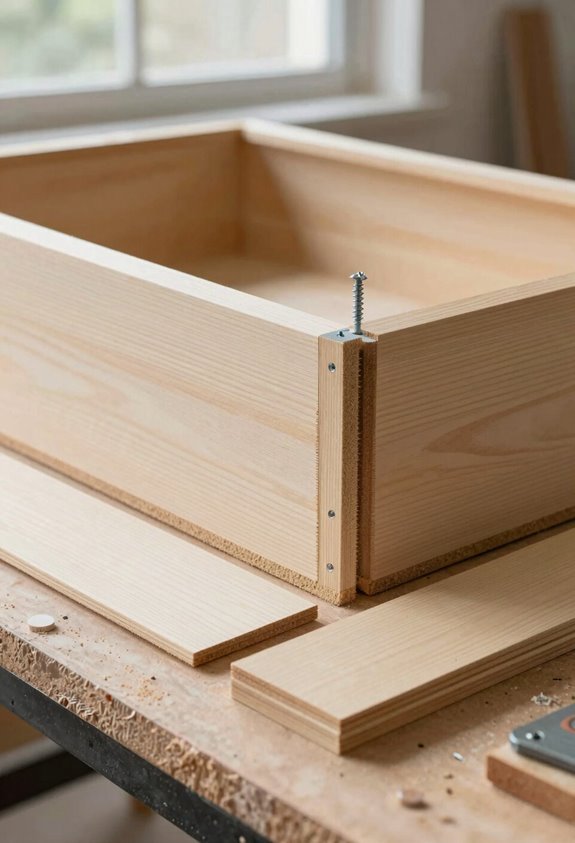
Sand Slats and Finish Pieces Before Assembly
Raised Planter Box
I sand the cedar slats to 180 grit after rough-cutting them from 3/4-inch fence pickets. I chamfer the front slat edges by 1/8 inch for a cleaner look.
I apply exterior latex paint to the frame and Spar Varnish to the slats before assembly, adding an extra coat to the end grain.
Grit Progression Steps
Why sand before assembly? I sand every cedar slat before building my raised planter box. This creates cleaner pockets for pocket-hole joinery. It also gives a tighter overall fit. Sanding removes rough edges from initial shaping. Grit progression matters for the final look.
- Start coarse. I remove saw marks and splinters first. This prepares the surface for finer work.
- Move to medium grit. I smooth the faces evenly. This step bridges rough and smooth textures.
- Finish at 180 grit. I stop here for my cedar slats. This grit accepts finish coating well.
- Prepare for protection. I plan Spar Varnish application next. This gives weather resistance and end-grain protection to my slats.
Finish Application Timing
I sand every slat to 180 grit before I build. This surface prep step saves time later. The cedar accepts exterior wood finish evenly when prepped right.
Finish Timing
Early finish timing prevents missed spots. I coat all pieces before assembly. Edge preparation includes chamfering front slats by 1/8 inch.
I rip fence pickets and trim edges clean.
Frame Coating
I apply two coats of exterior paint to the frame. A third coat goes on end-grain. This end-grain protection stops moisture wicking. The raised planter box lasts longer.
Slat Sealing
I brush Spar Varnish on cedar slats. Three coats with full dry time between each. The exterior wood finish shields against sun and rain. Pre-assembly finishing covers every face completely.
Assemble the Long Sides First
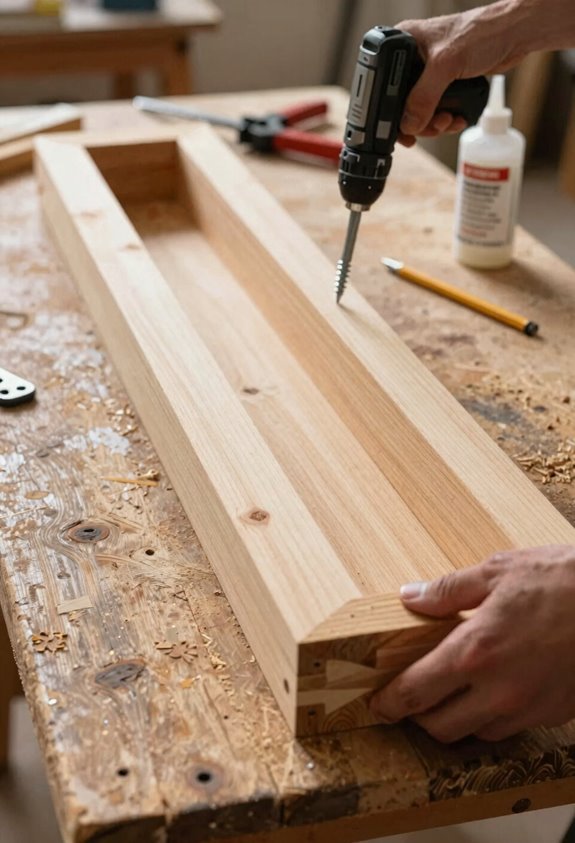
Start by attaching four long slats to two legs with pocket holes. This creates clean hidden screws for your raised planter framing. I align the back flush with a 3/4-inch reveal. This gives consistent edges on the long sides.
I check parallel alignment with a square. This keeps everything perpendicular.
Long Side Assembly
Use pocket holes on the inside face. Drill at standard spacing for strength.
Reveal Setting
Maintain the 3/4-inch back offset. This matches common decking screw placement.
Square Verification
Hold a carpenter’s square to each corner. Adjust before the framing sets.
Level Stance Check
Rest the assembly on flat ground. Verify top edges sit even for the U-shaped frame.
Attach Side Slats and Check for Square
I start by fastening the four long slats to the two legs with pocket holes set 1/2 inch from each edge. I keep the back edges flush and maintain a 3/4 inch reveal on the front for a clean look.
I check every corner with a framing square as I work to keep the frame square throughout assembly.
Alignment Technique
How do I get this frame right from the start? I attach four long slats to the two legs first. I make sure there’s a 3/4 inch reveal and back-flush alignment with the leg edges. This sets the foundation for everything that follows.
- Position the long sides first. I place these as my initial assembly. They form the backbone of the structure.
- Add short sides with pocket holes. I drill interior pocket holes about 1/2 inch from the edge. These hide my fasteners completely.
- Check corners for square. I use a square to verify perpendicular alignment at each corner. I measure both ends for equal spacing between the 4×4 corners.
- Brace for stability. For larger beds, I install a galvanized mending brace. This prevents bowing and keeps the square geometry along the longest side.
Fastening Method
With the frame aligned, I secure the components using pocket holes.
I drill pocket holes on all four legs for this raised planter box. I position holes 1/2 inch from edges to prevent splitting. I fasten long slats to legs first, keeping back flush with 3/4 inch reveal for clean alignment.
I join sixteen slats total using screws and hidden joints. I pre-drill to protect wood from cracking.
I check square by measuring inner corners between 4×4 legs at both ends. I verify equal spacing before driving final screws. I place a framing square against corners to test true 90 degrees. I re-tighten bolts or screws where joints loosen. Your structure stays square and solid through seasons of growing.
Build the Angled Bottom for Drainage
Why settle for standing water when a simple angle solves the problem? I build my raised planter box with an angled bottom for drainage that keeps roots healthy and rot at bay.
- Angle the bottom rails. I attach bottom rails at a slope toward the center. This directs water out and protects my raised garden beds from pooling.
- Raise the outer edges. I set outer edges one inch above the base. This creates natural runoff and improves moisture control.
- Space the slats. I leave a quarter-inch gap drainage between slats. Air flows through and water escapes fast.
- Secure with pocket holes. I drill pocket holes and add wood glue. Two bottom rails per side lock the slats tight while preserving the drainage angle.
Add Top Bars for Strength and Style
Top bars cap the frame and give me a grip when I move the planter. I cut my top bars to 30 inches. They span the frame of my raised planter box.
I align them with the long slats first. I check for a back flush reveal of 3/4 inch. This keeps the top bars even with the long sides.
I use pocket screws for a hidden-fastener appearance. This method gives clean lines. It supports the modern look I want.
The top bars provide frame reinforcement. They resist lateral loads from soil and water. I place them before drilling to keep a square outline.
I check gaps twice. I secure once. My planter stays level and strong.
Line With Wire, Fabric, and Plastic
I line the planter interior after the frame is built. This step protects your wood and keeps your raised beds working for years.
1. Chicken wire base
*Strength layer*
I cut chicken wire to fit the bottom. This creates even weight distribution across the base.
2. Landscape fabric barrier
*Drainage aid*
I lay landscape fabric over the wire. This allows water drainage while maintaining soil containment.
3. Plastic liner protection
*Moisture shield*
I install a black plastic liner extending up the sides. This interior lining adds durability by blocking moisture from the wood.
4. Drainage preparation
*Water flow*
I punch drain holes in the plastic liner’s center bottom. I secure all layers with a stapler, anchoring everything firmly in place.
Fill Your Raised Planter and Start Planting
My Raised Bed holds about 8 bags of soil. I add compost and aeration amendments for drainage and fertility.
Liner Prep
I already laid landscape fabric and hardware cloth in my planter. These block pests and support drainage.
Soil Mix
I blend soil, compost, and amendments evenly. This mix feeds vegetables through each season.
Planting
I match crops to sun exposure. Tomatoes, peppers, and cucumbers need full sun. Greens tolerate partial shade. Root vegetables need loose, deep soil.
Irrigation Setup
I install drip lines or risers before planting. I monitor moisture weekly.
Ongoing Care
I adjust irrigation as weather shifts. I add compost between plantings. My raised bed stays productive with steady attention.





