
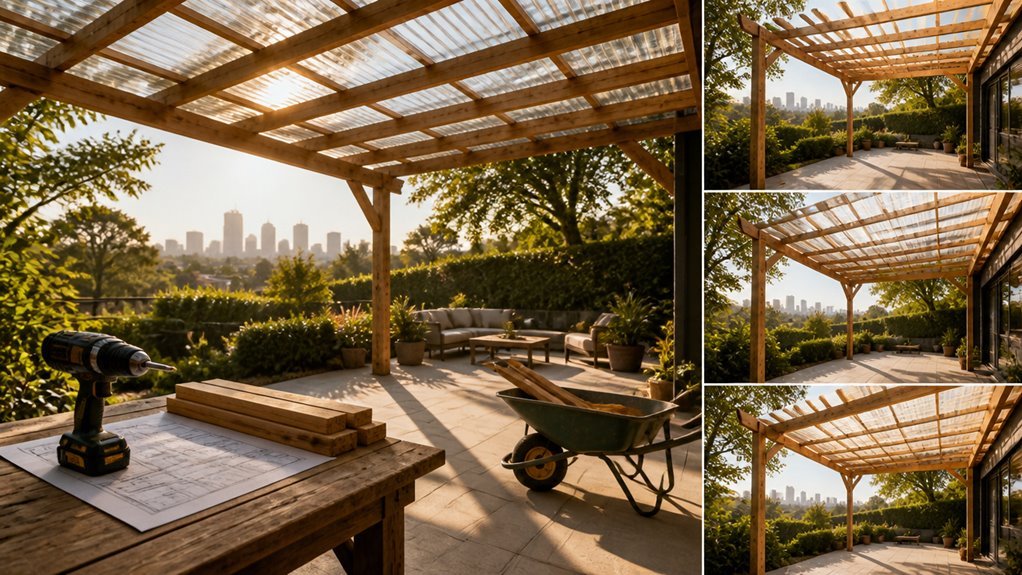
My patio measures 24 by 12 feet. I attach one 24-foot beam to my house or build it freestanding with four 6×6 posts on concrete pads. I will show you which roof layout works best for your house attachment.
Plan Your DIY Covered Patio Dimensions and Roof Attachment
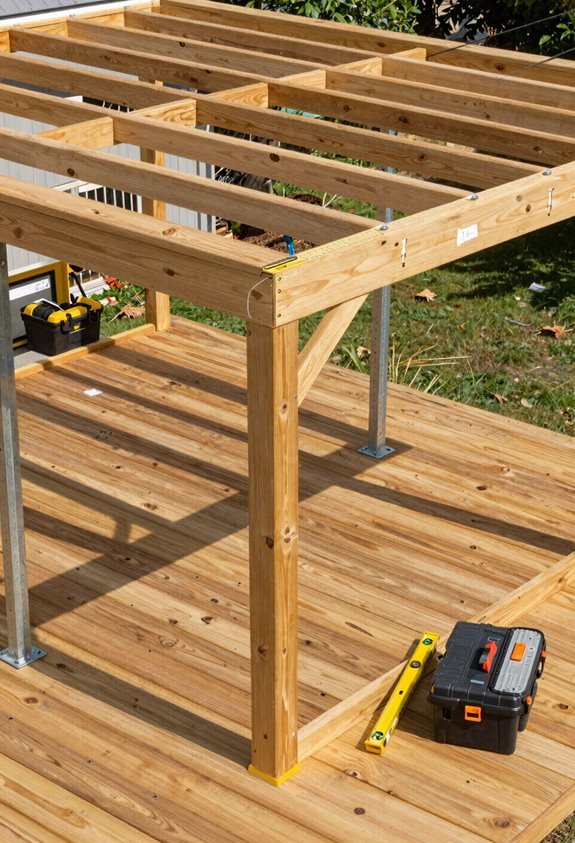
I start every project with the numbers. My porch spans 24 feet by 12 feet. I place one 24-foot beam against the house. Two 12-foot beams run perpendicular.
I skip engineered trusses and use 24-foot beams with 12-foot 2x8s for my patio cover. This framing saves money and works with available lumber.
I set 6×6 posts on concrete pads four inches from edges. Lag bolts and brackets secure them. My rafters sit 16 inches apart. I choose a 2/12 pitch sloping away from the house. I plan for gutters under the front edge.
My roof attachment bolts to the house or stands free with bracing to soffits. Setbacks and heavy connections keep everything solid.
Build, Square, and Brace the Post-and-Beam Frame
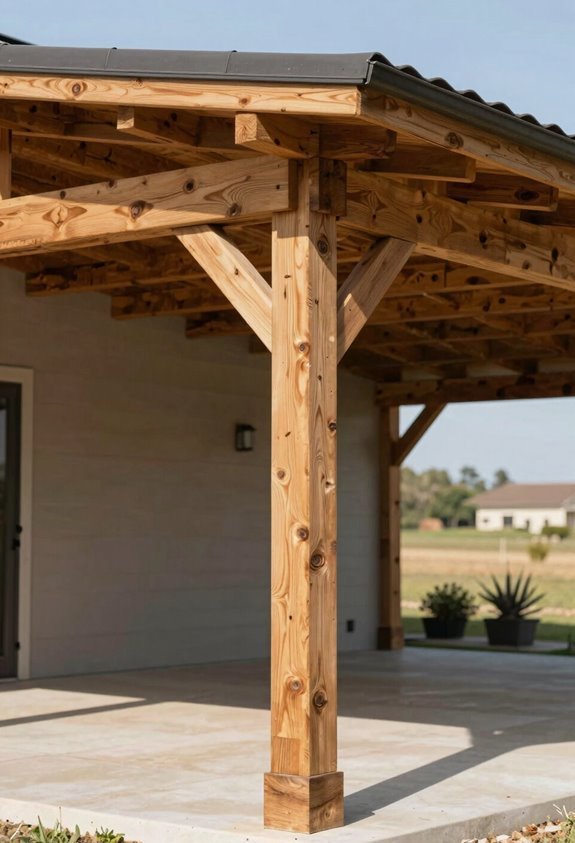
On concrete pads, I mount four 6×6 posts with metal brackets. I keep each post roughly 4 inches from exterior edges to prevent cracking in my driveway/cement pads. I square the framing using diagonal measurements to avoid future issues.
I mount 6×6 posts on concrete pads with metal brackets, keeping them 4 inches from edges to prevent cracking, and square the framing diagonally.
I choose between two beam layouts for my patio cover: 12′ beams with 24′ engineered trusses or 24′ beams with 12′ 2x8s. I pick the lower cost option.
I notch posts at 8″ height to fit the cross beam flush. I secure each beam with carriage bolts.
I install diagonal bracing and 26 external attachments to brace the structure. I anchor posts to the ground with lag bolts through post brackets for stability.
Install Roofing, Manage Drainage, and Add Finishing Touches
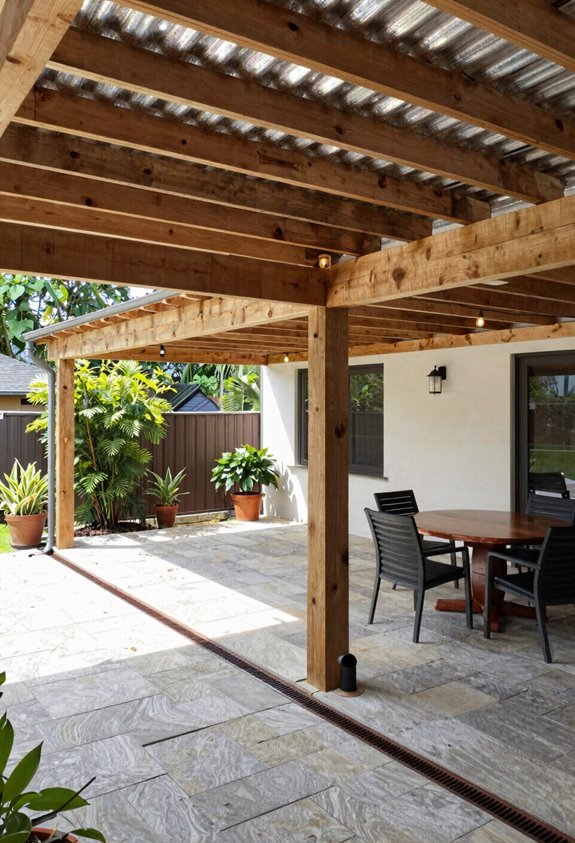
- Roof Edge Protection: I install the drip edge around the perimeter. I put foam lining under the first tile row. This keeps pests out and stops moisture.
- Transition Seams: I slide an apron piece under barn tiles and over awning tiles. I trim and secure upper tiles for overlap.
- Fascia Trim: I fasten 1×6 cedar fascia and 1×2 drip-edge trim with galvanized screws.
- Brace the Frame: I add four diagonal braces to reinforce structural supports at each end.





