
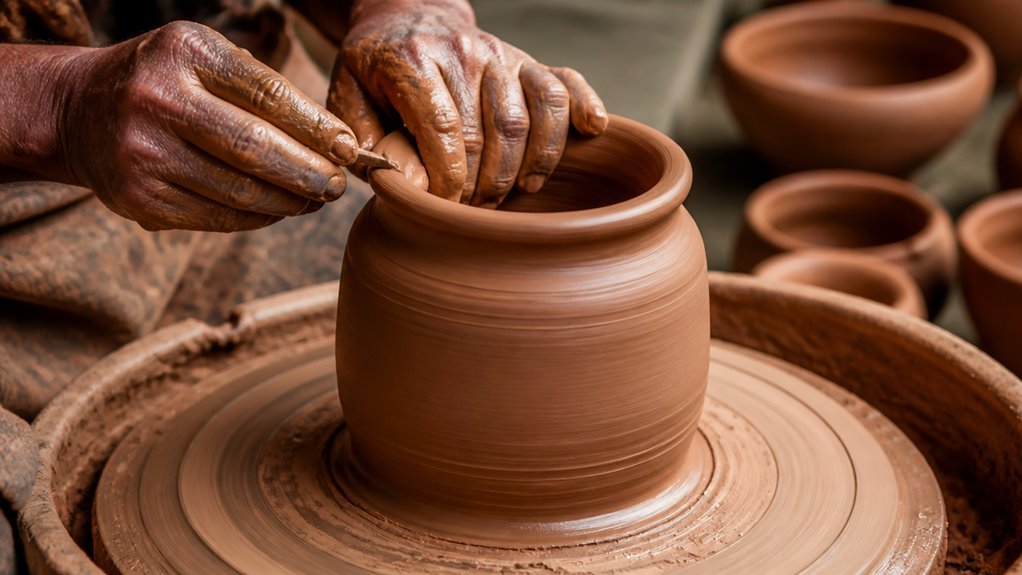
I mold clay into durable planters using basic tools and a 6-inch mold. You’ll need terracotta clay, a base disc, water, and a kiln. I start with 200-gram clay portions and work through wedging, forming, drying, and firing.
The drainage hole matters more than most beginners think. I’ll show you exactly where the process breaks down and how to avoid cracks before they start.
What You’ll Need to Make a Terracotta Pot
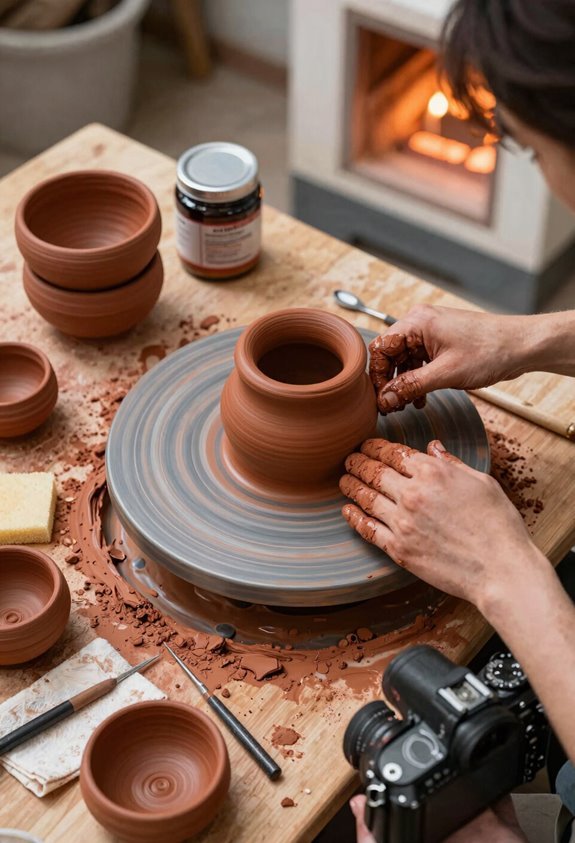
Why complicate this? Making terracotta pots starts with gathering the right materials. I’ll walk you through exactly what you need.
Clay
You’ll need 5 pounds of terracotta clay. This forms every component of your pot.
Planter Mould
A 6-inch mould shapes your tiles. It ensures each piece matches perfectly.
Water
Keep a bowl nearby. You’ll use it to join pieces together.
Drying Surface
Find a flat board or tarp. Sunlight does the hardening work.
Base Disc
Cut a 4-inch round from clay. Punch a half-inch drainage hole in center.
Joining Tools
Use your fingers and a small stick. They attach tiles at angles.
Kiln or Oven
Fire your dried pot at 1800°F. This gives true terracotta color.
Knead Your Terracotta Clay Until Smooth
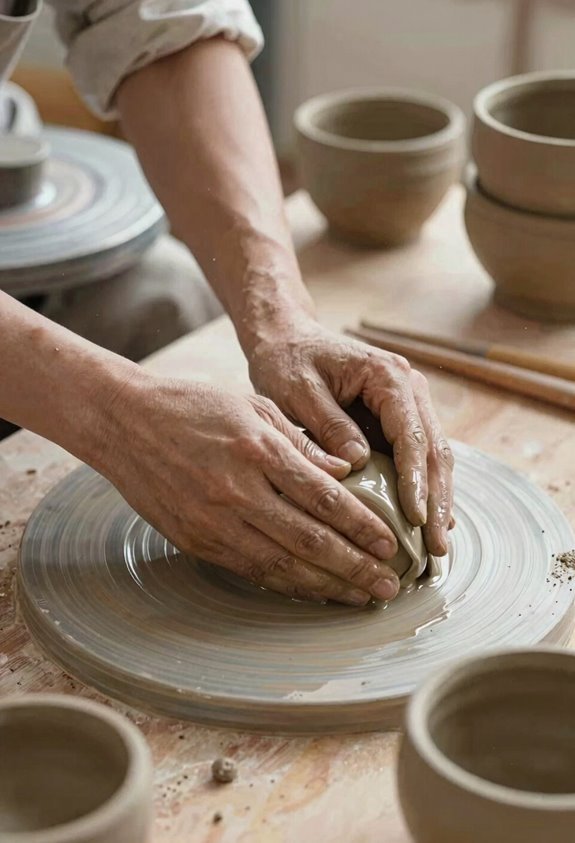
Terracotta pot making starts with clay preparation. I knead the terracotta clay until it reaches a smooth, cohesive consistency. I remove air bubbles and make sure the texture is uniform throughout.
If the clay feels gritty or dry, I add small amounts of water. I continue kneading until it is pliable and free of cracks. I test the clay by rolling a small ball; it should form a smooth surface without cracking or tearing.
I regularly wedge and fold the clay to maintain even moisture. This prevents uneven drying during shaping.
I keep the clay slightly damp as I work. I cover it with plastic when not in use to prevent surface hardening.
Mould the Tiles and Dry to Leather-Hard
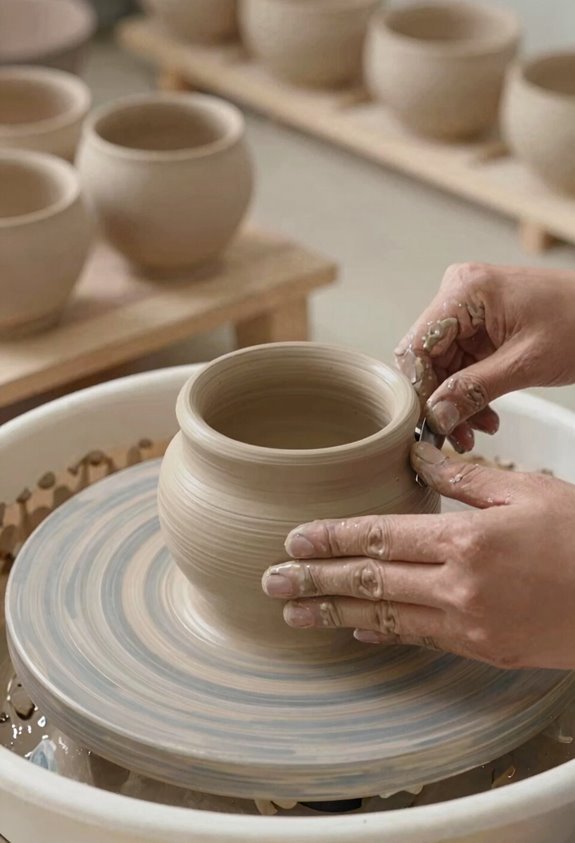
I grab the right amount of clay for each tile, press it into the mould, and spread it to fill every corner. I smooth the surface, trim the excess, and set the tiles in sunlight for thirty minutes to firm up. This leather-hard stage lets me handle the pieces without warping or fingerprints.
Clay Amount Needed
Determining the right amount of clay for each tile keeps your work clean and consistent. I use roughly 200 grams of clay per standard tile for terracotta pots. I spread this amount across the mould surface. I press firmly to eliminate gaps and air pockets.
I trim excess clay from the edges with a wire tool. I smooth the surface with a damp sponge. I place finished tiles in direct sunlight for 30 minutes. This brings them to leather-hard stage.
I prepare the base separately using 300 grams of clay. I form a flat round 15 centimeters across. I punch a 2-centimeter drainage hole in the center. I dry this alongside my tiles.
Leather-hard pieces hold shape during assembly. I join tiles to the base with slip and water. I work quickly before clay stiffens further.
Filling The Mould
Filling The Mould
Each tile starts with the right clay portion. I place the clay on the mould and spread it to fill the shape completely. I press firmly to eliminate gaps.
Pressing and Finishing
I make sure no air pockets remain. I trim excess clay with a knife for clean borders. I smooth internal surfaces for even walls.
Drying to Leather-Hard
I let tiles dry in sunlight for 30 minutes. This hardens them slightly for joining. I keep consistent moisture while working to prevent cracking.
I check that tiles detach cleanly from the mould once leather-hard. This stage prepares terracotta pots for mounting and further assembly. Leather-hard clay holds its shape without crumbling.
Drying Time Required
Tiles need proper drying before assembly. I place each formed tile in sunlight for thirty minutes. This hardens the clay slightly. I can then join pieces without damage.
The leather-hard stage matters most. Clay stays firm yet workable. I check moisture by touch. Too wet and tiles slump. Too dry and cracks form.
I dry the base with tiles attached. This creates stability. I punch a drainage hole during this phase. Complete drying prevents warping later.
| Stage | Duration | Condition |
|---|---|---|
| Initial tile drying | 30 minutes | Sunlight exposure |
| Leather-hard check | Ongoing | Firm, cool touch |
| Base and tile assembly | 1-2 hours | Partial shade |
| Mounted assembly drying | 4-6 hours | Air circulation |
| Pre-firing complete dry | 24-48 hours | Indoor, even heat |
I never rush drying time. Cracks ruin hours of work. I plan each phase carefully.
Create the Round Base With Drainage
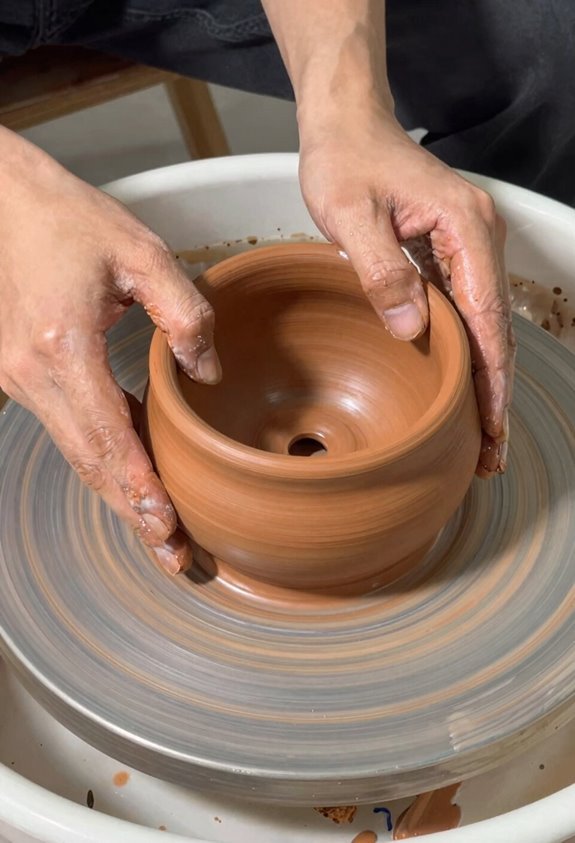
Where do we begin? I start every terracotta pot with a solid foundation. I roll out clay to a flat disk about 6 inches across and half an inch thick. I cut it into a perfect circle using a template. I punch a single drainage hole in the center with a wooden dowel.
I let the base dry beside the tiles. This evens moisture loss and stops warping that would ruin the fit later. I trim the dry base to a pentagon after mounting.
I wait until it is bone dry before firing. Wet clay explodes in the kiln. Crack prevention matters more than speed.
Join Tiles to Form Your Pot Walls
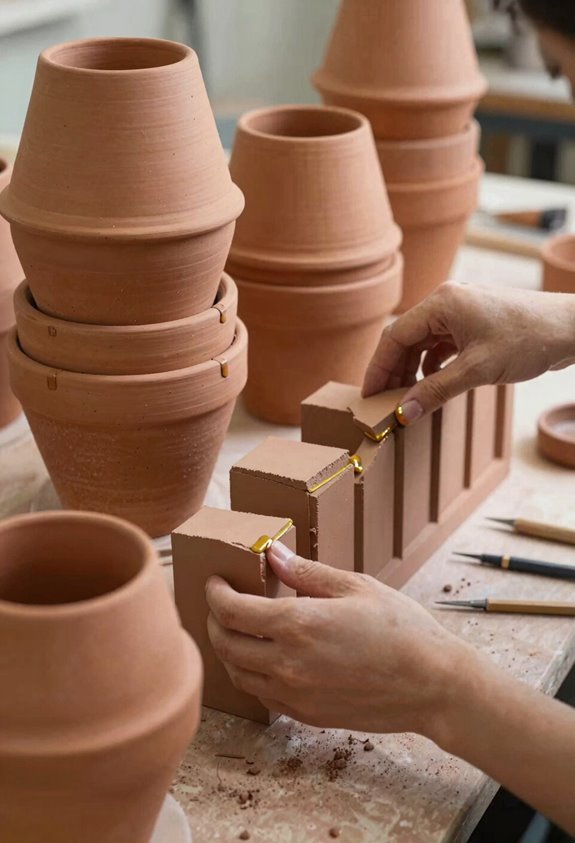
By Practical Home Ceramics.
I start with tiles cut to 6-inch height and quarter-inch thickness for wall assembly. I’ll mount each tile around the round base using water and clay slip at inward angles to build the walls upright.
I smooth every joint between tiles and scrape away extra clay to keep contact even and strong.
Tile Preparation Needs
Each tile starts with the right amount of clay. I place it on the mould and spread it to fill the shape. I press firmly to remove gaps and make sure the mould fills completely. This is how we MAKE TERRACOTTA that holds up like real pottery.
I finish each tile and remove excess clay before drying in sunlight for about 30 minutes. This hardens tiles slightly for joining later. I also dry the base with tiles together and create a central drainage hole before mounting.
If you want aged terracotta pots that look old, follow along with this prep. Many of us making cotta pots at home skip this step and regret it. Believe in the process for solid terracotta that lasts.
Joining Technique Steps
How do we turn flat tiles into a solid pot? I’ll show you the joining technique that transforms separate pieces into unified walls.
Step 4: Attach Tiles to Base
I apply water and clay to the base edge. I tilt each tile inward and press it into place. I work around the circle, adding extra clay at every joint. I secure both bottom and inner seams with more clay and water. The tiles hold firm.
Step 5: Finish and Dry
I trim excess base material. I cut five flat sides to form a pentagon. I smooth all joints and edges with wet fingers. I set the pot in direct sunlight. I wait until completely dry. This drying mimics how age terra cotta pots develop their character through time and exposure.
Fire Your Pot and Apply the Finish
Why does firing temperature matter so much? It controls your pot’s color and strength. I fire my terracotta in a kiln or pit fire to reach biscuit stage or final glaze. Higher heat means darker tones and tougher clay. Lower heat keeps things lighter but more fragile.
| Firing Choice | Result You Get |
|---|---|
| Unglazed finish | Porous, natural color, breathable clay |
| Glazed finish | Sealed surface, bold color, extra durability |
| Painted decoration | Custom look, added personality, needs dry time |
I pick my finish based on purpose. Glaze blocks moisture. Paint adds flair. I work in a ventilated space and let everything dry completely. The right combination makes your pot last.
Cool, Seal, and Plant Your Terracotta Pot
After firing, I let the pot cool completely in still air. I don’t rush this step. Moving it too soon causes cracks.
Cooling Period
Leave the pot untouched for 12-24 hours. The clay contracts as temperature drops. Handle it only when the surface feels room temperature.
Sealing the Surface
I brush on a clear masonry sealer. One coat works for drainage. Two coats protect decorative surfaces. Let each coat dry four hours. Skip the inside if you’re planting edibles.
Planting Setup
I place a coffee filter over the drainage hole. This stops soil loss. I add two inches of gravel. Then I fill with potting mix. I leave one inch of space below the rim.
Final Placement
I set the pot where it belongs. The weight settles. The plant roots find their hold.





