
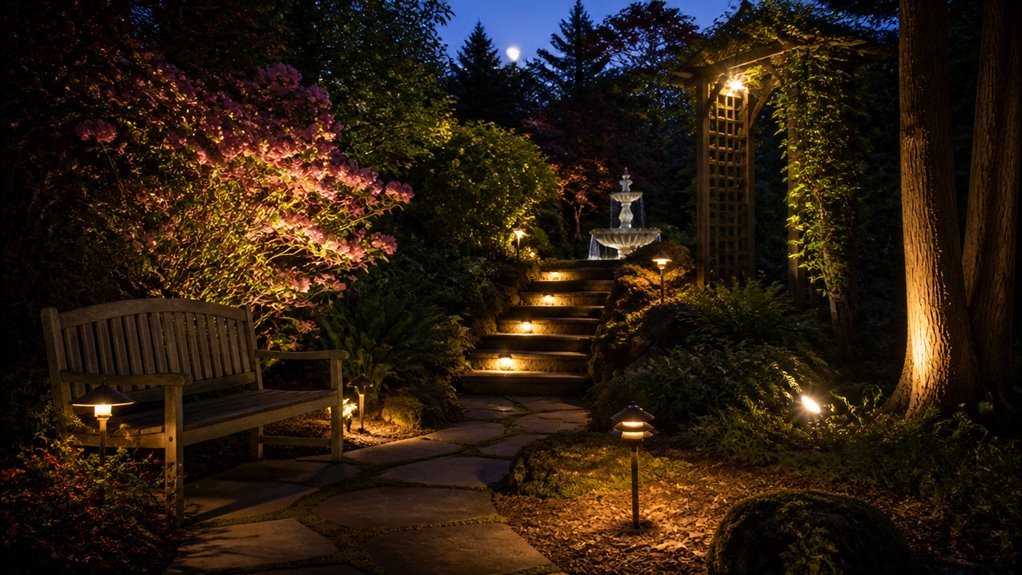
I plan garden lighting by working from my house outward. I map three zones: walls and structures, paths and steps, then ground-level plantings. I use 12-gauge low-voltage wire, 12V LED fixtures, and size my transformer at 1.5 times total wattage.
I test everything above ground at dusk before I bury a single cable. The mistakes I catch now save hours of digging later.
Start With Your House: Map Lighting Zones From the Outside In
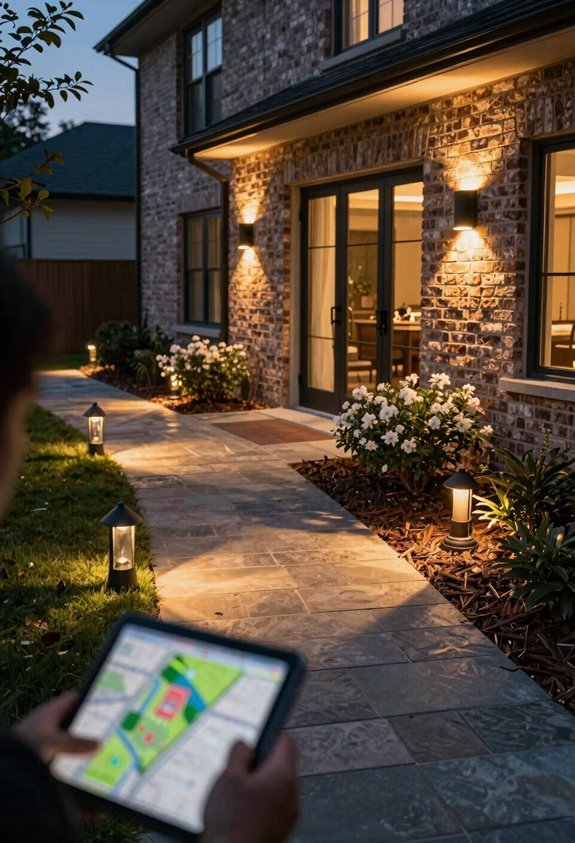
Because your house anchors the entire design, I treat it as the primary focal point and plan every zone from the walls outward. I map lighting zones by tracing your home’s perimeter first, then expanding to garden beds and trees. This follows core exterior lighting principles: define structure, then context.
I use soft 2700K LEDs along walls and entryways. I position fixtures 8-12 inches from brick or siding, angled at 30 degrees to avoid window glare. I highlight chimneys and trim with narrow 10-degree beams. I test angles at dusk, adjusting brightness to 150-200 lumens for ambient glow.
I layer from house to path: walls first, then steps. Landscape lighting extends outward only after the home’s silhouette reads clearly at night.
Choose Safe Low-Voltage Gear and Size Your Transformer Right

I recommend selecting a transformer rated 20–30% above your total fixture wattage to allow for future additions. You’ll need 12-gauge or 10-gauge wire for runs exceeding 100 feet to prevent voltage drop and dimming. Match every fixture to your 12-volt system and verify outdoor wet-location ratings before purchase.
Transformer Capacity Planning
How do you avoid overloading your system? I calculate total fixture wattage, then multiply by 1.25 to find minimum transformer capacity. I add 20-30% more for future expansion. This protects my outdoor lighting system and prevents failures.
I watch voltage drop on long runs. Thicker wire, 12-gauge or 10-gauge, maintains steady power to distant fixtures. Poor planning here dims lights and wastes energy.
I select weatherproof, outdoor-rated transformers. Models with photo sensors or timers save electricity and automate operation.
I split complex layouts into zones. Multiple transformers power separate areas when wiring must cross driveways or span large distances. This balances load evenly across the entire setup.
Wire Gauge Selection
| Run Length | Wire Gauge | Voltage Drop Risk | Best Use |
|---|---|---|---|
| Under 50 feet | 14/2 | Low | Small zones, low wattage |
| 50-100 feet | 12/2 | Moderate | Medium gardens, standard loads |
| Over 100 feet | 10/2 or 12/2 | High without upsizing | Large layouts, high demand |
| Multiple zones | Split runs, multiple transformers | Minimized | Complex installations |
I keep each zone close to its power source. I split big jobs across several transformers. This beats fighting loss across one giant loop.
Fixture Compatibility Check
Why gamble with mismatched parts? I stick with outdoor-rated fixtures in brass or aluminum paired with LEDs. They’re built to last and sip energy. I pair these with a low-voltage 12-volt system. Safety stays high, and installation stays simple.
I size my transformer with room to breathe. I add up my fixture wattage, multiply by 1.25, and pick the next capacity up: 100W, 200W, or 400W. I match wire gauge to distance: 12-gauge for long runs, 14-gauge for short ones. I check every connector, fixture, and transformer. They all share the same 12V standard and outdoor rating. No mix-and-match. No voltage drop headaches. Just compatible gear that works together.
Pick Fixtures That Layer Light and Highlight What Matters
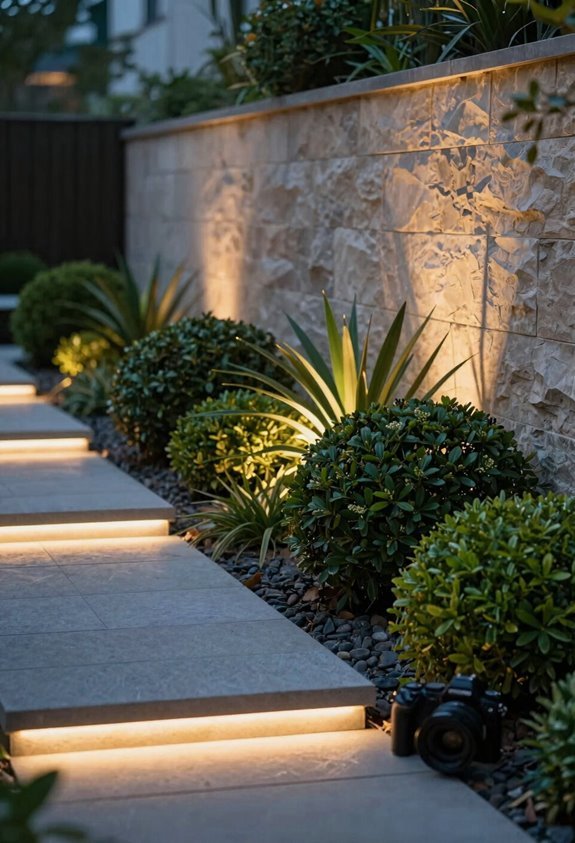
I use three fixture types to build layers: path lights for walkways, spotlights for focal plants, and hardscape lights for wall glow. I place spotlights at varied heights and angles to sculpt textures without glare. I choose brass or aluminum fixtures with LEDs for durability and efficiency.
Fixture Types Explained
Which fixtures suit your garden’s layers? I start with ambient post lights or wall-mounted outdoor fixtures for overall brightness. I add spotlights with 10-45 degree beams to highlight focal elements. I use floodlights with 60-120 degree spreads for broader areas.
Path and Hardscape Options
Path lights cast downward pools along walkways. Hardscape lights install flush with surfaces for indirect glow on features.
Material and Power Choices
I choose durable outdoor fixtures in brass or aluminum with LED bulbs for efficiency and long life. I match finishes to my landscape style. I select low voltage systems for safety and easier installation.
Placement Strategy
I place spotlights at varied heights and angles to create depth and grazing effects. I avoid glare and hot spots. I start fixture placement from the house and prominent features. I layer mid-level and ground-level lighting for balance. I avoid clustering fixtures.
Layering Techniques Guide
With fixtures selected, I build depth by mixing three light types. Lighting layering starts with your house as the anchor point.
I add ambient task accent combinations to guide the eye through your landscape lighting design.
| Layer | Purpose |
|---|---|
| Ambient | Post lights or wall-mounted fixtures for overall glow |
| Task | Pathway lights for safe navigation |
| Accent | Spotlights or LED strips for hedges and sculpture |
| Height | Mid path lights, higher spotlights, embedded hardscape |
| Calibration | Spotlights 10–45°, floods 60–120° beam spread |
I trim angles at different heights to create shadows and silhouettes. I calibrate wattage and beam spread to prevent hot spots.
I test at dusk, tweaking angles and heights until brightness balances across all three layers.
Test Your Layout Above Ground Before You Bury Anything
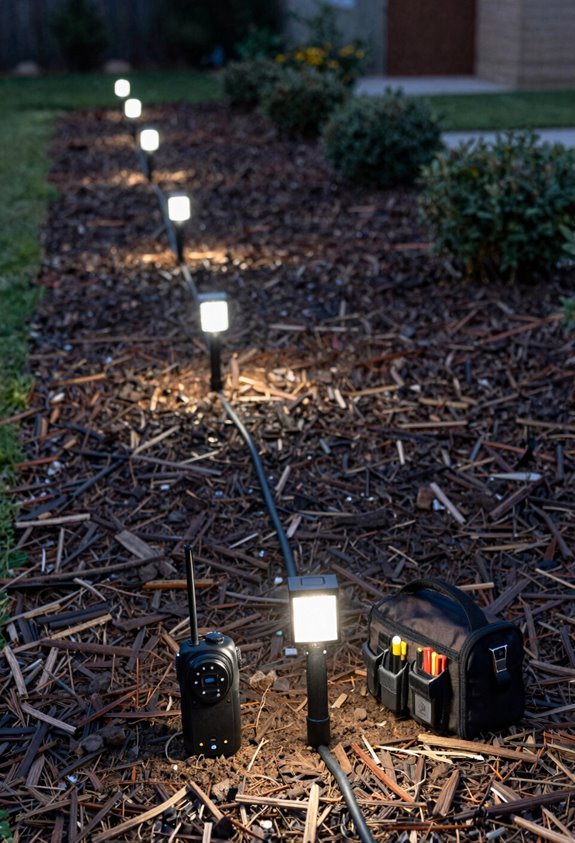
Why guess when you can see? I lay out every light on the ground exactly where my sketch shows. I leave extra cable slack at each fixture. This gives me room for adjustment before I commit.
Layout and Testing
I start testing from the furthest light and work back toward the transformer. This confirms my layout reaches every corner. I power on at dusk when I can actually see what the lighting does. I check each fixture for brightness and color match.
I walk the whole space. I spot hot spots and shadows right away.
Fine-Tuning Positions
I move fixtures a few inches to fix glare or get better wall grazing. I mark each spot with spray paint or a stake. This records my adjustment for permanent installation.
Connect, Troubleshoot, and Fix Problems While Cables Are Exposed
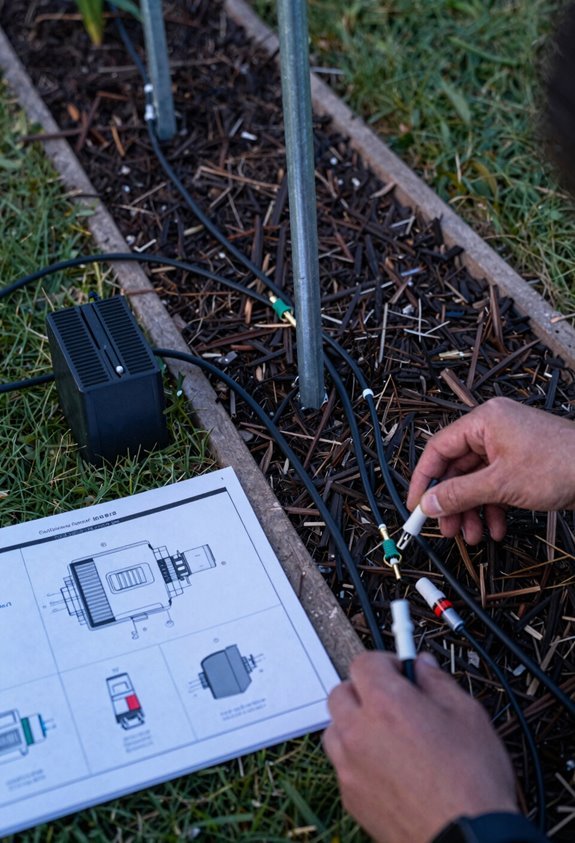
Before I bury anything, I verify every connection is tight and clean. I use weatherproof connectors and seal interim joints with electrical tape or heat-shrink tubing. This weatherproofing stops moisture from ruining my work.
I test continuity with a low-voltage tester or multimeter. I check each segment for voltage drop and loose strands. These exposed cables reveal problems now, not later.
If a light fails, I trace wiring from transformer to fixture. I look for pinched cable, damaged grommets, or insect nests. I avoid stepping on cords during troubleshooting. I stake them up or use trench guards for protection.
After fixes, I re-tension and re-seal every connection. I restore safe, weatherproof burial before full operation.
Dial In Angles at Night to Kill Glare and Hot Spots
I wait until full dark to adjust my fixtures. The nighttime test reveals what daylight hides. I walk my seating areas and doorways to spot hot spots and glare that blind guests.
| Beam Type | Use Case |
|---|---|
| Narrow 10-45° | Trees, statues, focal points |
| Wide 60-120° | Paths, walls, soft fill |
| Grazing angles | Textured surfaces, no direct beam |
I set my angles low. I aim spotlights at varied heights for depth. I tilt floods away from eyes. I keep each fixture at 20-40 watts. This cuts bloom and harsh reflections.
I re-angle anything that throws glare back at viewers. The garden belongs to us when we can see it without squinting.
Bury Cables, Add Timers or Sensors, and Weatherproof the System
Where do the wires go? I bury my landscape lighting cable three to six inches down in shallow mulch channels. This protects wires from damage and keeps things tidy.
I install outdoor-rated connectors for weatherproofing. I secure them with electrical tape. Moisture stays out. Connections stay tight.
My transformer runs timers and sensors. I sometimes disable sensors. Timers give me control over on and off times.
I route wires away from plant roots. Seasonal growth won’t interfere later.
I test at dusk before final burial. I verify coverage. I adjust angles. Every zone illuminates as planned.





