
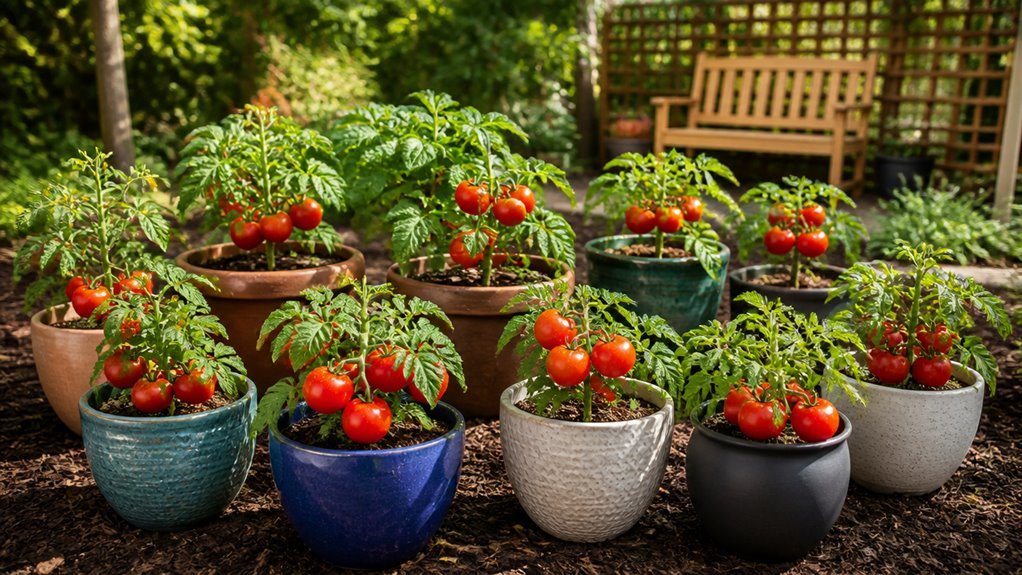
I have watched determinate varieties stall in undersized containers and indeterminate vines collapse flimsy cages.
The right planter holds 10-24 gallons of soil, drains fast, and anchors a steel trellis.
Material matters more than marketing claims.
I will show you which containers actually work and which ones waste your money.
Tomato Planter Sizes: Minimums, Ideals, and Root Space
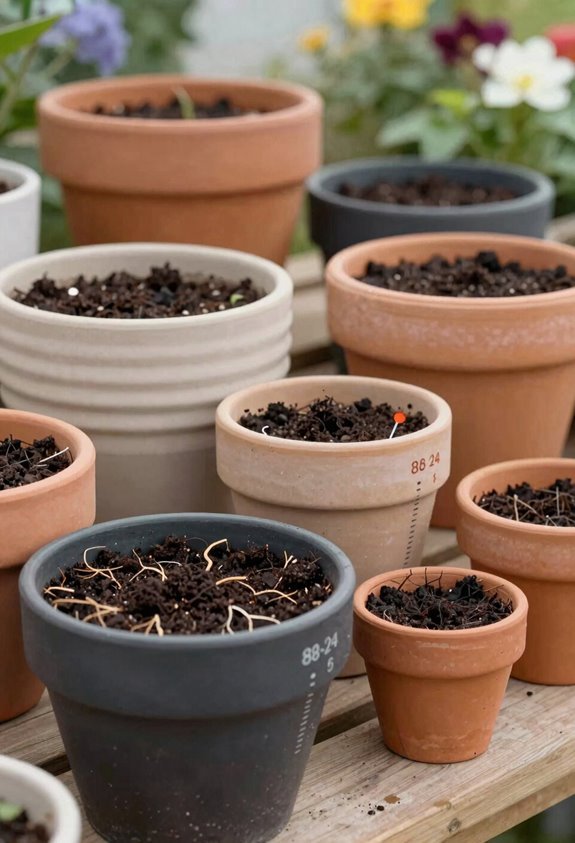
I measure planter success in gallons and inches. Tomato planter sizes matter in container gardening. Your plants need room to succeed.
Determinate Tomatoes
These compact varieties demand minimum 5-7 gallon containers. I use 10+ gallon planters for ideal growth. Provide 18 inches diameter for proper root space.
Compact tomatoes need 5-7 gallons minimum, but 10+ gallons and 18 inches diameter deliver ideal growth and proper root space.
Root development and moisture retention tie directly to fruit output.
Indeterminate Tomatoes
These vines require minimum 10 gallon containers. I recommend 20-24 gallon planters as ideal. Use roughly 24-inch diameter for deep root growth. More soil means healthier plants and better yields.
The Benchmark
Start at 18 inches diameter as your baseline. Scale up to 20-24 gallons for indeterminate types. Container gardening fails when root space runs short.
Match planter size to variety. Give roots room. Get results.
Cherry vs. Beefsteak: Picking Planters for Your Tomato Type
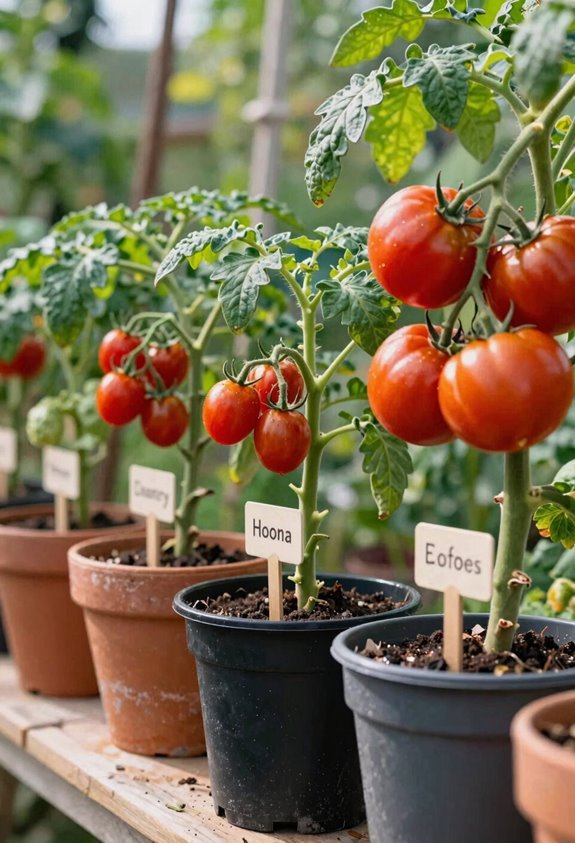
Planter size depends on tomato variety. I’ve learned that cherry tomatoes and compact types do well in 20-gallon grow bags. These smaller-fruited plants need steady moisture and strong plant supports for their abundant harvests.
Container sizing for determinate varieties stays modest. Bush types at 2.5–4 feet fit 5–10 gallon tomato containers nicely. They fruit fast then finish.
Beefsteak and indeterminate tomatoes demand bigger solutions. These giants hit six to twelve feet and need 20–24 gallon pots minimum. Their deep roots spread wide. I always match plant supports to the mature height. Cages or trellises must handle the full load.
| Variety Type | Minimum Container Size | Support Needs |
|---|---|---|
| Cherry/Dwarf | 20-gallon grow bags | Sturdy cages or stakes |
| Determinate Bush | 5–10 gallon pots | Medium cages suffice |
| Indeterminate Beefsteak | 24-inch diameter, 20–24 gallons | Heavy-duty trellis |
| Compact Patio | 10–15 gallon containers | Small to medium cages |
Budget Plastic Planters: Which Ones Actually Last?
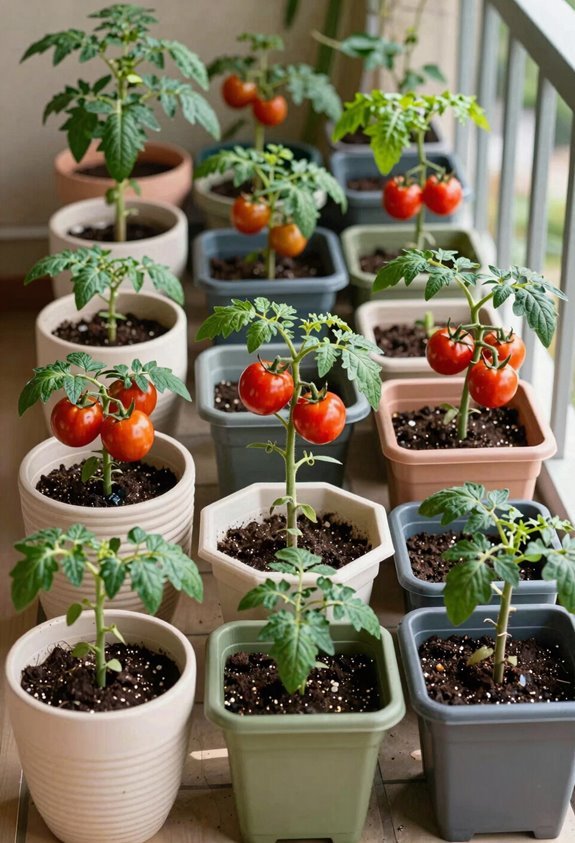
The classic black nursery pot costs roughly $2 apiece in ten-packs. These five-gallon pots meet minimum size needs for tomatoes. I grab mine at Home Depot or Walmart without fuss.
Durability Reality Check
Thin plastic cracks after two seasons. I look for thicker walls labeled “nursery grade.” Some 21x11x11 inch options cost more but survive longer.
Heat Resistance Problems
Black plastic bakes roots in summer sun. I paint pots white or switch to light colors. Double-potting with bubble wrap between layers beats the heat. Stacked configurations add insulation without fancy gear.
Bottom Line
Size beats color. Four gallons works. Five gallons works better. Cheap plastic demands trade-offs. I accept shorter lifespan for lower cost.
Five-Gallon Buckets: The $5 Tomato Planter Setup
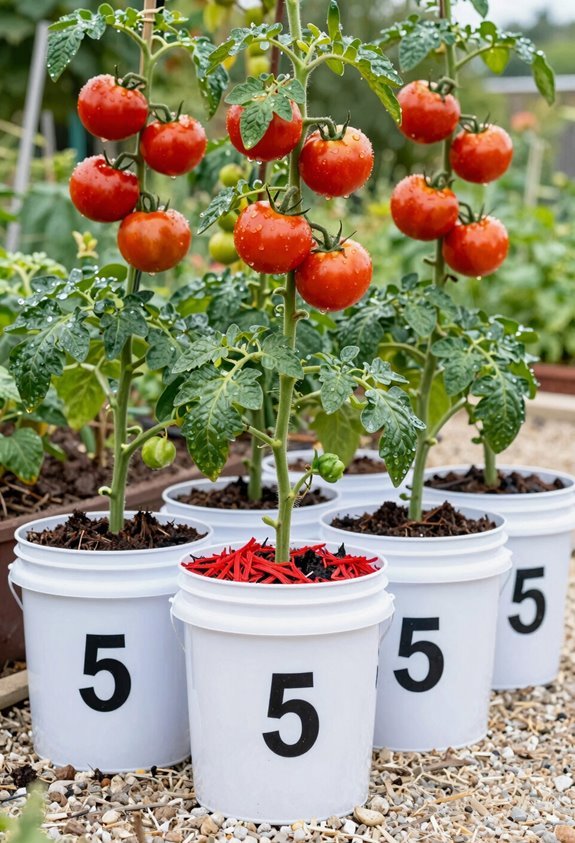
Why spend more when a basic bucket works fine? I use five-gallon buckets for determinate tomatoes. They’re cheap. You find 10-packs for $20.
Drill drainage holes first. Use a 1/2 inch bit. Put holes in the bottom. No drainage kills roots.
Five gallons is your minimum. Four-gallon pots are too small. Stick with five-gallon containers.
Paint the outside. Stack two buckets for insulation. Hide them in wooden boxes. Your neighbors won’t know.
This setup belongs in every budget garden. I’ve grown pounds of tomatoes this way. You can too.
Fabric Grow Bags: Air Pruning and Portability Tradeoffs
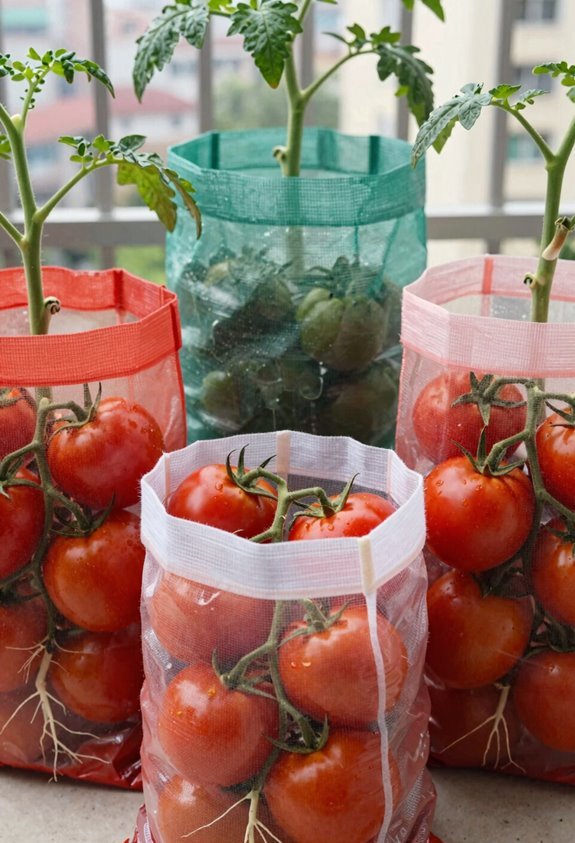
I use grow bags when I want strong roots and easy moves. Fabric grow bags deliver both through smart design and lightweight materials.
Air Pruning Explained
Root tips hit the breathable fabric and stop growing outward. They branch instead of circling. This builds dense, healthy root balls. Your tomato feeds better and grows stronger.
Portability Benefits
Empty bags weigh ounces. Filled 10-gallon bags move with one hand. Reposition plants for sun. Shift them under cover when storms hit. Store flat in winter.
The Tradeoff
Breathable sides dry faster than plastic. Check soil daily in summer heat. Line bags with plastic if you travel weekends. Choose 5-gallon bags for determinates. Pick 10-15 gallon for indeterminates. Match size to your harvest goals.
Self-Watering Containers: Consistent Moisture Without Daily Checks
I recommend self-watering containers for gardeners in hot, dry climates where soil moisture evaporates fast. These planters store extra water in a built-in reservoir, typically holding 1-3 gallons below the soil line. A fabric or plastic wick draws water upward as the root zone dries, keeping tomatoes hydrated without daily attention.
Water Reservoir Benefits
Self-watering planters store water in a built-in reservoir below the soil line. A wick moves moisture upward as soil dries, keeping roots evenly hydrated without daily checks.
Reduced Watering Schedule
Manual watering drops from once daily to every 2-3 days. A 4-gallon reservoir serves a 16-inch planter through hot spells. I refill when the indicator drops.
Root Zone Protection
Drought stress and blossom-end rot become avoidable problems. Consistent moisture supports steady fruit set. Wilting cycles that crack tomatoes no longer occur.
Trade-Offs I Accept
I pay 30-50% more upfront. I clean the reservoir monthly to prevent algae. I still inspect leaves weekly for pests or nutrient issues. I find this trade suits busy schedules.
Climate Suitability Factors
Where do self-watering planters actually work best? I look at climate suitability first. Self-watering containers shine in hot, dry regions where soil dries fast. They store water in a reservoir and wick it up as needed. This cuts daily watering to weekly checks.
| Climate Type | Best Watering Method |
|---|---|
| Hot and dry | Self-watering with drainage holes |
| Moderate rainfall | Drip irrigation systems |
| Heavy rainfall | Manual watering with adjusted drainage |
| Variable seasons | Self-watering with monitoring |
| Coastal humid | Raised beds with manual control |
In wet climates, self-watering risks root rot without proper drainage. I skip these where rain is frequent. For dry zones, the upfront cost pays off in time saved and steady plant health. Match your planter to your weather.
EarthBox and Copycats: Are All-in-One Kits Worth It?
I break down what comes in the box. The EarthBox tomato kit includes a 29″L x 14″W x 11″H planter, staking system, casters, 2 cubic feet potting mix, and 1 pound fertilizer.
I compare this $70-150 bundle against buying a 5-gallon bucket, tomato cage, soil, and fertilizer separately for roughly $35-50. You pay for convenience and the 4.9-rated guarantee, but I weigh whether pre-measured components beat mixing your own setup.
Kit Components Breakdown
Manufactured by 2026Novelty Manufacturing Co. in Lancaster, PA.
EarthBox kit components include a 29″ x 13.5″ x 11″ planter with a 2-gallon water reservoir. The system features a staking system, casters, 2 cubic feet of organic potting mix, and 1 pound of fertilizer. Drainage occurs through a bottom aeration screen. The planter holds 6.5 gallons of growing media.
Copycat kits mirror these components but vary in materials. Some use thinner plastic. Others include smaller reservoirs. Check that drainage holes match the original design. Poor drainage causes root rot.
What to Compare
Look at potting mix quality. Verify fertilizer type. Confirm caster weight limits. Measure staking system height. EarthBox guarantees 4.9/5 satisfaction. Copycats rarely match this rating.
Value Comparison Analysis
Why pay more for an all-in-one kit? I’ll break this value comparison down for you.
EarthBox Original Kit
EarthBox container gardening system. Includes tomato planter, staking system, caster wheels, organic potting mix, and fertilizer. Manufactured in Lancaster PA since 1994. Free shipping on orders $149+ in lower 48 states. Free returns with 60-day window. 4.9/5 Google rating.
Copycat Alternatives
Similar kits offer lower prices. Components match EarthBox basics. Quality varies by manufacturer. Warranties differ. Shipping terms change by seller.
Value Verdict
Calculate total costs individually. Add potting mix, fertilizer, stakes, wheels to any generic container. Compare against kit price. Factor time spent sourcing parts. Factor risk of incompatible components.
Your container gardening success depends on proper setup. Factor that risk in.
Wooden Planter Boxes: Rot, Chemicals, and Maintenance Reality
Several wooden planters bring rustic charm to patio gardens. I want you to know the full picture before choosing one for your tomatoes.
Rot Risks
Untreated cedar or pine absorbs moisture at joints and bottom panels. Elevate boxes 2 inches off concrete or deck surfaces. Seal end grains with linseed oil twice yearly.
Toxins Concerns
Pressure-treated lumber contains copper compounds. Line interior walls with 6-mil polyethylene sheeting. Food-safe stains cure 30 days before planting. Avoid railroad ties entirely.
Maintenance Demands
Check drainage holes monthly. Reapply sealant every 12-18 months. Replace cracked boards immediately. Budget 3-4 hours yearly upkeep per box.
I use cedar 2×6 construction with 1/2-inch gaps between boards. This setup lasts 5-7 years with proper care. Match your commitment level to these realities. Wooden planters reward attentive gardeners. Neglect destroys them fast.
Terra Cotta Tomato Planters: Heat and Breakage Risks
I’ve found terra cotta’s porous clay body sucks moisture from potting mix fast, forcing daily watering in July heat. That rapid drying plus temperature swings between 55°F nights and 90°F days splits walls wide open. Skip these 8-inch Italian imports for tomatoes; choose double-wall plastic or glazed ceramic instead.
Rapid Moisture Loss
Terra cotta planters present real moisture management challenges for tomato growers. I know you’re weighing your options, and I want you to understand what terra cotta demands.
Parched soil by noon. Sun bakes the porous walls. Your fingertips hit dust two inches down.
Wilting leaves before breakfast. Tomatoes droop fast. You race with the watering can.
Cracked clay at the base. Dry terra cotta weakens. Small fractures spread overnight.
Uneven water distribution. Some roots drink deep. Others stay thirsty near the edge.
Terra cotta offers poor moisture retention compared to plastic or self-watering containers. You’ll double your watering frequency. Skip a day and stress builds fast. Your plants feel it. You feel it. Choose knowing the trade-off.
Temperature Fluctuation Damage
Because terra cotta breathes, it amplifies swings.
I’ve watched temperature fluctuations wreck tomato harvests in these pots. Daytime porosity pulls heat into the root zone. Nighttime cooling contracts the clay fast. Your plants feel every degree.
Heat buildup peaks at soil surfaces exposed to afternoon sun. Roots cook above 85°F. Fruit set fails. Growth stalls.
Dark terra cotta absorbs more solar energy than light-colored alternatives. Unglazed walls hit 120°F in direct exposure. Insulated plastic or fabric liners drop soil temperatures 15-20°F.
Check your microclimate. South-facing concrete patios amplify damage. Move pots to morning sun zones. Add shade cloth during heat waves.
Choose 14-inch minimum depth for thermal buffer. Deeper soil masses stabilize root temperatures against rapid surface shifts.
Structural Cracking Risk
Why gamble with brittle clay when tomatoes demand steady moisture? I’ve watched too many gardeners lose their crop to terra cotta’s fatal flaws. The cracking risk isn’t theoretical; it’s baked into every porous pot.
The Freeze-Thaw Cycle
Morning frost hits warm clay. Expansion splits the wall. Your planter dies before July.
The Water Weight Problem
Saturated soil presses outward. Terra cotta absorbs, weakens, and fractures under pressure. You find shards in your garden bed.
The Heat Amplifier Effect
Dark clay absorbs afternoon sun. Surface temperatures spike above 120°F. Thermal shock cracks the rim while you work.
The Moisture Retention Failure
Roots dry in hours, not days. You water twice daily. Clay still crumbles from stress.
Choose plastic, resin, or fabric. Your tomatoes need stable homes, not archaeology projects.
Container-Integrated Staking: Cages, Trellises, and Poles
How do you keep a full-grown tomato plant from toppling its pot? You install a staking system before planting. I’ve learned this the hard way. Indeterminate tomatoes outgrow simple supports fast.
| Support Type | Best Use Case |
|---|---|
| Cages | Strong vertical hold, needs 24-inch diameter |
| Trellises | Wall-mounted planters, vining varieties |
| Poles | Basic staking, requires weekly tying |
| Integrated kits | EarthBox includes full system since 1994 |
| DIY options | 6-foot metal conduit, 10-gauge wire |
Cages work for determinate types. Trellises suit narrow spaces. Poles demand more attention. The EarthBox kit ships with everything included.
Install supports at planting time. Delay causes root damage and tipping. Match your support to your tomato type. Check weight ratings before buying.





