
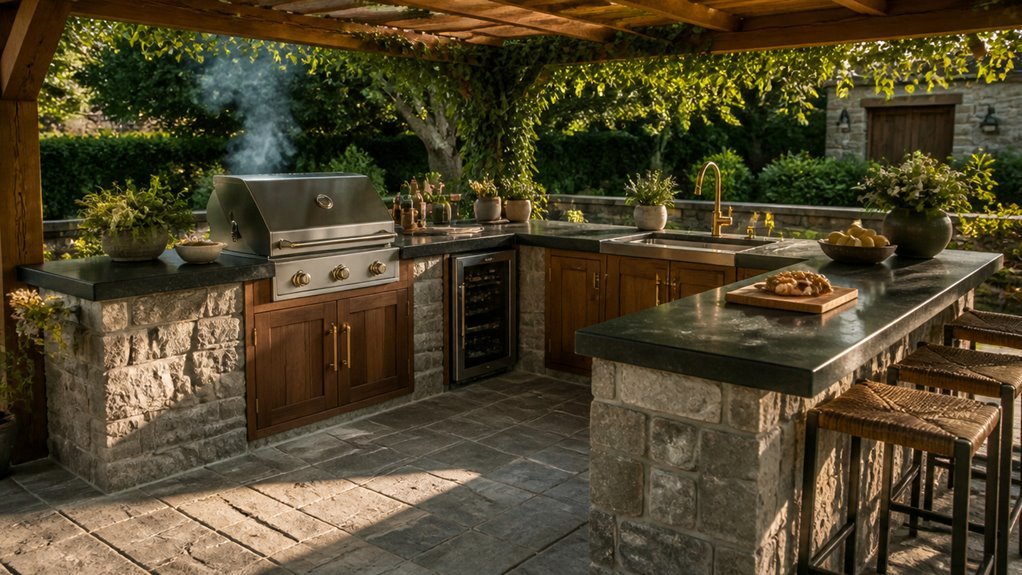
I start every outdoor kitchen project with a 36-inch clearance rule around grills and islands. You need concrete, stainless steel, or porcelain tile rated for freeze-thaw cycles.
My 7-step method maps your footprint, sizes the island, places appliances, selects materials, zones your storage, adds shelter, and verifies specs. The first step determines everything else. I will show you why your layout choice limits or expands your options.
Start With Your Outdoor Kitchen Layout
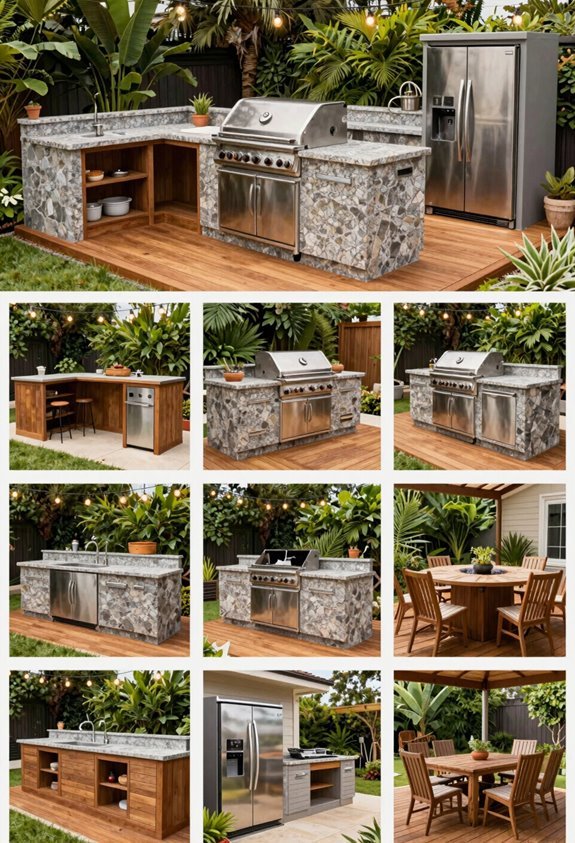
Map out your space before you pick any appliances. I choose from five outdoor kitchen layout designs: Straight, L-shaped, U-shaped, Galley, and retreat-focused variations. Straight layouts come in fixed lengths of 4, 5, 6, or 8 feet. L-shaped and U-shaped layouts fit rectangular dimensions and create enveloping work areas.
I check the 3D model in the upper left to see the active portion of my design. I focus on footprint and flow to find an outline that fits my deck, patio, or cabana precisely.
I determine my island configuration first. Then I move to appliance selection. This order guarantees I leave space for larger and smaller accessories within my chosen kitchen island footprint.
Size Your Outdoor Kitchen Island to Fit Your Space
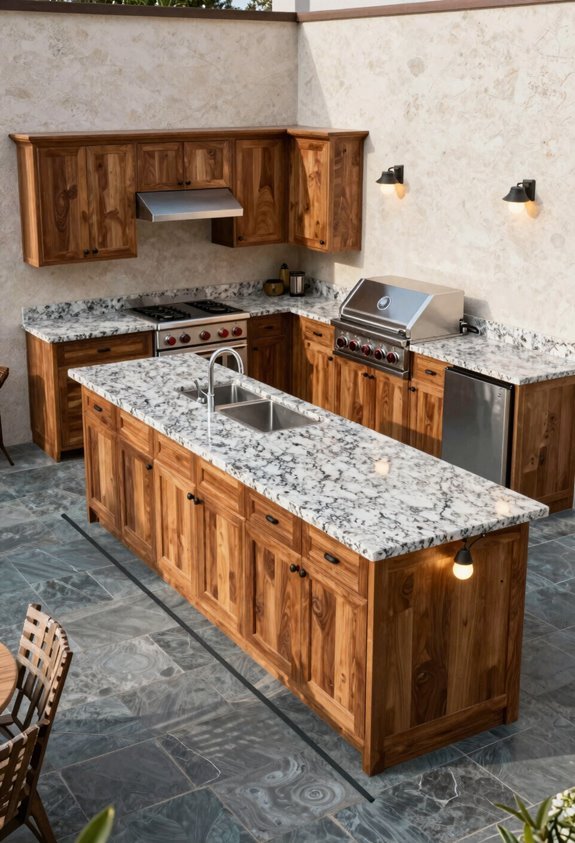
How do you match your island to your deck or patio? I start by checking my space against the layout options. Straight layouts use island lengths of 4, 5, 6, or 8 feet. Narrow decks take the 4-foot module. Extended patios fit 8 feet.
Match your island to your space by checking layout options—narrow decks need 4 feet, extended patios fit 8.
I use the 3D model in the upper left corner to verify fit before locking in.
4 ways modular design expands your footprint:
- Pick your base island: Choose 4, 5, 6, or 8 feet for the core outdoor kitchen island.
- Add connectors: Attach 4, 5, 6, or 8-foot pieces to vary the footprint.
- Build U-shapes: Pair two 8-foot islands with a connector for wraparound flow.
- Count modules by layout: Non-straight layouts need four-sized island options to complete the form.
Choose Your Appliances and Plan the Cutouts
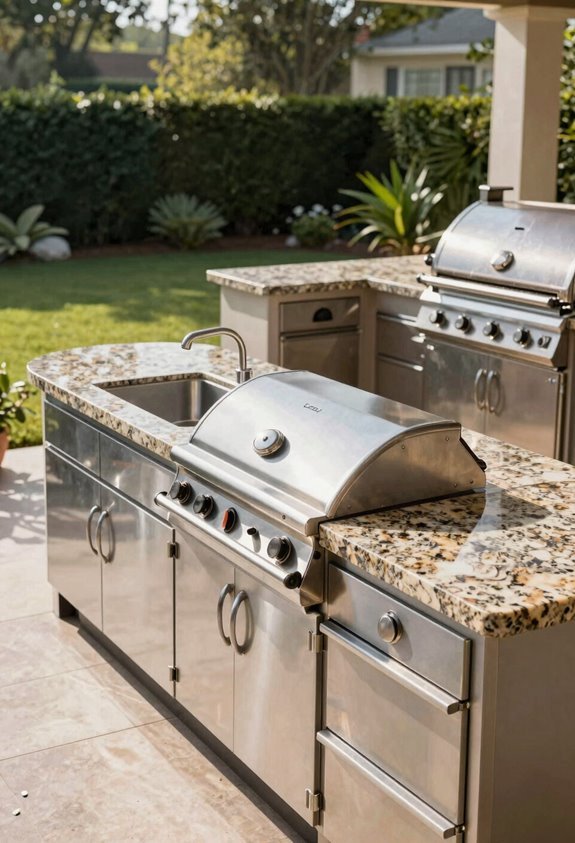
I match every appliance to its exact cutout size before I pick up a saw. This step follows island sizing directly. I select my appliances next. I need precise dimensions for grills, fridges, sinks, drawers, and doors. These determine every cutout location.
I work with modular components. My island uses four standard lengths. Connectors run 4, 5, 6, or 8 feet. I pick what fits my space. A U-shape might pair two 8-foot islands with one connector.
I watch the 3D model in the upper left. It shows my active layout. I place each appliance. I check clearances. I finalize cutouts. I avoid construction conflicts by sizing hardware first. I get every measurement right now.
Pick Materials and Construction Methods
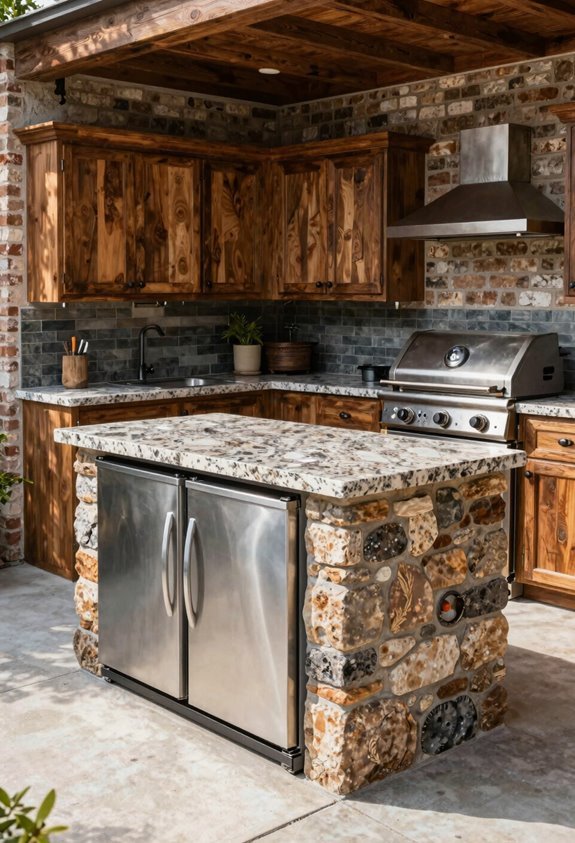
I need to choose a construction method that matches my budget, climate, and skill level. Frame and board uses steel or aluminum studs with cement board for a sturdy base. Concrete panel systems offer faster assembly with pre-formed sections. Lumber and plywood work for temporary setups but won’t last outdoors without constant maintenance.
Frame and Board
The backbone of your outdoor kitchen starts with metal studs and cement board. I use 304 stainless steel or aluminum studs for framing. Cement board creates the base layer. Veneer finishes come later.
I watch corrosion risk near salt water. Stainless steel needs extra framing for heavy loads. I pick Hardibacker or Durock for easy cutting. These boards hold stucco, stone, or tiles well.
Footing Requirements
Solid base prevents sinking. I avoid soft ground or unstable pavers.
Stud Selection
304 stainless steel resists rust. Aluminum works inland.
Board Options
Hardibacker cuts clean. Durock accepts veneer directly.
Load Planning
Heavy appliances need reinforced framing. I add supports before closing walls.
Concrete Panel Systems
Metal studs and cement board work fine. Concrete panel systems offer a faster route for outdoor kitchens. These modular outdoor components arrive pre-cut. You lift each 50-pound panel into place. Glue or screws join them quickly. Weather resistance comes built-in. You skip extra waterproofing steps.
Veneer-Compatible Panels
Veneer-compatible panels accept stone, stucco, or tile directly. The surface bonds without extra prep. You achieve seamless finishes that match your home. Weight support exceeds standard framing. Islands and enclosures go up in hours, not days.
Installation Realities
Cutting requires diamond blades. Manufacturer guides prevent errors. Two people handle lifting safely. Your outdoor kitchen gains durability. You invest less labor for professional results. Weather resistance protects your build year-round.
Lumber and Plywood
Traditional construction starts with 304 stainless steel or aluminum studs spaced 16 inches on center. Cement board replaces old-school lumber and plywood in my outdoor kitchen design. This creates a solid core that accepts any veneer finishing you want later.
- Foundation matters: Pour concrete footing or use existing non-sinking surface. Soft ground and pavers fail under load.
- Cement board picks: Hardibacker or Durock cuts easy and stays veneer-ready for stucco, stone, or tile.
- Stainless limits: Skip 304 near saltwater; it rusts. Add extra framing for heavy grills or appliances.
- Finish flexibility: Install hardware first, then apply your exterior texture. Cement board accepts everything.
Your outdoor kitchen lasts longer without wood rot weakening the structure.
Configure Your Storage, Prep, and Accessory Zones
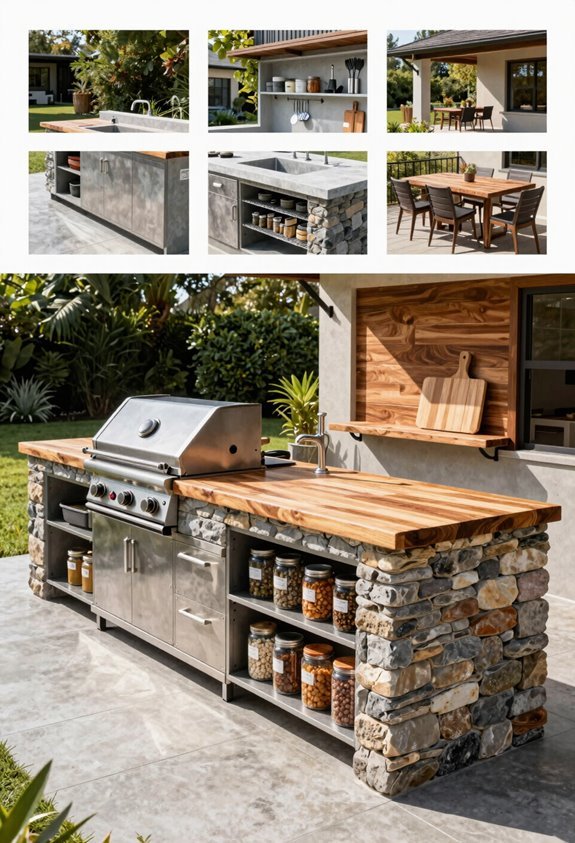
Once you’ve mapped your cooking zone, I move straight into planning where I’ll chop, plate, and stash my gear. Storage, prep zones, and accessory zones form the backbone of smart outdoor kitchen design.
I position prep zones adjacent to my cooking area with at least 24 inches of counter space and a sink when possible. This cuts trips inside and keeps workflow planning tight. For storage, I choose roll-out bins and easy-clean cabinetry: minimal but functional to block dust and weather.
Accessory zones get mapped last: ice maker, trash pull-out, and pizza oven land where they boost flow without crowding the grill. Every choice in outdoor kitchen design serves the work. Group these zones deliberately. Your setup runs smoother when each task has its place.
Extend Your Outdoor Kitchen Season With Shelter and Heat
I want you to think about how shelter and heat turn a three-month outdoor kitchen into a year-round cooking space. A covered pergola with retractable screens blocks rain and wind, while infrared ceiling heaters mounted 8-10 feet overhead keep guests warm in 40-degree weather.
I’ll walk you through shelter designs, heating options, and practical tips to extend your season without sacrificing airflow or natural light.
Shelter Design Options
When I plan shelter for my outdoor kitchen, I start with a covered pergola or pavilion with a solid roof. This choice anchors my outdoor kitchen design and shields my space from rain and harsh sun. I prioritize weather-resistant materials like composite countertops and weatherproof cabinetry to guarantee longevity under cover.
Proper ventilation matters too. I leave open sides or add ceiling fans to move air and prevent heat buildup near my grill. For evening gatherings, I integrate recessed lighting and soft panel fixtures to create safe, welcoming spaces where friends want to linger.
Key Shelter Elements
1. Solid Roof Structure
*Covered pergola or pavilion*
Blocks rain and sun. Extends your usable season through varying weather.
2. Weather-Resistant Materials
*Composite countertops, marine-grade cabinetry*
Withstand moisture and temperature swings. Maintain appearance with minimal upkeep.
3. Strategic Ventilation
*Open sides, ceiling fans, vented panels*
Clear cooking fumes. Prevent uncomfortable heat accumulation.
4. Integrated Lighting
*Recessed fixtures, LED panel lights*
Guarantee safe food prep. Create ambient atmosphere for evening entertaining.
Heating Solutions Guide
| Heat Source | Best Placement | Key Benefit |
|---|---|---|
| Infrared ceiling-mounted heaters | Over prep zones and seating | Direct radiant heat without floor clutter |
| Wall-mounted gas heaters | Perimeter walls near cooking areas | Steady warmth with minimal clearance |
| Portable propane units | Flexible backup spots | Quick heat for unexpected cold snaps |
Ventilation matters. I always maintain 6-12 inches clearance between heaters and combustible surfaces. I pair outdoor heaters with roll-down screens or fixed roof structures to trap warmth.
I zone heat-producing appliances away from refrigeration. This setup extends your season without complex systems.
Season Extension Tips
Install a roof structure with translucent vinyl curtains on three sides. This creates a flexible enclosure that blocks rain and wind while keeping airflow open. I add infrared ceiling-mounted heaters above prep zones for year-round comfort. These units heat people, not air, so they work fast.
Choose Weather-Resistant Materials
Select marine-grade stainless steel cabinets and quartzite countertops rated for freeze-thaw cycles. These withstand snow, salt, and UV without warping.
Add Strategic Heating
Mount 1500-watt infrared panels 8-10 feet above cooking and dining areas. Position them to cover seating zones.
Create Windbreaks
Install fixed glass panels or dense lattice on the prevailing wind side. This cuts chill without trapping smoke.
Extend Flooring Season
Use porcelain pavers with radiant heat tubing beneath. This keeps surfaces dry and ice-free.
Review Your Plan Before You Build
Before I order a single piece of hardware, I pull out my blueprint and check every dimension twice. I’ve learned that blueprint verification saves me from expensive mistakes.
During my outdoor kitchen plan review, I confirm layout clearance around each appliance and traffic path. I measure appliance cutouts for the grill, fridge, sink, and drawers using exact specs from the manufacturer. I mark finished surfaces on my plan: veneer, stucco, tile, or stone, so final thickness doesn’t throw off my fits.
| Check Item | What I Verify | Tool I Use |
|---|---|---|
| Island layout | Appliance spacing matches plan | Tape measure |
| Door clearances | Swing radius clears walls | Cutout template |
| Hardware specs | Cutout dimensions are exact | Manufacturer sheet |
| Surface finish | Final thickness accounted for | Material sample |
I ask someone else to review my plan. Fresh eyes catch clearance issues I miss.





