
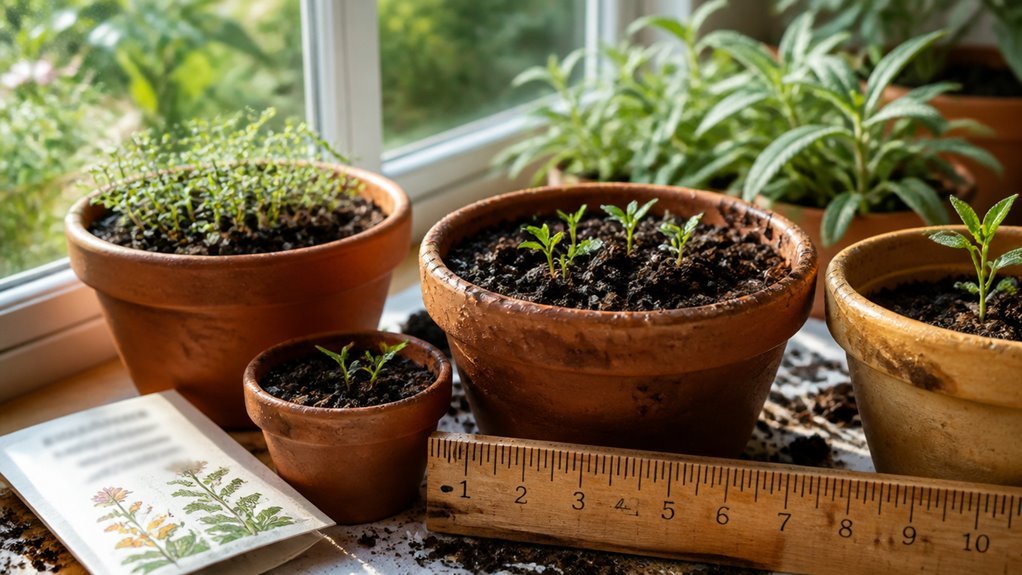
Most seed packets tell you to start indoors but skip the critical step of matching container depth to root type. I use 2.5-inch deep cells for shallow-rooted marigolds and 4-inch pots for deep-rooted zinnias. You need a 32-cell tray, seed-starting mix, and a humidity dome. The real trick comes after germination.
Choose Seeds by Bloom Time and Hardiness for Pots
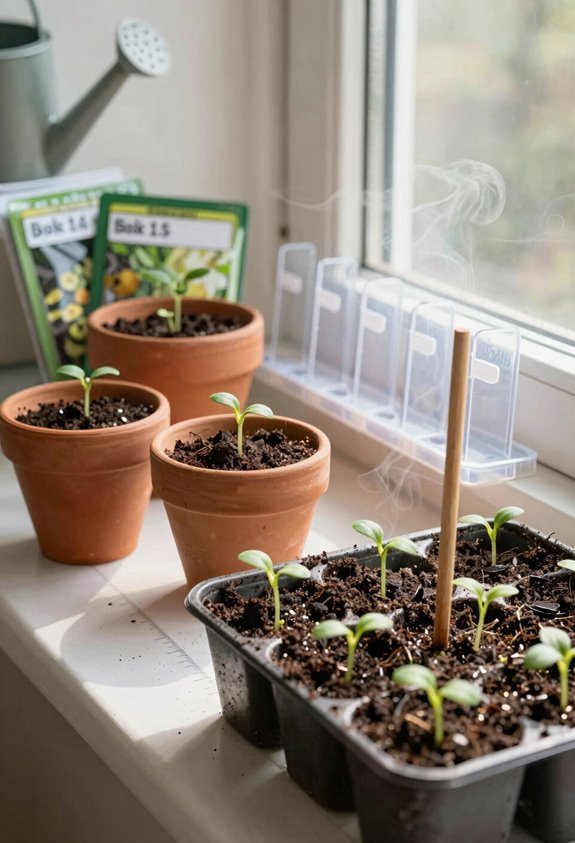
I pick seeds based on when they’ll bloom and how tough they are. My seed selection starts with checking hardiness ratings on packets. Hardy annuals go into pots in late fall or early winter. Tender annuals wait until after the last frost.
Perennials work best in early fall or post-frost in harsh-winter zones. I match bloom time to my calendar. I want flowers that fill my pots across seasons.
Fresh seeds matter. Old seeds fail. I check dates and buy from reliable sources. Good germination saves money and time.
I plan mixes of annuals and perennials. Cosmos and Nasturtium never let me down in containers. I note sun needs on packets. Sun lovers go in bright spots. Shade-tolerant types fill partial sun areas. This keeps my pots full and my space welcoming.
Pick Seed-Starting Containers That Fit Your Space
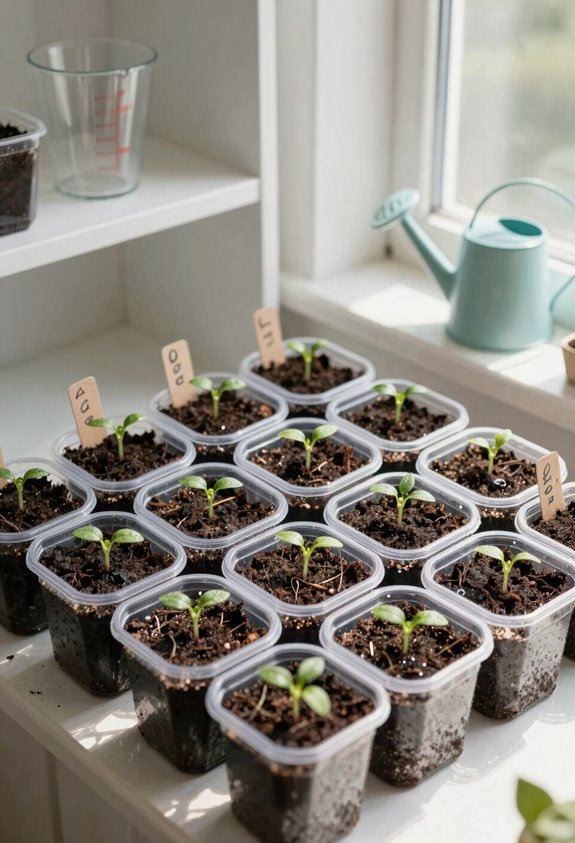
Where does your seed-starting setup go? I check my windowsill or grow-light station first. I need seed-starting containers that match my room.
I make sure drainage holes are in every pot. Without drainage, roots rot fast. I want a space fit that uses my area well.
A 32-celled seed tray works for most home gardeners like me. Serious growers pick 72-cell or larger seed trays.
My seed-starting options include peat pots, newspaper pots, or cleaned yogurt cups. I pick sizes that let roots grow strong.
I make labeling a habit. I write the flower name and date on each tray. This keeps my varieties clear during germination.
Fill Pots With Airy, Moist Seed-Starting Mix
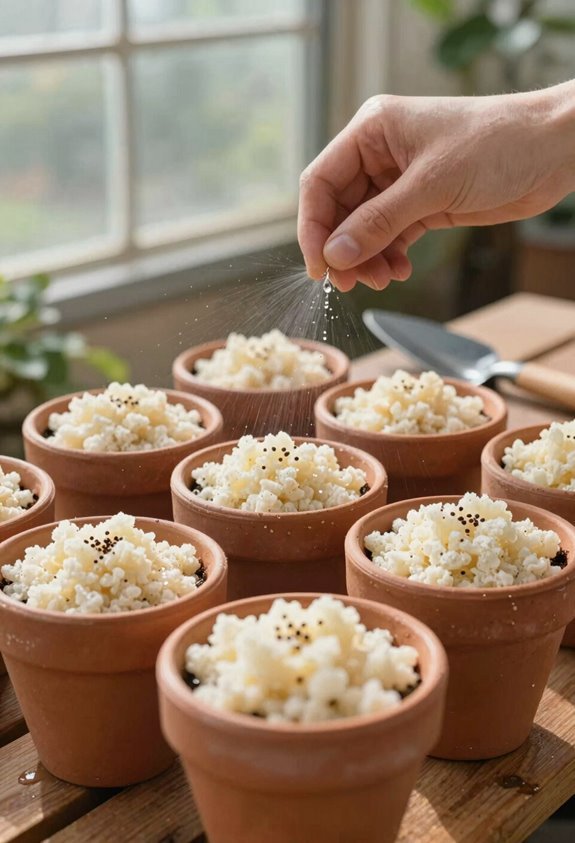
How do I give seeds the best start? I reach for quality seed-starting mix. This airy soil lets tiny roots spread fast without fighting dense clumps.
Quality seed-starting mix gives tiny roots the airy soil they need to spread fast without fighting dense clumps.
I moisten soil with warm water before filling pots. The mix should feel like a wrung-out sponge, not soggy. I pack it gently into each cell, leaving no air pockets. Then I press a small indentation to mark sowing depth for each seed type.
I label seed trays right away with flower names and dates. This step matters for germination care when multiple varieties sprout together. I check that labels sit clear of soil lines to prevent rot.
My setup stays neat and trackable. Each tray holds promise, ready for the next step in our shared growing process.
Sow Seeds Properly and Label Every Tray
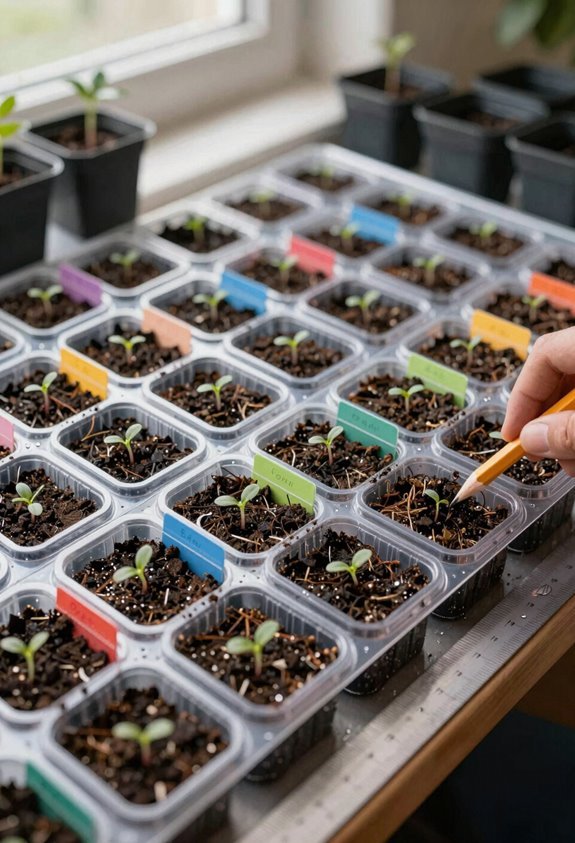
Sowing seeds demands precision and order. I place one or two seeds in each cell of my 32-celled tray filled with seed-starting soil. I cover them lightly with vermiculite or a thin soil layer per packet instructions.
Labeling trays matters. I mark each with the flower type and sowing date before I forget. I skip pre-watering and use bottom watering after sowing to keep moisture even without disturbing the surface. A humidity dome goes on top until sprouts emerge. I track everything for germination tracking.
- Soil Depth: I sow in light, airy seed-starting soil with proper cover per instructions.
- Tray Prep: I use 32-celled trays with drainage holes for compact growing.
- Clear Labels: I write flower type and date on every tray for easy reference.
- Water Method: I prefer bottom watering to maintain even moisture levels.
- Cover System: I add a humidity dome and log details for germination tracking.
Cover Trays and Water From Below Until Sprouts Appear
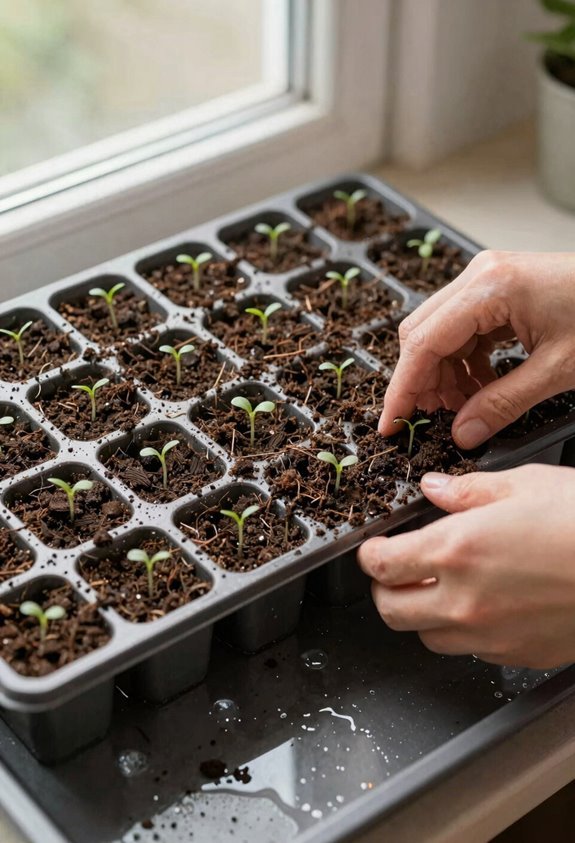
I set a clear humidity dome over each tray after sowing, or I stretch plastic wrap across the top if I run short on domes. This traps moisture while germination happens.
I place containers in direct sunlight or under grow lights with temps around 70-75°F. A heat mat at 70°F works too.
| Method | Details |
|---|---|
| Humidity Dome | Keeps air moist for sprouting seeds |
| Bottom Watering | Fills tray to one-third height |
| Cover Removal | 80% emergence stops damping-off |
I water through bottom watering only. I lift the tray, pour into the base, and set it back. Soil wicks moisture upward. Roots drink without disturbing seeds.
I check daily. Soggy soil rots seeds. Dry soil stalls sprouts. I pull the humidity dome off once most seedlings push through. This prevents fungal issues. Consistent moisture matters more than perfect timing.
Move Seedlings Under Bright Light Immediately
Where do leggy seedlings come from? Etiolation happens when seedlings stretch for weak light. I move my seedlings under bright light immediately after they sprout to stop this.
Light Source: I place seedlings on a south-facing windowsill or under grow lights positioned 2-4 inches above leaves.
Daily Hours: I provide 12-16 hours of bright light daily using a timer for consistency.
Heat Adjustment: I keep the heat mat running but lower the temperature gradually as roots strengthen.
Water Method: I bottom-water when the soil surface dries avoiding soggy conditions that rot stems.
Rotation Schedule: I turn containers every two days for even light exposure preventing lean.
This routine builds sturdy plants ready for transplanting.





